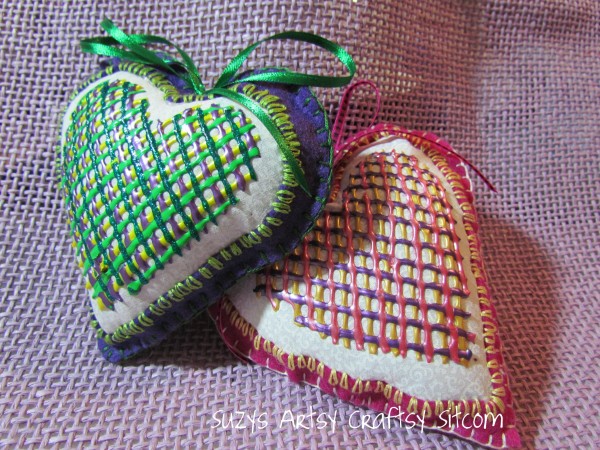
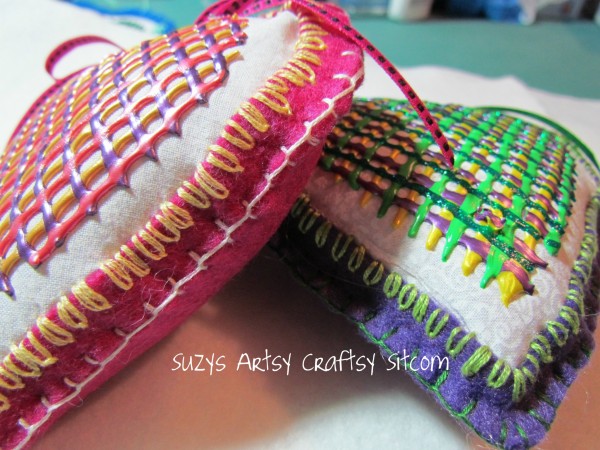
I ran across some discount puffy fabric paint a few months ago and stocked up. I had no idea what I was going to do with it, but I simply couldn’t afford not to buy it. Know what I mean? Anyway, I finally got the paint out and put a few things together. In honor of Valentines Day, which is just around the corner, I thought I’d make some Valentine Heart Sachets.
For this project I used:
Assorted puffy fabric paints
Freezer Paper
White Fabric
Assorted colored Felt
Embroidery Floss
Narrow Ribbon
Potpourri
 |
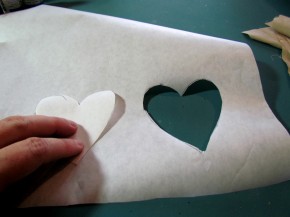 |
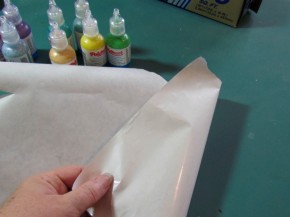
Freezer paper has a shiny side and a matte side. An interesting fact about freezer paper is that you can actually cut patterns or stencils out of it and then iron the freezer paper onto fabric- shiny side down. It will adhere to the fabric and then peel off when you are done, leaving no residue. We are going to use this fact for our project. Start by cutting out a heart from your freezer paper.
 |
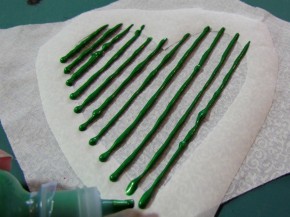 |
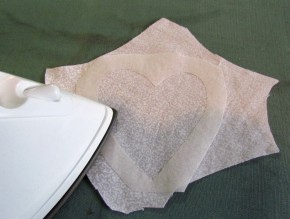
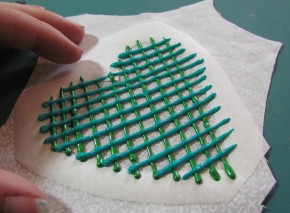
Cut around the heart from your freezer paper, creating a heart stencil. Then iron the stencil down onto your white fabric, shiny side down. Choose a color of puffy paint and draw diagonal lines across the heart stencil, overlapping the edges.
 |
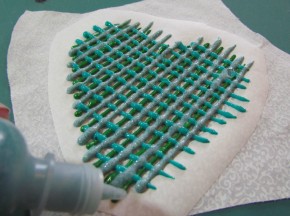 |
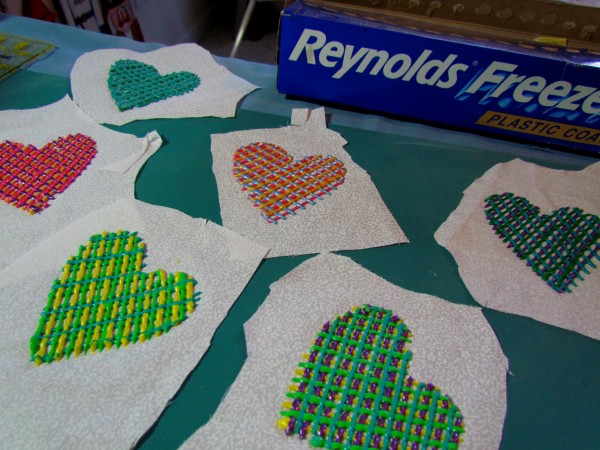
Draw lines overlapping the first color in a different color of puffy paint. And then add a third color, creating a plaid look.
 |
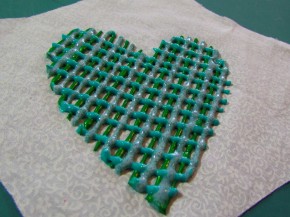 |
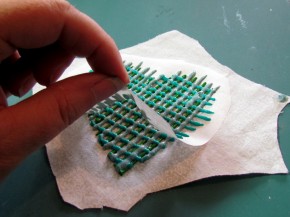
Carefully peel the freezer paper off, revealing your perfectly shaped heart!
As you can see, I made quite a few of them. It was kind of addicting… You will need to stop at this point and allow them to dry for about 24 hours. But now what to do with them?
 |
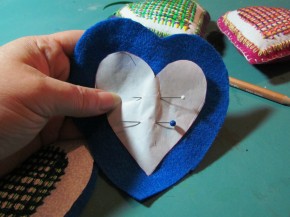 |
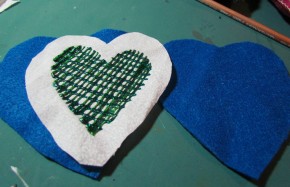
Cut the white fabric around the heart, leaving about an inch all the way around. Cut two pieces of felt the same size as the white fabric. Then pin your original stencil center to one of the felt hearts.
 |
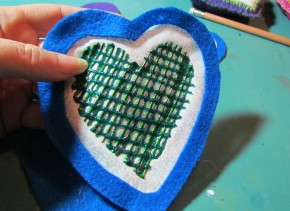 |
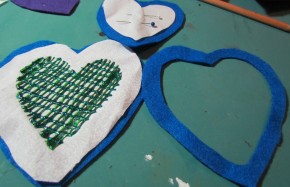
Cut about 1/2″ from the outside of the stencil heart, leaving a fabric frame. Use just a few dabs of hot glue on the edges to tack the felt frame to the white fabric.
 |
 |
 |
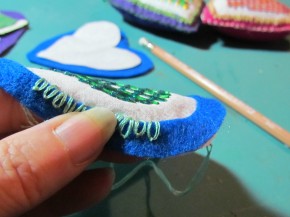 |
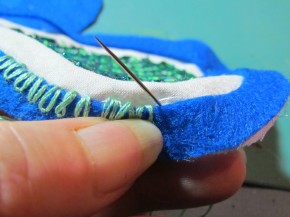
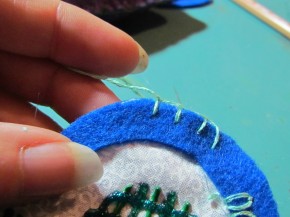
Using a contrasting embroidery thread, I embroidered the daisy stitch on the edge between the white fabric and the felt frame. To make the daisy stitch, you bring the needle up through the fabric, and then hold the thread with the left thumb. Insert the needle back where it first came out and then through the fabric to a short space away on the felt frame. With the thread under the needlepoint, pull the needle through the fabric. Fasten the loop with a tiny stitch.
I repeated the daisy stitch all around the frame.
 |
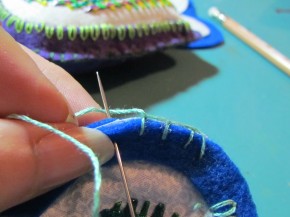 |
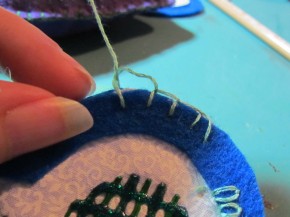
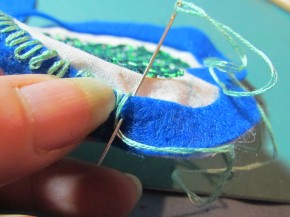
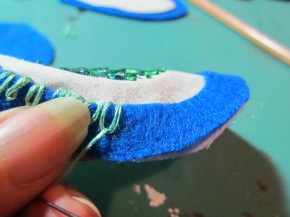
To sew the back to the front, I used the buttonhole stitch. Using three strands of a contrasting embroidery thread, I went around the outside edge of the two pieces of felt, attaching the front of the sachet to the back. Insert thread from back to front about 1/8″ from the edge to begin. Then insert the needle from front to back, bringing the thread back behind the needle. Pull the needle through and then repeat by inserting needle again from front to back and so on.
Stop at about 2″ from the beginning and stuff it with potpourri, then finish sewing the back to the front.
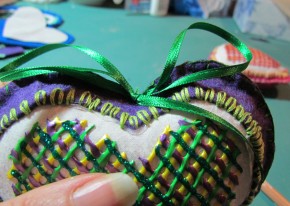
Add a dot of hot glue and place a narrow ribbon bow at the top.
And there you go! Cute little potpourri sachets to put in your drawer!
Other tutorials include:
Conversation Hearts Soaps
Homemade Conversation Hearts
__________________________________________

Enjoyed this tutorial? Be sure to check out my tutorial page for over 100 more!

