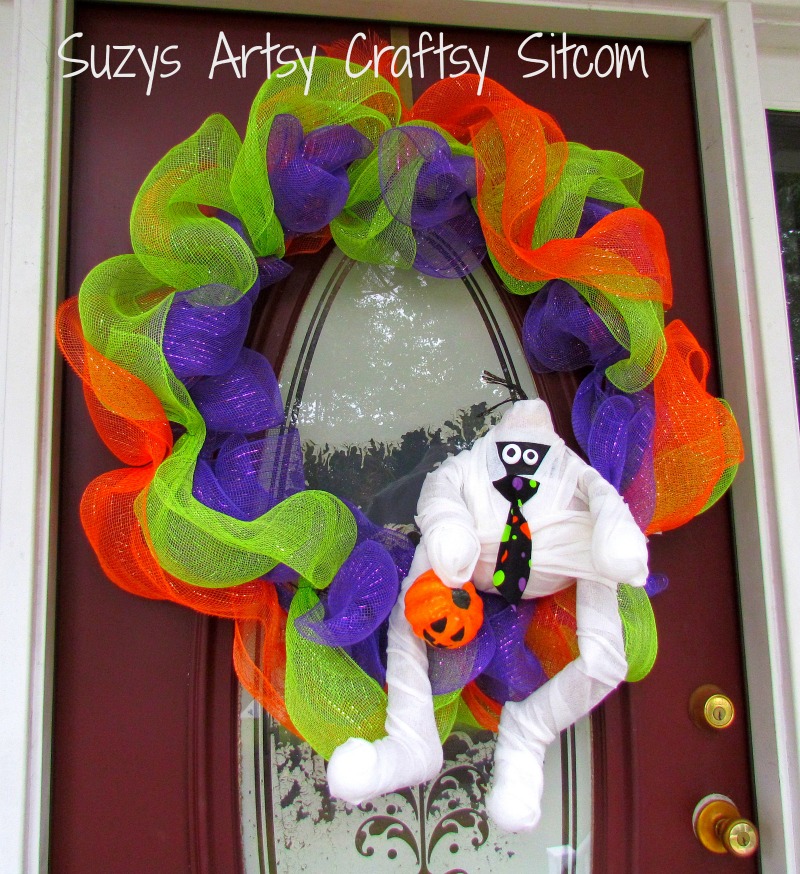
How about something colorful for your door? I created a cute Halloween DIY Mummy Wreath using recycled paper towel tubes and a gourd. My new mummy’s name is Monty. Want to know how to make him and his wreath?
Ever since my Paisley Chicken project, I’ve had a fondness for gourd crafts. With quite a few stored in my closet, I thought it was about time I created something for Halloween. This project is easy to make, takes very little time, and makes a cute welcome wreath for your door.
For this Project I used:
24″ wire wreath form
Design it®: Simple Style® Decorative Mesh (purple, green and orange)
Florist wire
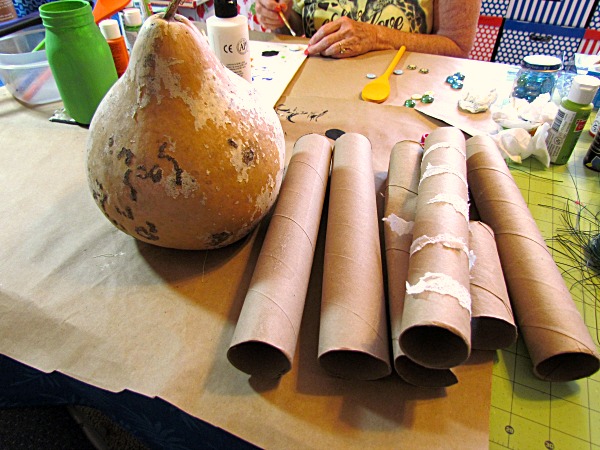
One gourd
4 paper towel tubes, 2 toilet paper tubes
4 ea. 1.5″ styrofoam balls
Gauze (use the kind that will stick to itself)
White and Black Acrylic Paint
2 glass cabuchons
scrap of cute fabric (for tie)
Small plastic pumpkin
Low temp hot glue
Gather your supplies and then pre-cut the florist wire into 4″ long sections.

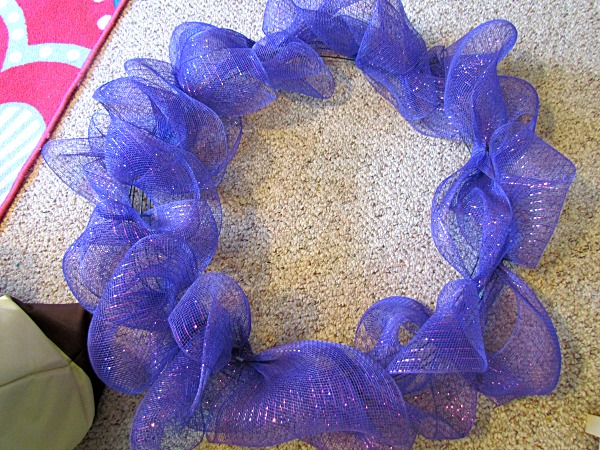
Starting with the purple mesh ribbon, use a wire to twist-tie it to the wire wreath form. Tie it down about every four inches or so, puffing up the ribbon in between as you go. I was able to go around my wreath form twice with the purple mesh ribbon.
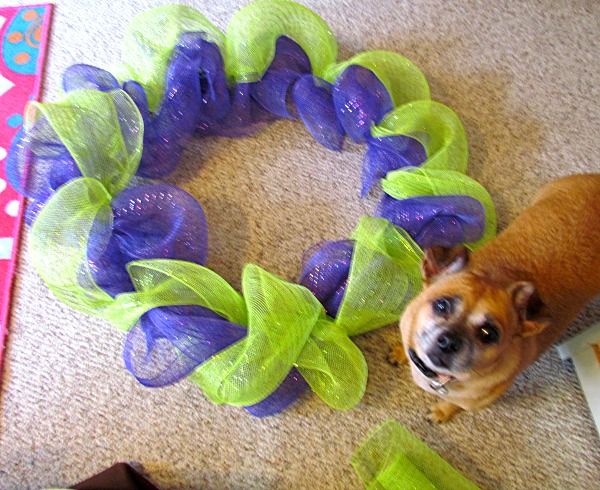

Do the same with the green and the orange mesh ribbon, using a new piece of wire every four inches or so, overlapping the colors. I went around my wreath form once with green and once with orange. Faith says it is looking okay!
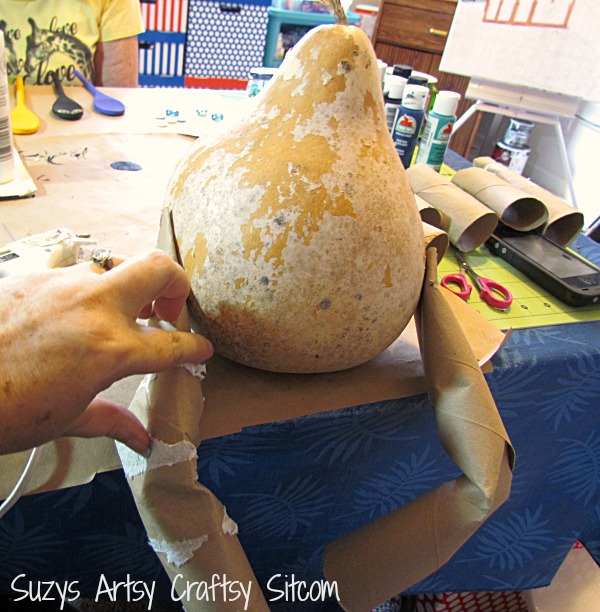
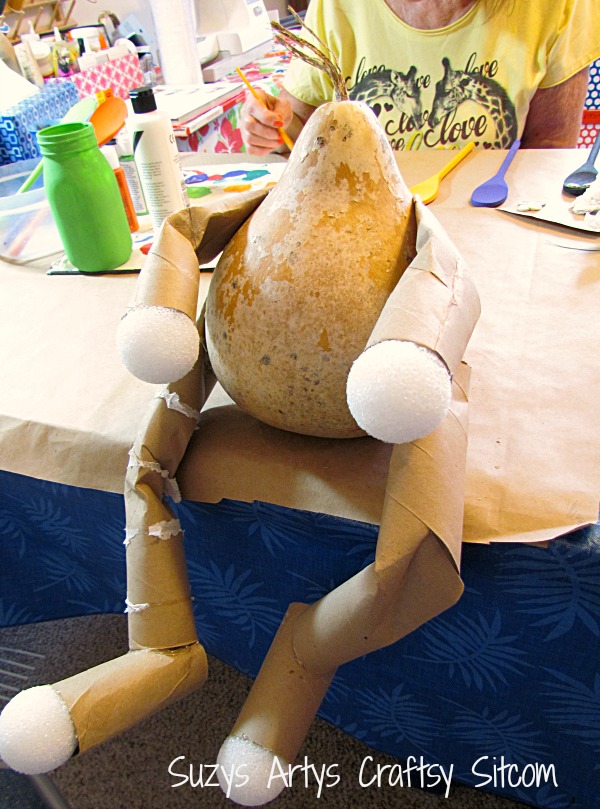
Now to assemble Monty! His legs are each a paper towel tube, folded at the knee and flattened on the end that is glued to the gourd at his “hip”. Use hot glue to assemble. The arms are two paper towel tubes cut to 3/4 length, bent at the elbows, flattened at the shoulder and glued to the sides of the gourd. Each foot is a toilet paper tube, glued to the end of the paper towel tube leg. The styrofoam balls were glued into the ends of the feet and hands.
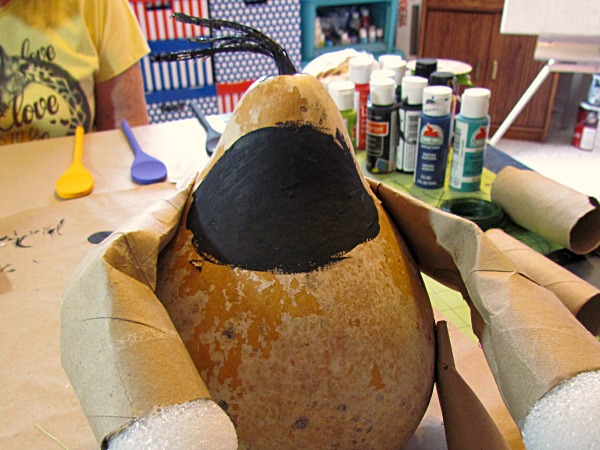
Paint an oval of black onto the face with black acrylic paint. At this time, also paint two glass cabuchons white to use as the eyeballs. (They take a bit to dry)
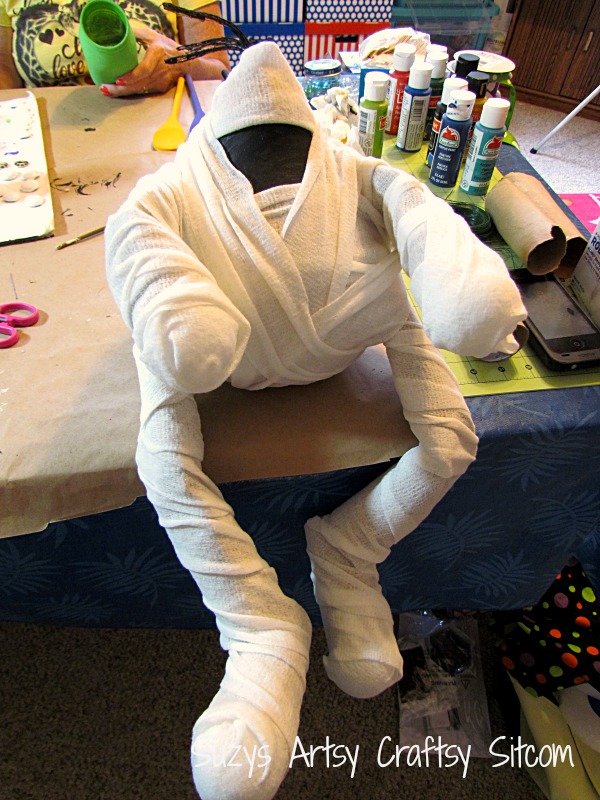
Time to dress Monty! I used gauze that sticks to itself, so no glue was necessary for this step. Simply wrap him up, leave an area of face open for his eyeballs.
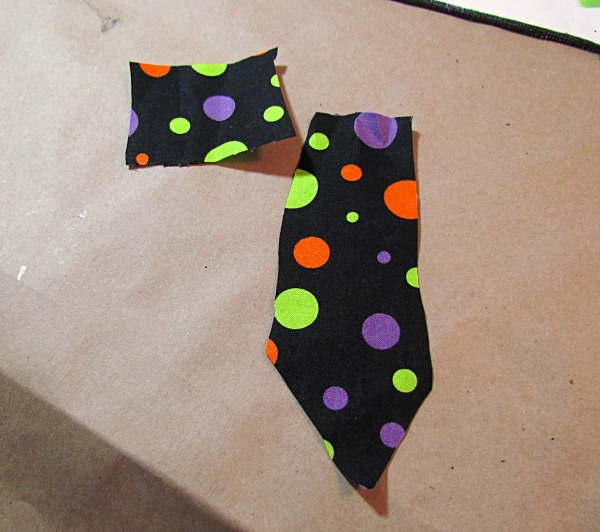
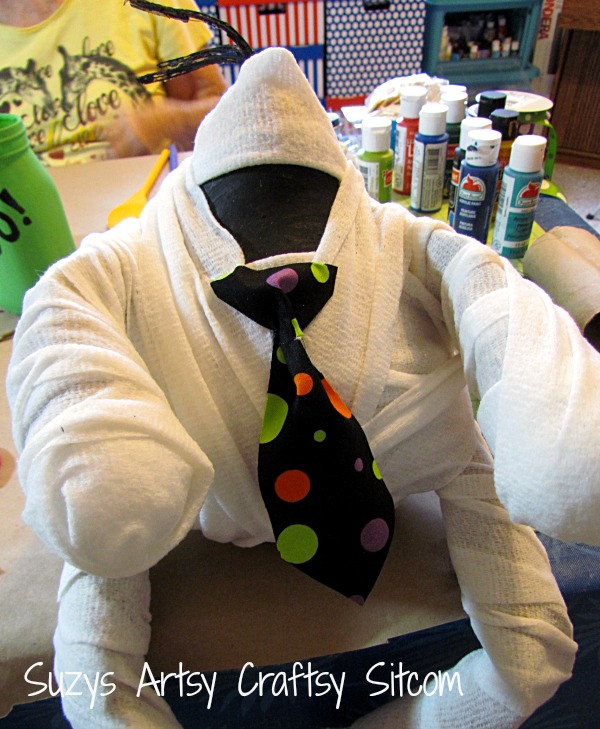
Cut your scrap fabric into a tie shape, as above, and a square for the knot. Pinch the top of the tie and glue onto Monty. Glue the top of the square “knot” above the tie, and pinch and glue the bottom of the knot to the top of the tie.
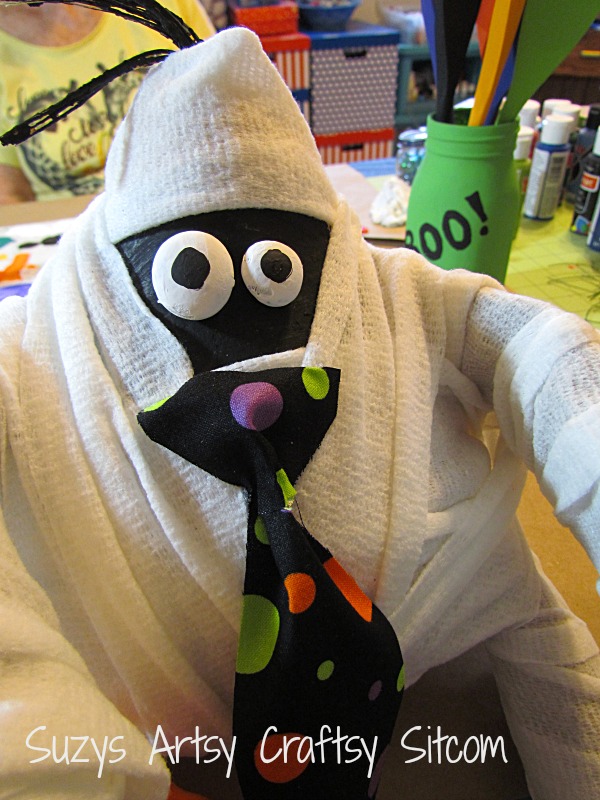
Glue the white painted cabuchons onto his face. I purposely chose two different sizes to make him a bit crazy eyed. Then paint the pupils in with black paint.
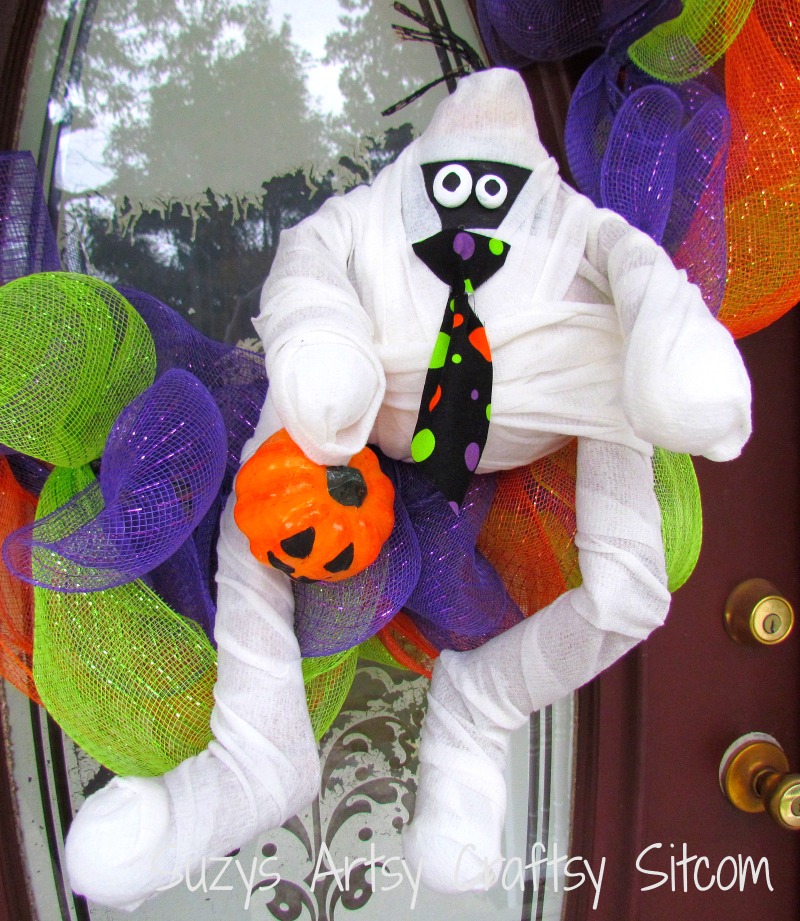
For finishing touches, I added a small plastic pumpkin from the dollar store, hot glued onto his hand and leg. Use extra gauze to tie him onto the wreath, wrapping it under his arms and tying in the back of the wreath.

And now Monty is ready to greet guests!
—
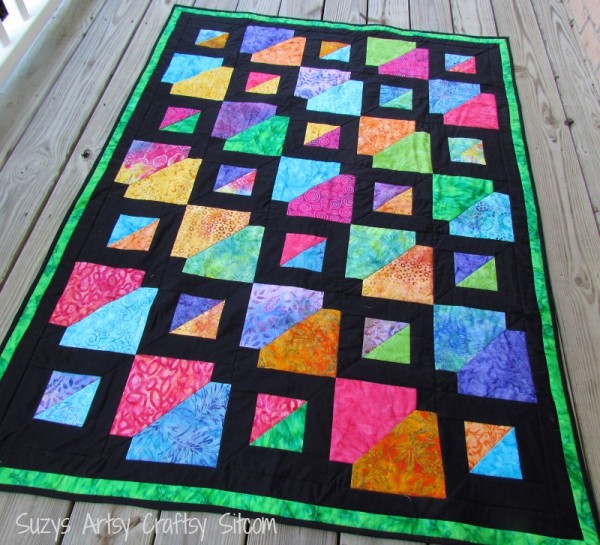
Want to try your hand at quilting? My newest quilt Pattern- Batiks Gone Wild!
Are you new to the Sitcom? Be sure to check out my Frequently Asked Questions Page!
You can keep up with the Sitcom on Facebook for daily updates!
For over 100 crafty tutorials for all ages, be sure to visit my Tutorial Page!