Have you ever needed to enlarge a pattern, but did not have a copier handy? Happens to me all the time! You see, I live in a RV and a copier would take up so much room that I’d have to find other accommodations for the husband. Fortunately for him, I use an easy grid way to enlarge my patterns to the size that I’d like!
How to Enlarge Patterns the Easy Way
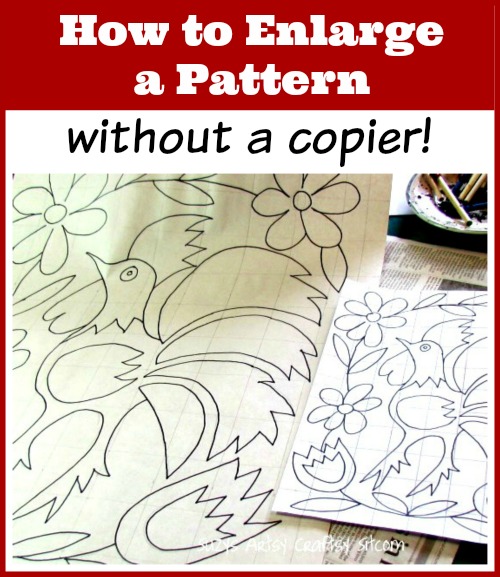
For this demonstration, I’m going to use my Rooster Pattern from my Faux Punched Tin tutorial! Since the finished project is a bit bigger than the 8 1/2″ x 11″ pdf pattern, I thought it might be helpful to show you how to easily enlarge or decrease the size of a pattern without a copier.

For this project I used:
Pattern
Sheet of paper large enough for the enlarged pattern
Yardstick
Oftentimes the pattern that you have is not the correct size for what you would like to make with it. When this happens, it is easy enough to enlarge or decrease the size of your pattern using a grid system.
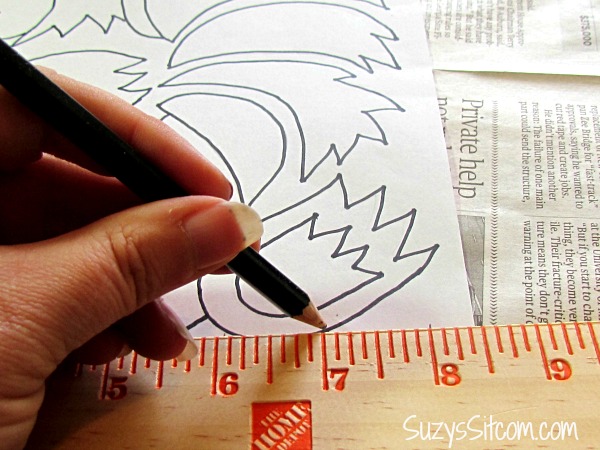
Begin by taking your pattern and marking it off with a grid system. In this case, I used a yardstick to mark it off in 1 inch squares.

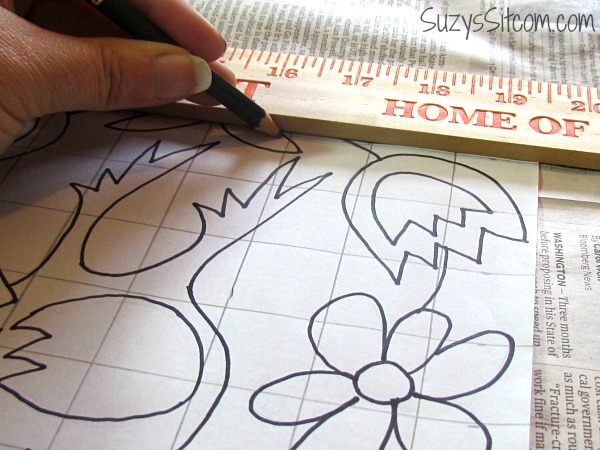
Now you have to decide what size you would like it to become. You will need to mark up a second grid on a blank sheet of paper with the grid squares at the size that you would like the finished pattern to be. For instance:
If you want to double the pattern size, create a second grid of 2″ squares.
Want it smaller? Create a second grid of 1/2″ squares.
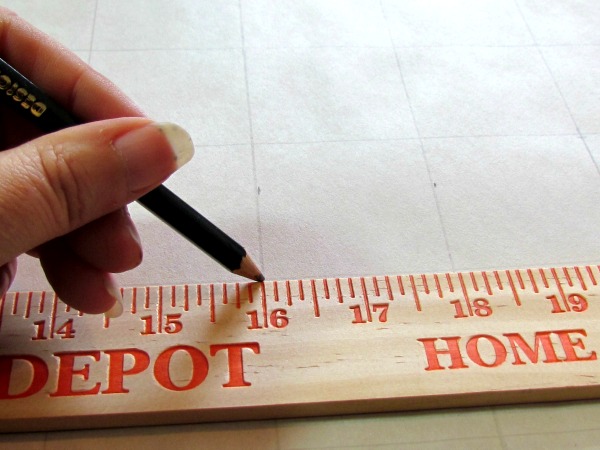
In this case, I want to double the size of my pattern, so I marked of 2″ squares on my blank sheet of paper.
Now let’s create a new bigger pattern!