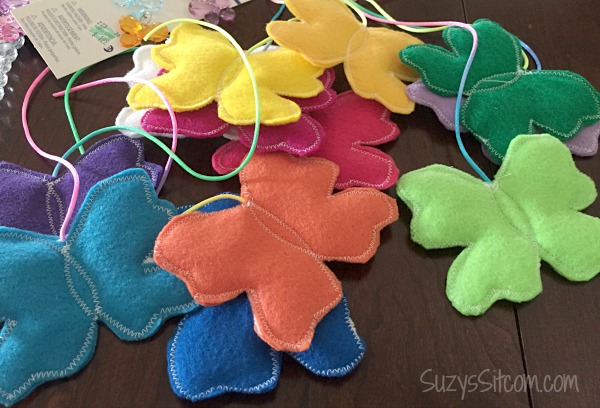
Cute butterfly overload!

Start with one butterfly and cut the cording to measure 6″ from the top of the butterfly head to end of cording. Cut the next one 1/4″ shorter. The next one 1/4″ inch shorter than the second one, and so on until you have all cording cut to various lengths ending with the shortest at about 2″ long.
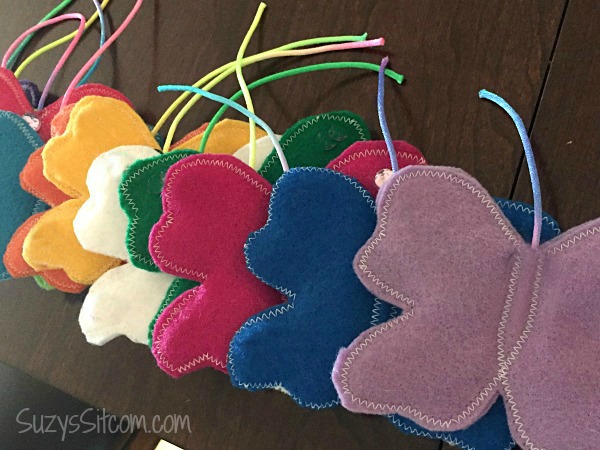
I placed them in a row from shortest cording to longest to keep them in order for assembly.

Cut the craft plastic into a 1/2″ x 25″ strip. (You may need to cut several 1/2″ strips and hot glue them together in order to get the entire 25″ length). You could also use an embroidery hoop for this part of the project.
Use hot glue to glue your 1/2″ strip into a circle overlapping by 1″.
Glue pink ribbon and rainbow cording as shown above, overlapping to the outside of the circle. Glue in place with hot glue,
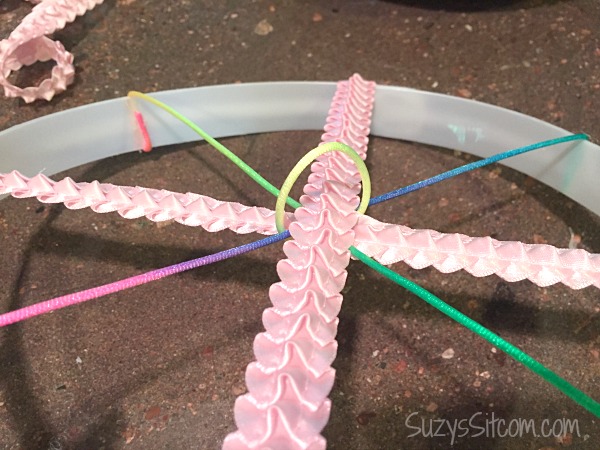
Tie a cording loop into the center with the knot side down. Hot glue in place.
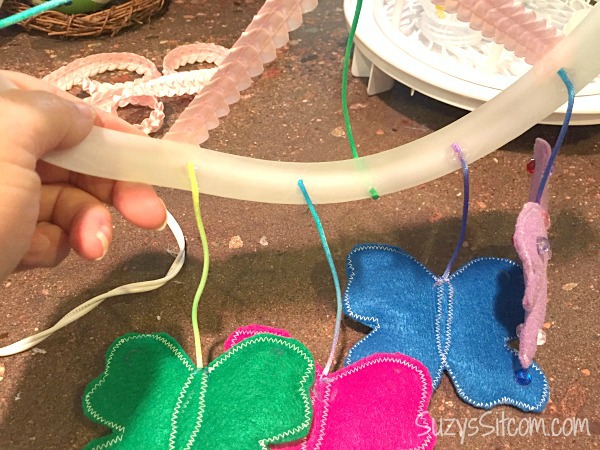
Using hot glue, glue the ends of the cording to the inside of the circle, starting with the longest cord and working around to the shortest cord, spacing your butterflies about an inch apart.
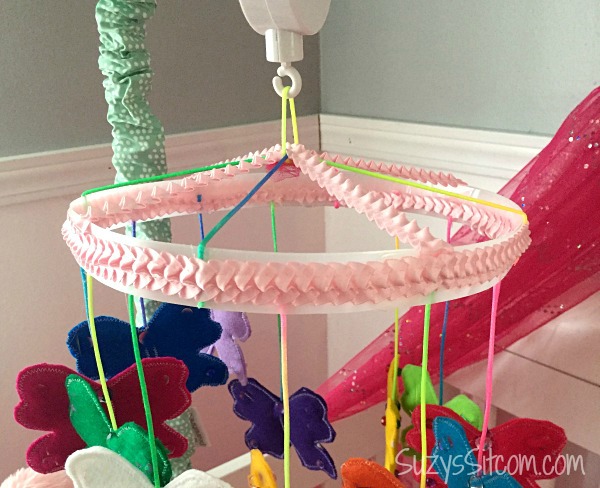
Hot glue ribbon to the inside and outside of the circle, covering all cord ends and fixing them in place.
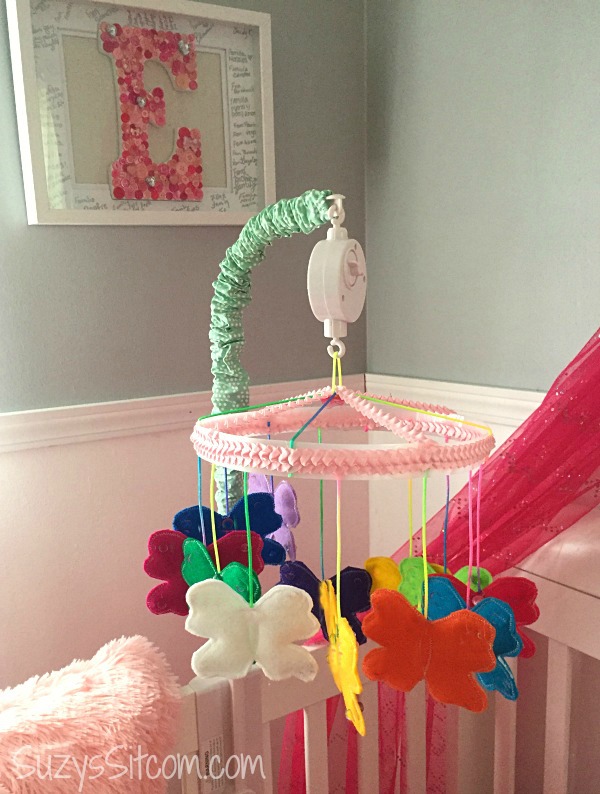
Hang your creation from the mobile arm and enjoy!
Both mom and baby loved my pretty creation. Baby Esme has inspired me to create several projects with babies in mind, so stay tuned for more ideas!

Are you new to the Sitcom? Be sure to check out my Frequently Asked Questions Page!
For over 200 crafty tutorials for all ages, visit my Tutorial Page!


