Do you love to camp or know someone else that does? I love the look of mixed media. For this project, I created a pattern that mixes counted cross-stitch with machine applique. It features one of our favorite phrases since we hit the road full time in our RV. This is How We Roll was created with the beginner in mind and will give you experience with several different types of stitching.
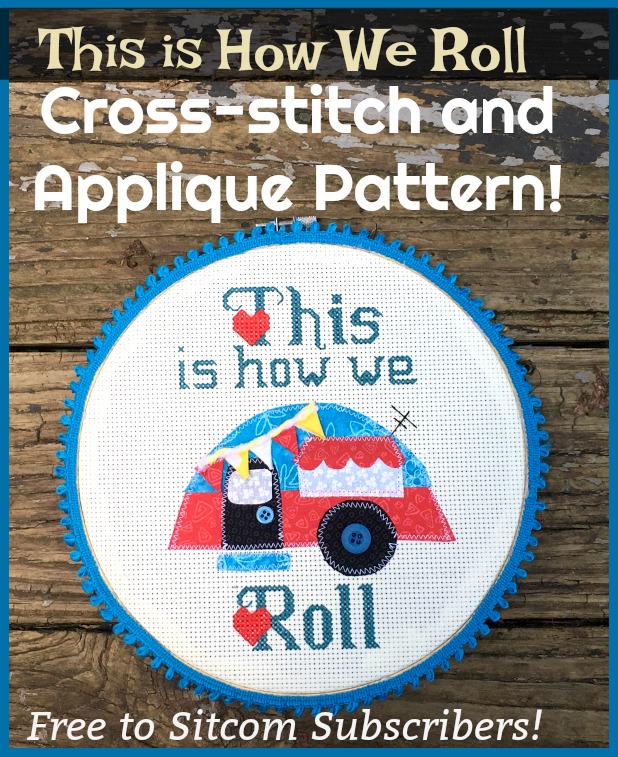
This can be a fun project for a unique decorative picture for your home or camper! And…this pattern is free for all Sitcom Readers! See below for more details!
For this project you will need:
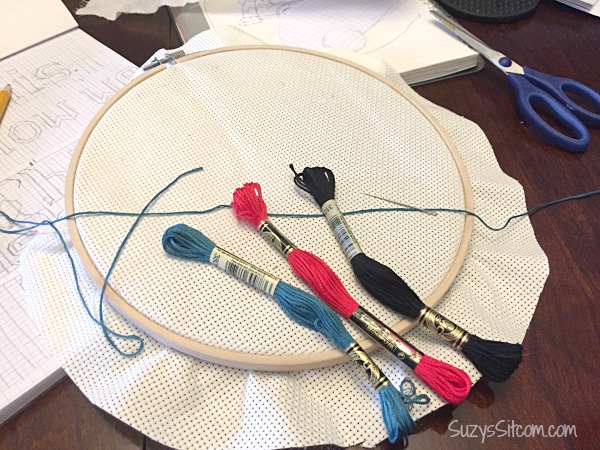
11 count aida fabric (at least 15″ x 15″)
9″ wooden embroidery hoop
DMC Floss in teal, red and black
Embroidery needle
Fabric scraps in teal, red, yellow, black and white
Fusible web
Decorative trim
Assorted buttons, yarn scraps
12″ x 12″ piece of felt for backing
Hot glue
This is How We Roll Pattern Cross Stitch Pattern
Begin with Cross-stitch
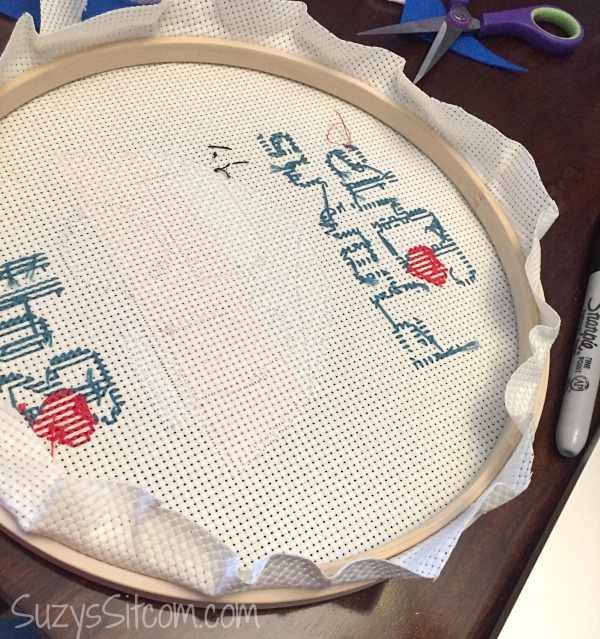
Find the center of your aida fabric by folding it in half, then in half again. Mark the center by ironing the fabric. When you open it up, the center will be where the ironed lines cross. Your cross-stitch chart has the center marked. Count from there to begin your cross-stitch.
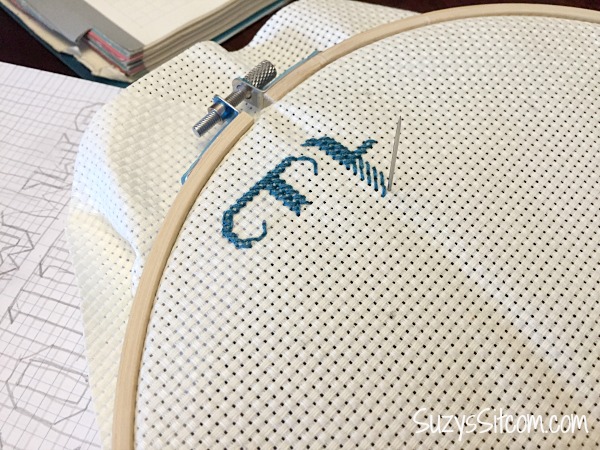
Counted cross-stitch is very simple using aida fabric. You can see above where the squares are clearly marked. Each square on your cross-stitch chart matches the squares in your fabric. Place your hoop on the fabric and using three strands of floss, begin to cross stitch using the chart. If you are unfamiliar with cross-stitch, you can find more detail here: Cross-Stitch Basics.
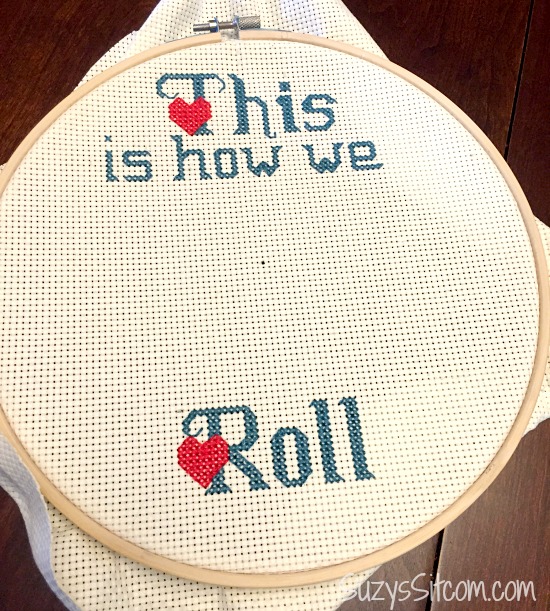
This is how your completed cross-stitch will look.
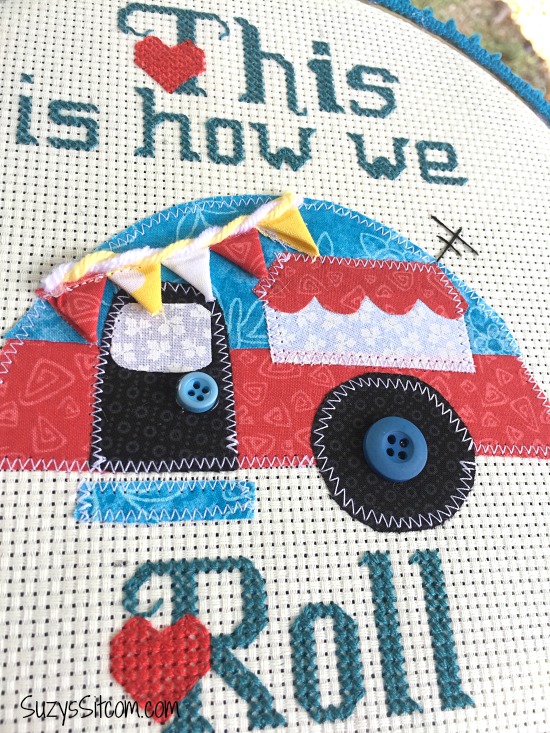
Applique with Fusible Web
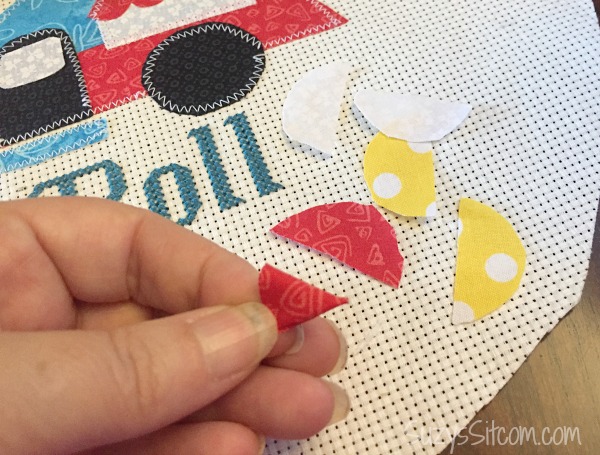
Cut out your paper pattern template pieces, place them upside down onto the smooth side of the fusible web and trace around them. Cut the pieces from the fusible web.
Choose fabrics for your pieces and iron the fusible web, rough side down, onto the wrong side of the fabric.
(IMPORTANT- be sure the smooth side is up and rough side is down. The rough side is adhesive which will stick to your fabric. You do not want it sticking to your iron).
Cut your fabric along the edge of the fusible web.
Arrange the fabric pieces until you have a grouping that you like. Once they are all trimmed, you can peel off the fusible webbing, which will leave a layer of adhesive on the back side of your fabric.
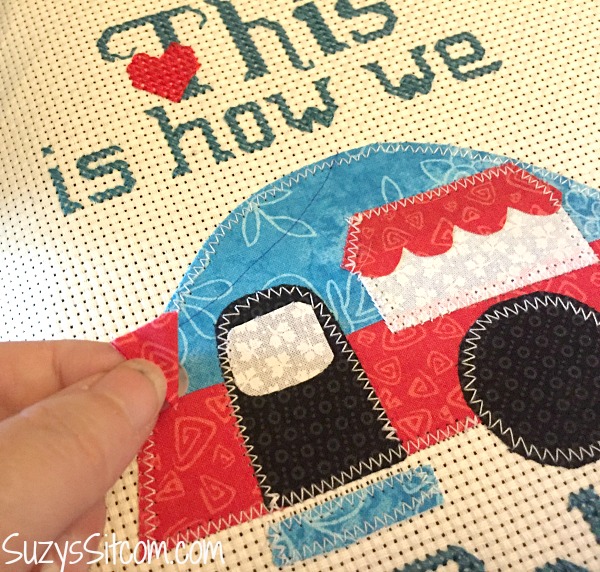
Peel the backing of the fusible web off, lay your pieces down one by one, and iron them onto the fabric front.
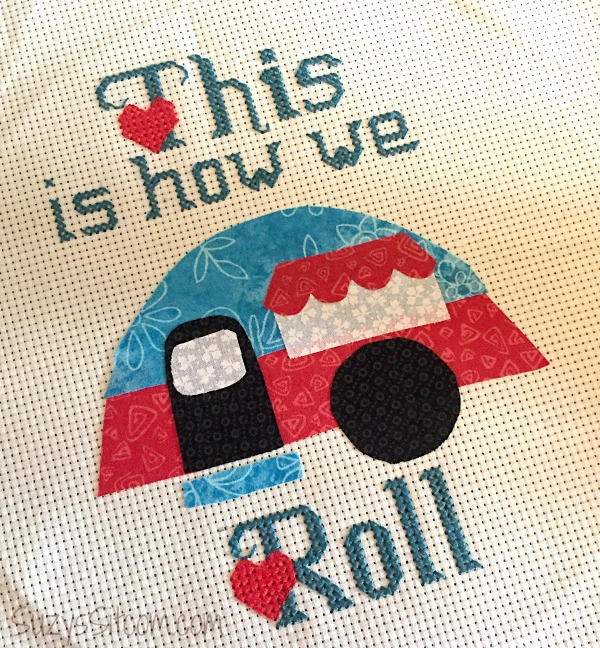
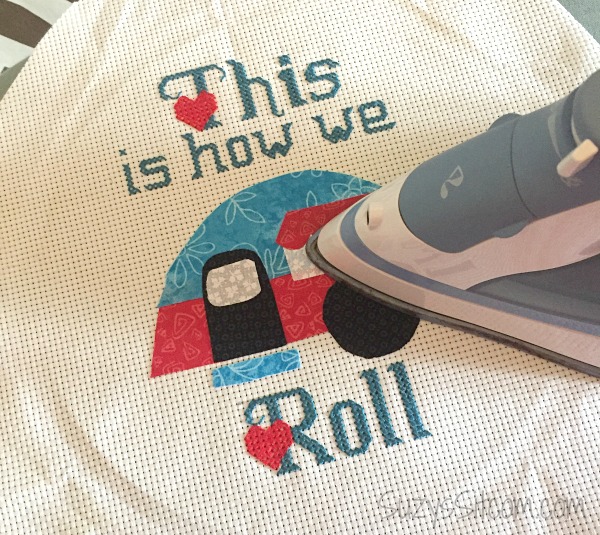
This is how the project should look with all fabric fused to the aida cloth.
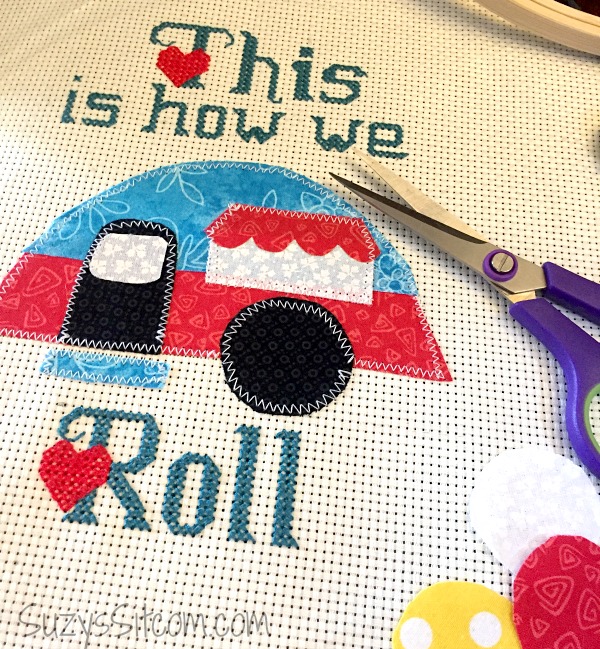
Now use a small zig zag stitch to stitch along all the outlines. This will keep the fabric permanently in place. And it looks pretty cool too!

Use the small circle template to cut out three circles from three different fabrics. Cut those circles in half. In order to create the flags, fold the half circle in half, wrong sides together. Fold it in half one more time to create a triangle.
Draw a line on your fabric where you would like the flags to be. Sew the flags in place along the line using a straight stitch.
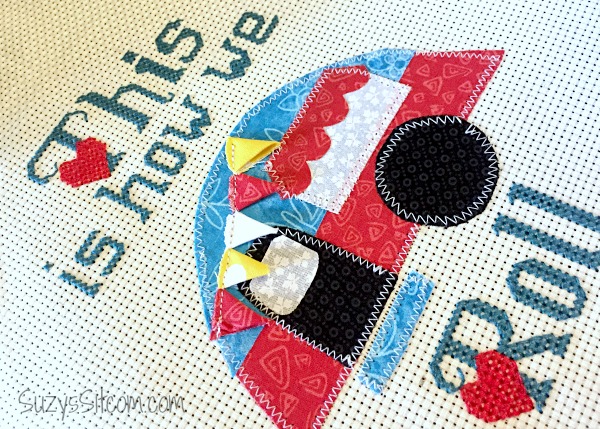
This creates a raised look to the flags.
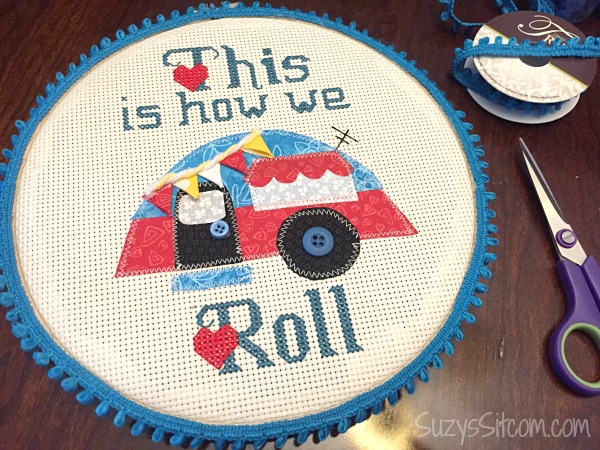
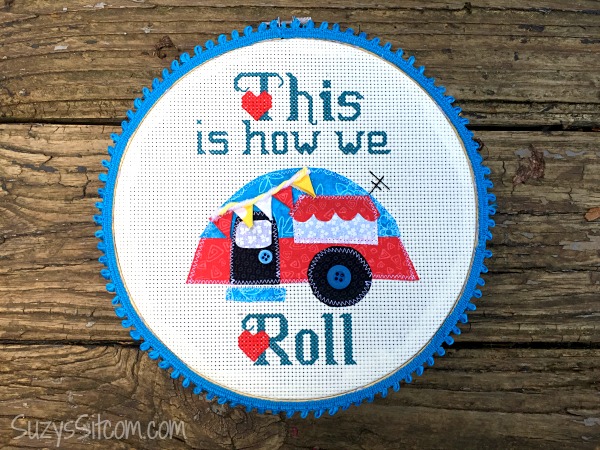
The final touches include adding buttons to the wheel and door handle, using black DMC Floss to sew on the antenna, and hot glueing yarn over the flags. Use hot glue to add decorative trim around the outside of the embroidery hoop.
Trim the aida cloth to about 1″ around the hoop. Use low temp hot glue to glue the excess fabric to the inside of the hoop. (Be careful not to burn your fingers).


Cut a circle of felt to fit inside the inner hoop and glue in place.
This project is super fun to make and can be put together in a weekend. It makes a great gift for your favorite camper and looks sweet hanging on the wall, or propped on a shelf.
Create something fun! I’d love to see what you make!
Love camper patterns?
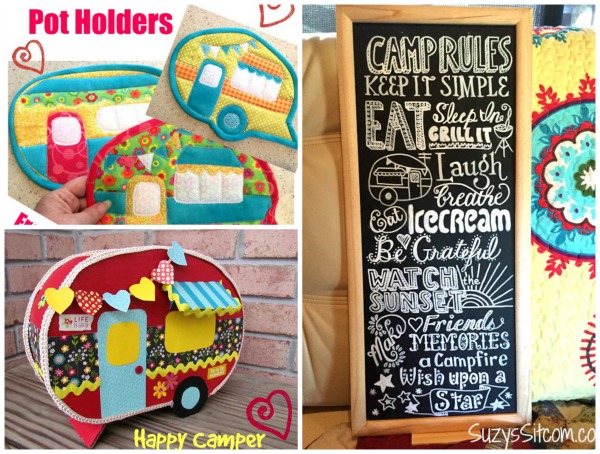
Happy Camper Pot Holders
Happy Camper Card Box
Camp Rules Chalkboard Pattern
For over 200 crafty tutorials for all ages, visit my Tutorial Page!