My family didn’t have tons of money when I was growing up. Oftentimes, mom would scrimp and re-use things when she had a decorating project in mind. I imagine that is where I got knack for looking at things and imagining what I can make out of them. And it is one of the biggest reasons that the Dollar Store is one of my favorite places to shop. While being thrifty is not totally out of necessity any longer, nothing makes me happier than putting together something beautiful out of inexpensive things. And I can spend hours in the Dollar Store, embarrassing my daughter by periodically asking loudly, “I wonder how much this is??” (Embarrassing my kids is kinda a hobby of mine).
Mom originally made ice candles in the 1970’s and she got the idea from a magazine. So they have been around a while. But the simplicity of making something with thrifted containers, old crayons and wax and turning it into something amazing is what crafty life is all about. So, I returned to mom’s kitchen with an armful of dollar store items and mom and I went to work…
For this project we used (project list is enough to make one candle):
2 boxes of wax
Various old crayons for color
Cardboard container of your choice (suggestions would be milk cartons or chip containers)
Spray oil
Double boiler (or a small pot and a larger pot)
Scrap cardboard
Crushed Ice
One candle taper
Various small Christmas decorations
Hand mixer and bowl
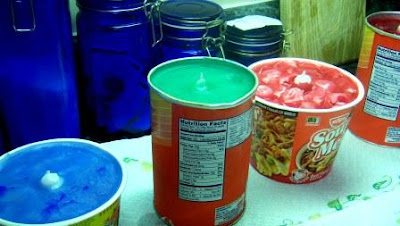
Empty your container (if it isn’t empty already) and spray the inside with spray oil to help prevent the candle from sticking. We tried a selection of containers that I purchased from the Dollar Store including chip containers, ramen noodle soup containers and a salt container. Milk cartons actually work quite well for this as they have a wax coating on them that does not require spraying with oil. I wanted to go round, though. So we went with these. After experimenting, mom and I do not recommend the salt container. For some reason, the container absorbed the wax. It was difficult to unmold and I had to pick cardboard off the finished candle. Just FYI.
Cut your candle taper to the height of your container. We recommend that you use the bottom end of the candle, shaving the top so that the wick shows.
Choose what color you would like your candle to be and prepare some crayons. We used cheap dollar store crayons for this project and it actually took quite a bit less crayon than we thought it would. The average candle needed approximately 5-6 crayons for color. Just peel the crayons and set near your work for when you are ready for them.
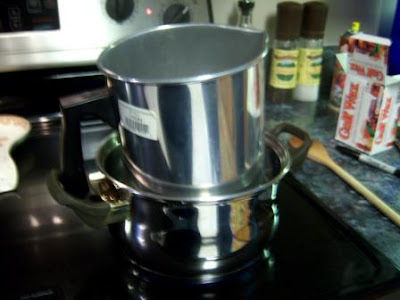
Using your double boiler, your next step is to melt the wax. If you do not have a double boiler, fill a larger sauce pan about 1/3 full with water. Place a small saucepan inside and add your wax to it.
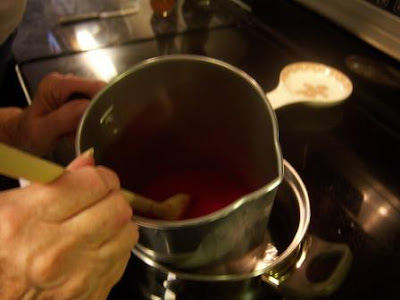
We found that it took about 1 box of wax to make one candle. Break your wax into pieces and add to the small saucepan. Allow the water to boil. This will start your wax to melt.
Add your crayons one at a time until you have the color that you would like.
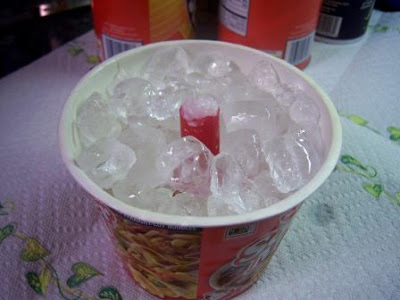
Center your taper in the middle of your container and fill around it with crushed ice. (Crushed ice gives a better look than cubed). Fill the container with crushed ice up to 1″ from the top.
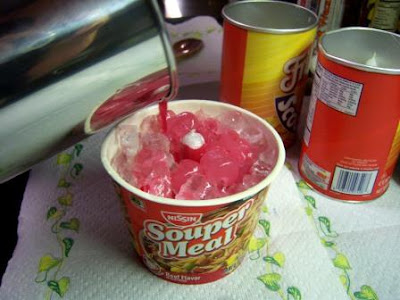
Now pour your melted wax over the ice, filling the container all the way to the top.
Patience, my dear. We now have to wait for the wax to get solid. Give it about an hour so that there will not be any “incidences”.
Hold your candle over the sink and gently peel the cardboard container off of the candle. Ice candles are fragile, so hold it gently as you peel. The melted water will run off into the sink.
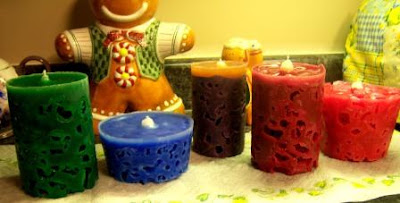
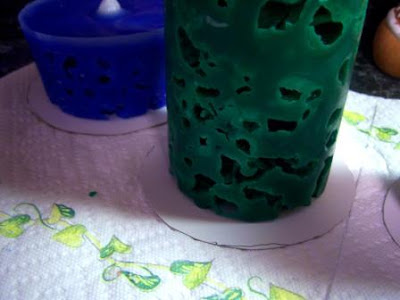
At this point, you should already have a pretty awesome looking candles. But wait! There’s more! But again, we have to be patient. There is still ice inside your candle that needs time to melt. Sit it on some paper towels and let it stand overnight before you go to the next step.
Now we are ready to decorate it. Cut a scrap of cardboard for your candle base. I cut mine about 2 inches wider than the diameter of the candle. This leaves about an inch of cardboard showing on all sides. At this point, set the decorations that you would like to use near your work station.
Using your double boiler method, melt 1/2 box of wax. Once it has melted, pour the wax in a small bowl and using your mixer, beat the wax just like you would beat egg whites. (Start off slowly at first so as not to splash hot wax on yourself). As the wax starts to cool, it becomes white and frothy. When it has reached the point where it is just beginning to hold its shape, spoon the wax around the base of the candle.
Mound it like snow. We also added some to the top to look like drifts. Working quickly, while the wax is still not set, push your decorations in. If the wax sets before you get them all in, add more melted wax to the decoration and re-apply. Believe me, it sets quickly. Clean up Tips: Be sure to scrape off as much wax as possible before running under hot water. This could clog your sink!! You may want to consider cleaning your utensils in boiling water and then pouring the hot water outside.
These candles make wonderful gifts. When you burn them, they will burn from the inside, pulling from the taper in the center. As they burn, you will be able to see all the variations of light through the holes in the candle. It is actually quite beautiful.


