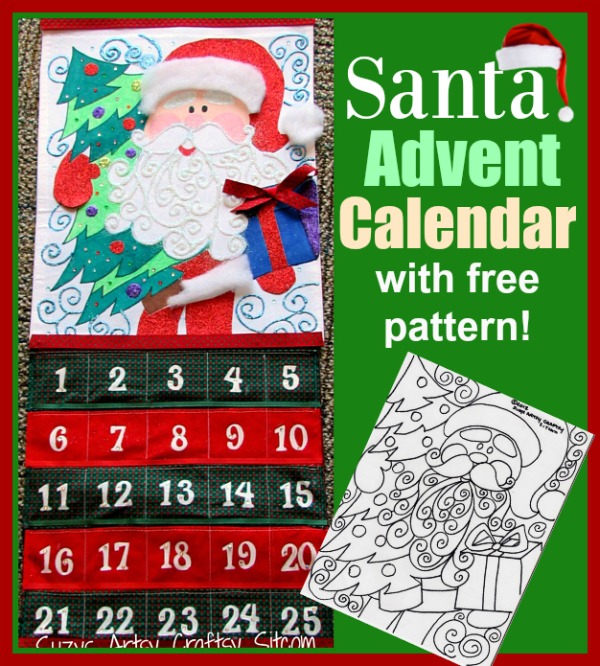
I ran across some crafty goodness, including Shimmer Sheets, Shimmer Paints, and tons of other glittery goodness. For a crafter like myself, it was paradise in a box. What do I try out first? What fabulousness can I create from all this glitter? Well, how about a free pattern and a holiday advent calendar?
 Affiliate links to Amazon below:
For this project I used:
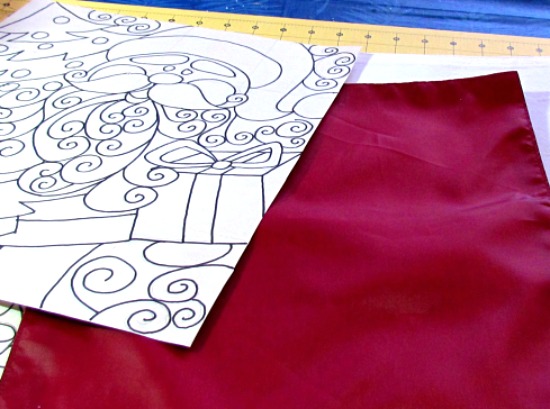
Holiday Santa Free Pattern
2 Dollar Store fabric placemats (one red and one white)
About 1/8 yard each of two different holiday fabrics
Pattern Transfer paper
*Tulip® Fashion Glitter™ Shimmer Transfer Sheet (in red)
Glitter
Fabric Markers
Soft Fabric Paint and Blue Metallic 3D Fashion Paint
Iron-On Crystals
Number stencil
Scraps of Batting
Holiday Ribbon
I found two cotton fabric placemats at the Dollar Store. I’m using the white one for the top of the calendar and the red one for the numbered part.
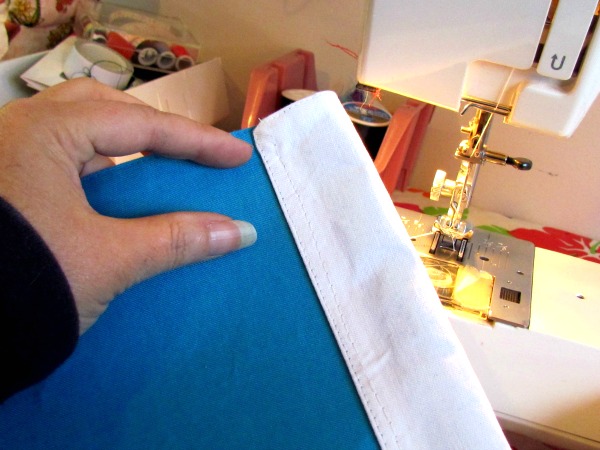
Begin by folding over about 1 1/2 inches on the narrow side of the white placemat and sewing a 1/4″ seam along the inside edge. This creates a pocket for a hanging dowel at the top of the calendar.
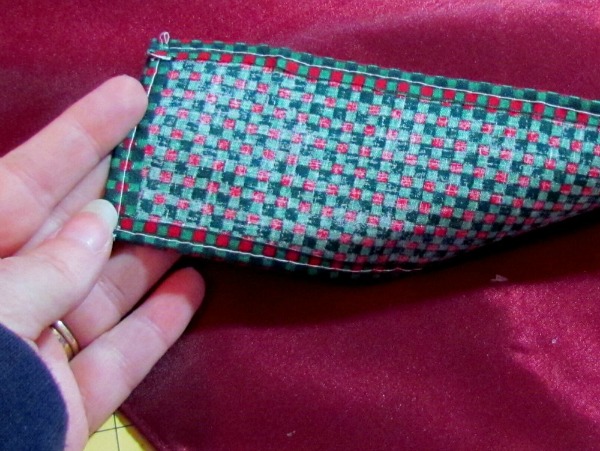
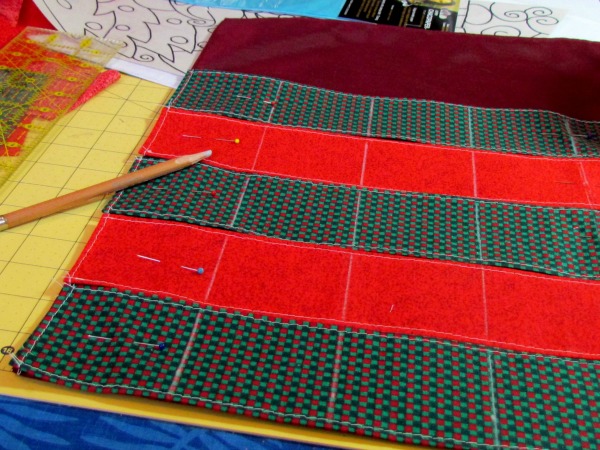
For the red placemat, cut strips of red and green fabric 1/2″ longer than the width of the placemat and 3″ wide, to adjust for 1/4″ seams.
Fold over 1/4″ on each side and sew it down with a straight stitch.
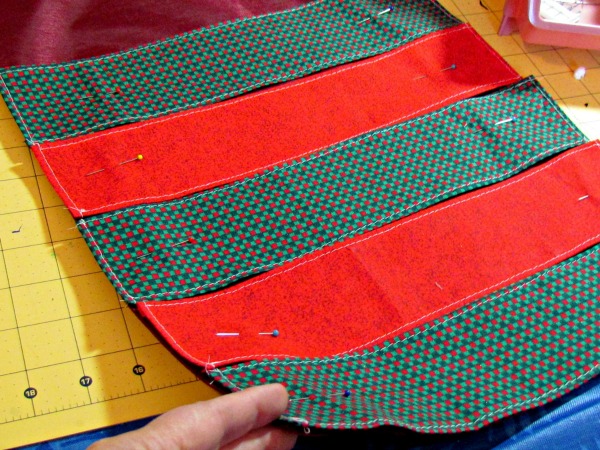
Pin the strips down onto the red placemat from the bottom up, lining them up next to each other.
Divide the width of the placemat by five, and mark out four lines vertically using a white pencil.
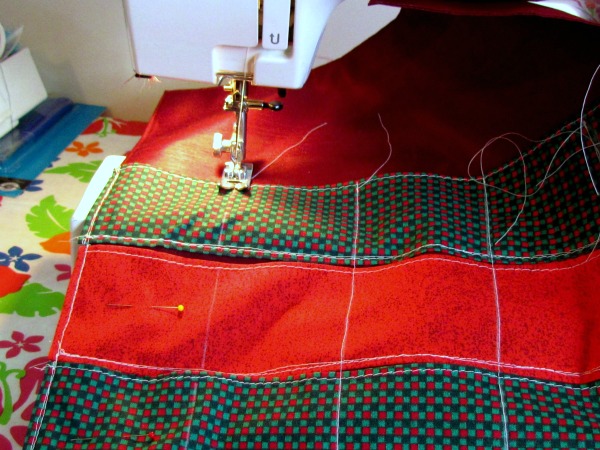
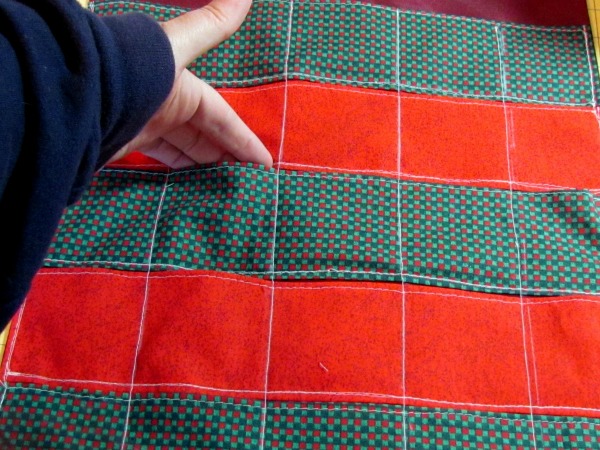
Sew a 1/4 seam around the outside edge of all the strips. Then horizontally along the bottom seam of each strip, and finally, vertically along the marked lines, creating 25 individual pockets.
Overlap the white placemat onto the red one, lining it up to the top of the first row of fabrics. Pin, and then sew the two placemats together along the edge of the white one. Trim off extra red placemat from the back.
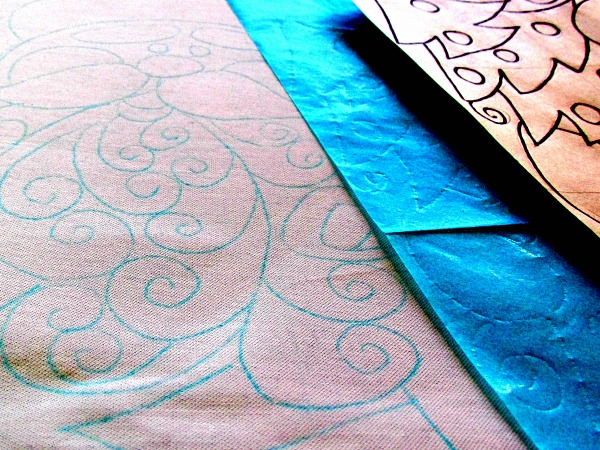
Enlarge the pattern to fit the white placemat, then transfer it onto the fabric using pattern transfer sheets.
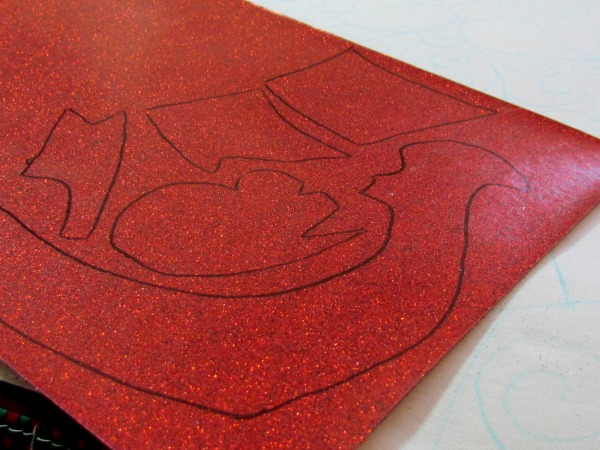
Now for the fun part! I decided to use Tulip Shimmer Sheets in red for all the red areas. Transfer the hat, gloves, pant legs, ribbon on present, bottom section of his suit and a few assorted ornaments onto scrap paper. Cut it out and use the paper as a pattern.
Flip it so that you draw it onto the backside of the shimmer sheet in reverse. Cut them out, lay them onto the placemat in their positions, cover with a piece of scrap fabric and iron on high setting.
Can’t find the shimmer sheets?
If you would rather, simply put white glue down in the areas that you would like to be red and sprinkle red glitter. Either way works well!
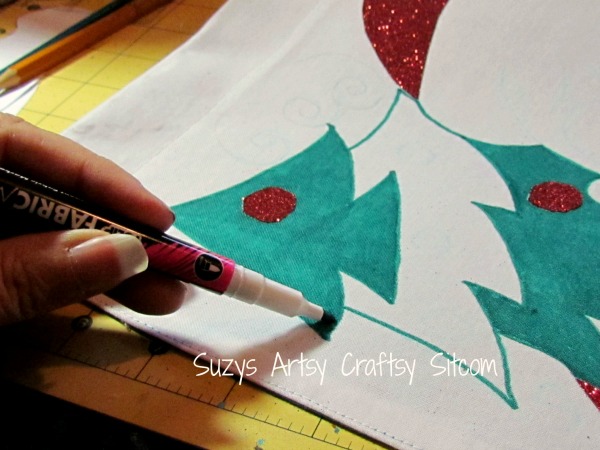
Use Fabric Markers to add color to the Christmas Tree.
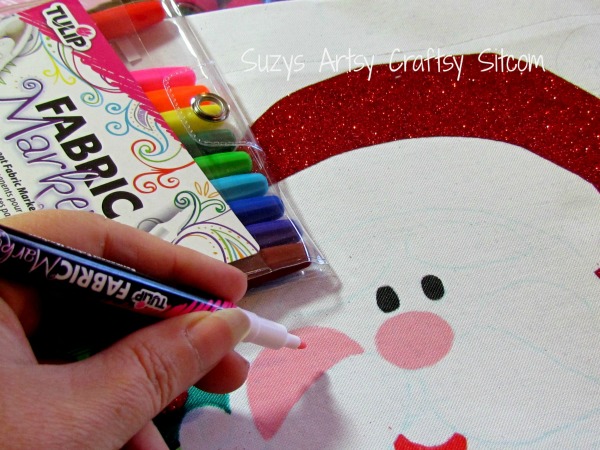
Add color to the mouth, eyes, cheeks, nose and present using the fabric markers. The skin tone of the face was done with peach colored soft fabric paint.
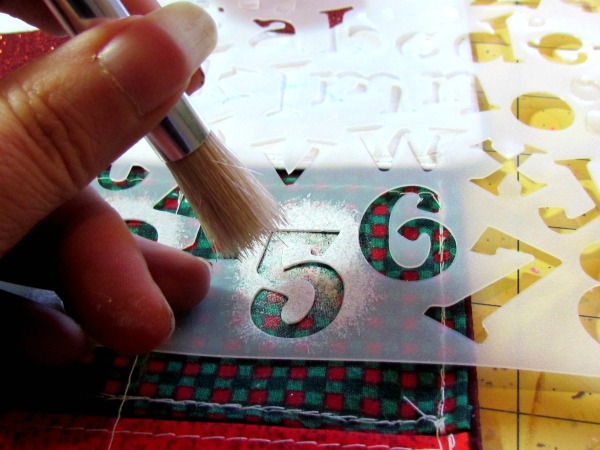
Use white soft fabric paint and the number stencil to add numbers to the pockets. Pounce lightly with a semi-dry brush, remove stencil and fill in details with a small brush.
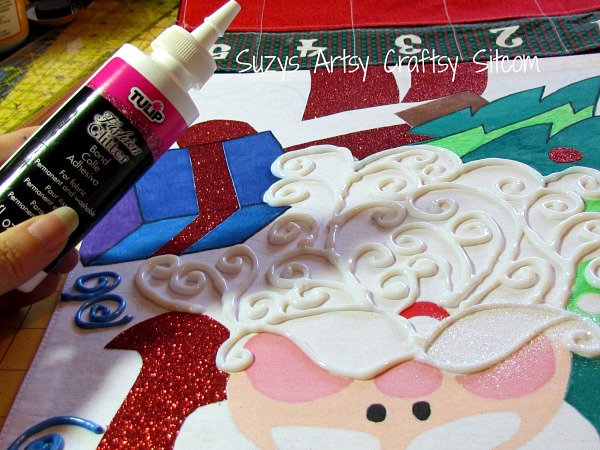
For the beard, take a bottle of Glitter Bond (or white glue) and follow the lines of the beard using the tip of the bottle.
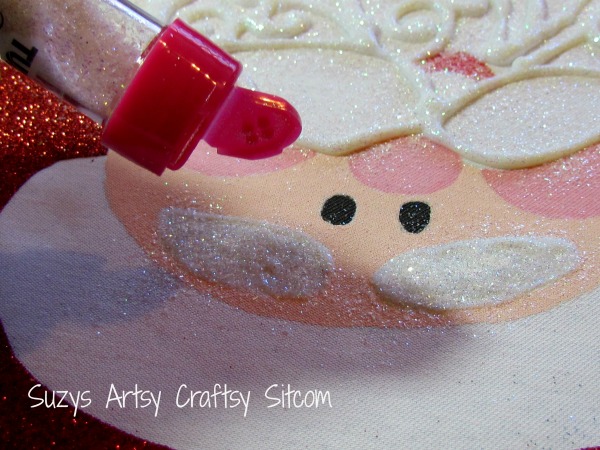
Sprinkle white fashion glitter over the lines of the beard. Paint in the eyebrows with a layer of Fashion Glitter Bond, and then sprinkle white glitter over top. The blue swirls behind Santa were painted with a line of blue Metallic 3D Paint, and then sprinkled with blue glitter. You will need to allow this to dry for several hours before going to the next step.
A Cordless Heat setting tool is awesome. Simply lay your crystals down where you want them, glue side down, and set the Heat setting tool on top for about 30 seconds. Your jewels will be glued down to the fabric! No setting tool? Simply use an iron! I added crystals to all the numbers and in assorted places on the tree and background.
Final touches include adding ribbon to the top and bottom edges, and creating a ribbon bow. Cut sections for the hat and bottom of his coat out of scrap batting. All are glued on with hot glue.
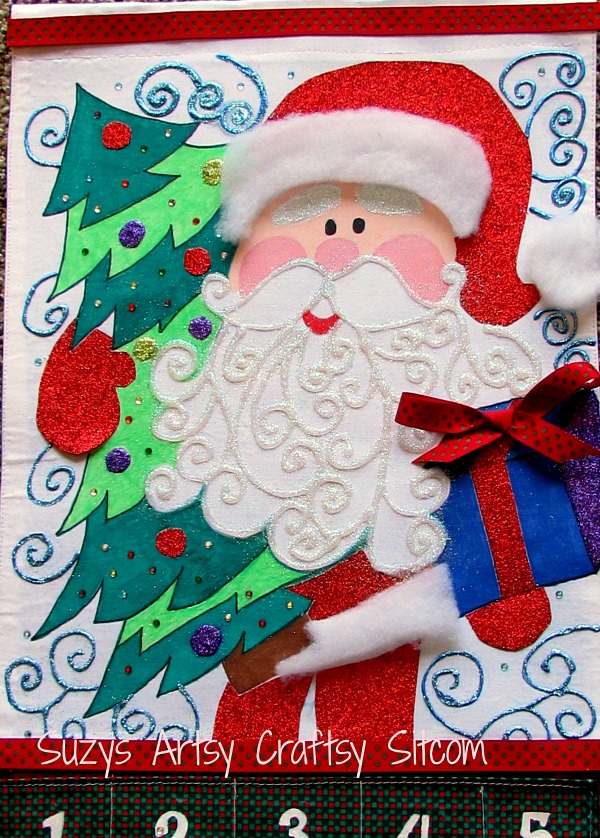
And there you have it. And advent calendar with bling!
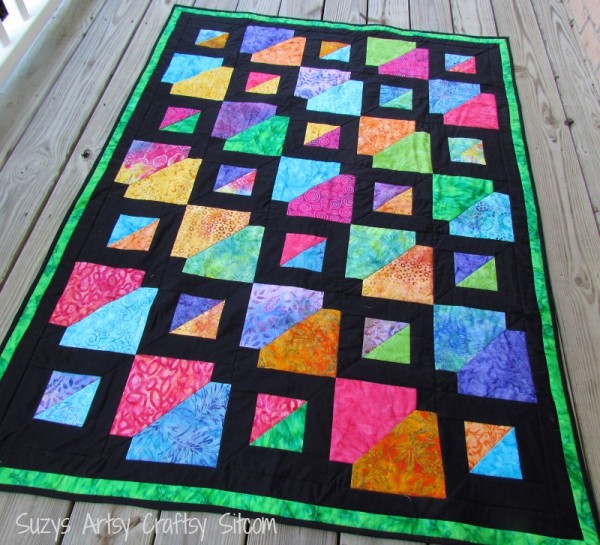
Want to try your hand at quilting? My newest quilt Pattern- Batiks Gone Wild!
Are you new to the Sitcom? Be sure to check out my Frequently Asked Questions Page!
You can keep up with the Sitcom on Facebook for daily updates!
For hundreds of crafty tutorials for all ages, be sure to visit my Tutorial Page!


