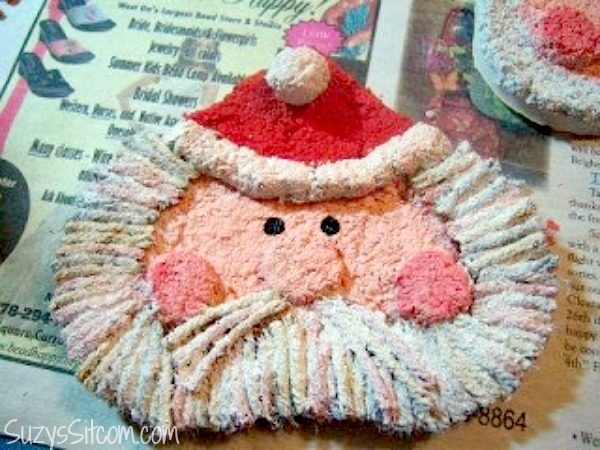
Create a cute Santa Ornament with paper mache, yarn and foam board! This ornament is a perfect addition to your holiday tree. Fun project that you can make for just pennies! Want to know how?
A group of my friends and family have been exchanging Christmas ornaments with each other every year for the past 18 years. We make an ornament for each member of the group and meet the first Saturday in December to exchange them. Since there is usually about 15-20 members each year, that means from October on, I’m in mass production with some kind of ornament or other. Multiply that by 18 years and that is at least 270 hand-made ornaments and Christmas decorations that I’ve produced and been given.
I now have two Christmas trees. One has the hand-made ornaments on it and the other has my glass ornament collection.
Needless to say, I have a large selection to go to when I want to put out a crafting tutorial. There is one ornament that always gets front and center of the tree. It is an ornament that I received the first year of the club. The lady that made it was only in the club the first year, and no-one really remembers her name or if this was an original craft or something she found in a book somewhere.
I love the primitive look of the Santa and the textures and colors. It makes me smile every year when I pull it out of the box and put it on the tree.
So today, I’ve decided to try and re-create this awesome ornament.
Affiliate links to Amazon below:
For this project I used:
A sheet of foam board from the Dollar Store
Instant Paper Mache
Acrylic Paints in red, peach, black and white
Yarn scraps
white glue
Ribbon scraps
Matte Mod Podge
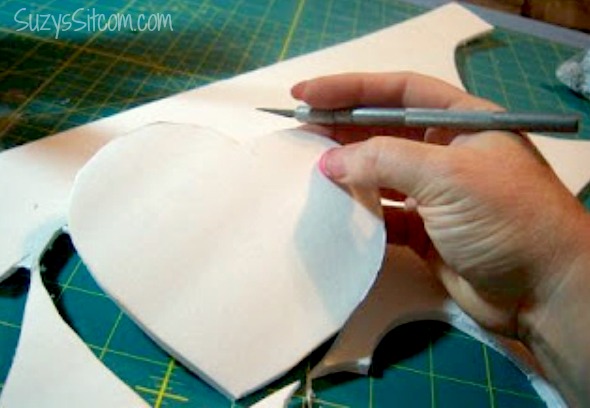
Draw a heart template, approximately 4″ wide by 3″ tall. To get a perfect looking heart shape, it is sometimes easier to fold your template paper in half, draw half the heart with the fold in the center and cut it out. Both sides of the heart will match perfectly.
Use your heart template to cut a heart out of the foam board. Draw the heart and cut the foam board with a craft knife.
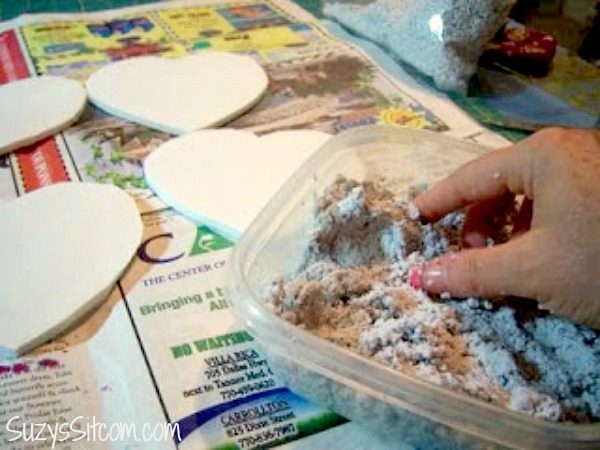
Mix up your paper mache according to the directions on the box. The paper mache that I use just requires the addition of water. Instant paper mache can be on the pricey side at $7-8 dollars a box, but that box will last a while.
Look ahead for coupons so that you can get it a bit cheaper.
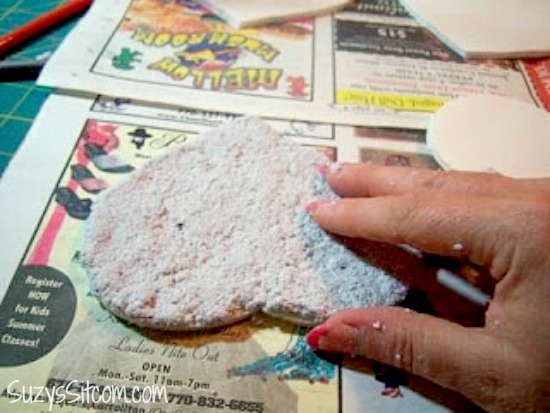
Spread a 1/4″ coat of paper mache over the front of your heart, being sure to get it all the way to the edges.
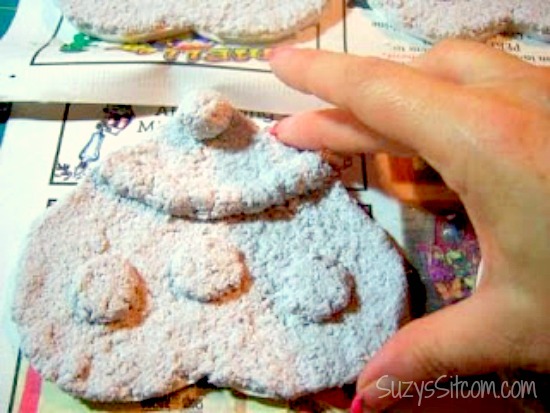
Roll a tube-shaped piece and place it on your heart to form the fur on his hat. Roll a ball of paper mache and add it to the top of the hat. Roll a small ball and push it into the center to create a “flattened” nose. Do the same with two smaller balls to create his cheeks.
Now it will need to dry. It will take about 24 hours to be completely dry and ready for the next step.


