Basic Paper Quilling
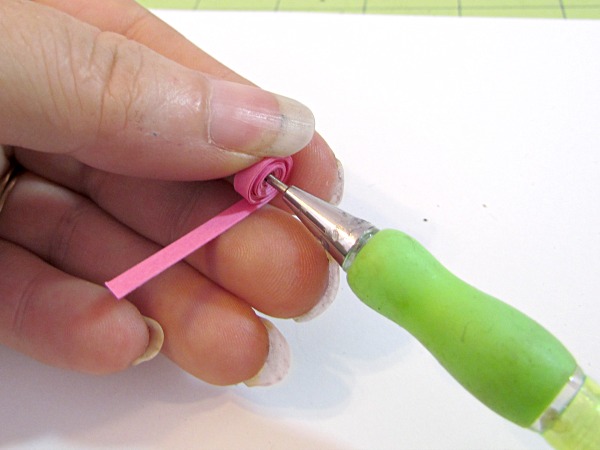
You then take your cut strip, put one end in the eye of your quilling tool and wind it tightly around the needle. If you want a tight wind, hold the wound paper while you pull the needle out, then put a drop of white glue on the end and glue.
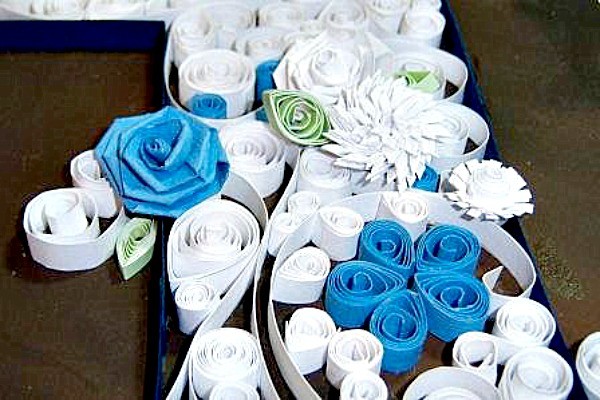
If you want a looser wind, let go of the paper after winding, remove the needle and then glue. You can pinch one end for a petal effect, two ends for leaves or go crazy with so many other options.
For more quilling basics, see my Beginners Quilling tutorial!
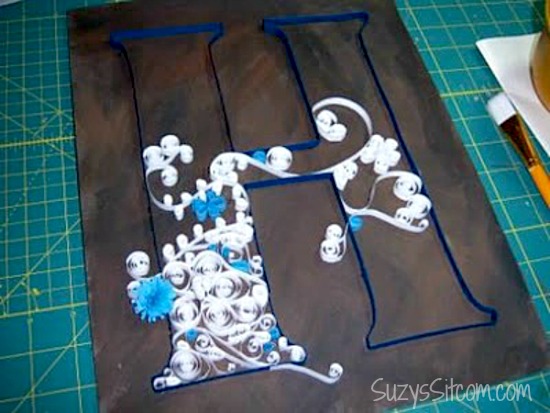
I had bought some larger cardstock in brown for the background, but wasn’t pleased with the color. So I got out my acrylic paints and added more browns to it, blending to give it a leather look.
I then used a ruler to draw the letter H. Using dark blue paper strips, I created the outline by folding the paper to fit and glueing it down on it’s side with tacky glue. My plan then was to fill in the H with white scrollwork.
Naturally, I got carried away. The scrollwork looked like leaves to me, so we really needed some flowers. And then we needed some green leaves.

