Never-ending Flower Pillow Crochet Pattern
The Free Neverending Wildflower Pattern can be found at Little Monkey’s Crochet. Her instructions are very clear. In fact, she offers very detailed photos on the process for creating the actual flowers for these pillows.
I will go into detail here on the Sitcom as to how I turned them into round and square pillows.
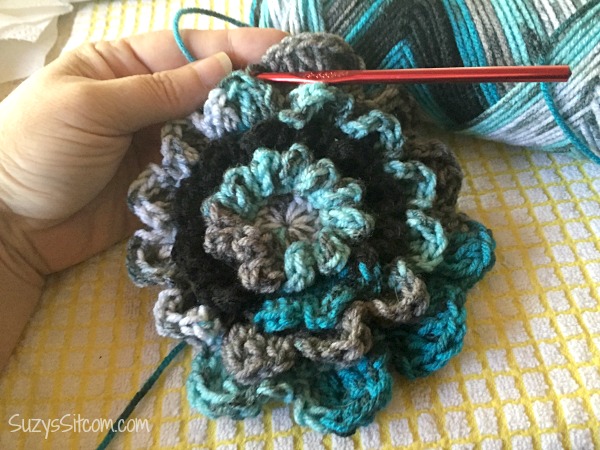
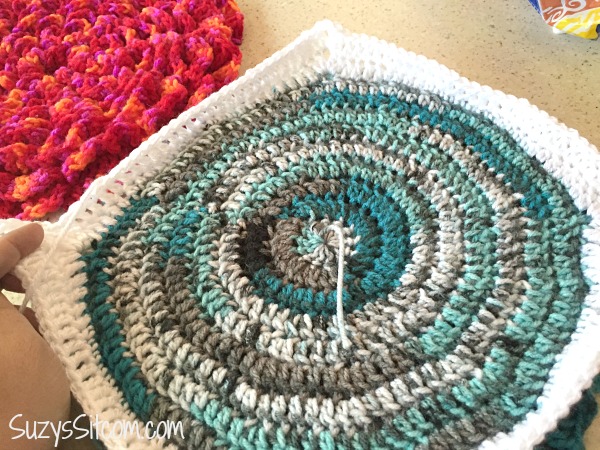
This is what the back of the flowers look like. In order to make the flowers this big, I basically used a skein of yarn on each flower. I crocheted nine rows of petals on each one.
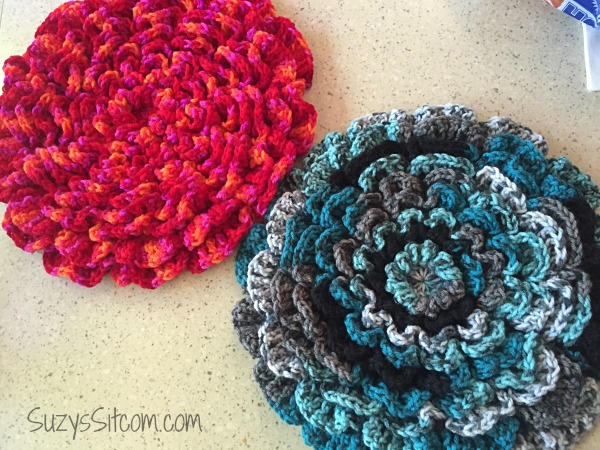
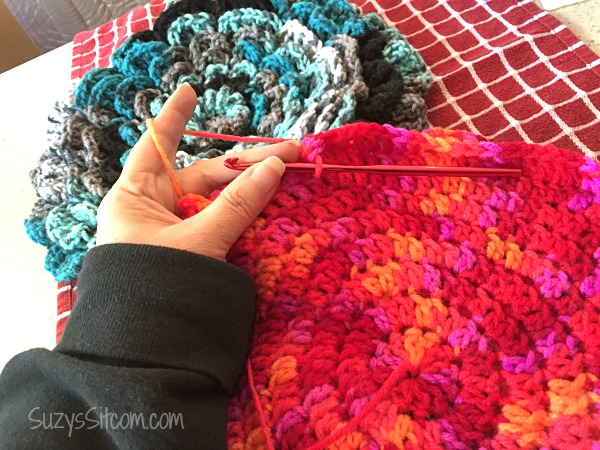
Here they are completed and ready to make into pillows. I decided to try my hand at making one into a square pillow and one into a round pillow.
Square Flower Pillow
Join white yarn.
Round 10: CH2 (does not count as a stitch, here and throughout the rest of the pattern). *In same ST, 2DC, CH2, 2DC. DC in next 4 STS. HDC in each of the next 4 STS. SC in each of the next 8 STS. HDC in each of the next 5 STS. DC in next 5 STS. (In next ST, 2DC, CH2, 2DC.) Repeat from * 3 times. Join to 1st DC of the round with a SL ST.
Round 11-16: CH2. DC around, putting (2DC, CH2, 2DC) in each corner chain space. Join to 1st DC of the round with a SL ST.
Fasten off and weave in all ends.


Crochet directions are like a foreign language to me, but it sure does produce a beautiful end product. Thanks for sharing your pillow craft on Merry Monday.
Hi Carol!
On my website, I direct you to this link for the actual flower: http://littlemonkeyscrochet.com/the-never-ending-wildflower/
My tutorial is for how to turn it into a pillow. Hope that helps.
suzy
i’m so lost.
with the square flower pillow i see rounds 10 – 16 but don’t see rounds 1 – 9. i see the same thing with the round flower pillow.
did i miss something? where would i find the first 9 rounds please, my grandmother used to have these and want to make some for my kids.
thanks!!
Hi Gail,
I followed these last two rounds until the flower was the size that I wanted it to be.
Round 5 (BLO): SL ST to 1st back loop of Round 4. CH1. 2DC in same ST, DC in each of the next 3 STS. (2DC in next ST, DC in each of the next 3 STS) around. Join with a SL ST to first DC. (60)
5th Round of Petals (FLO): CH2. DC in same ST. 2TR in each of the next 3 STS. In next ST, DC, CH2, SL ST. (SL ST to next ST, CH2, DC in same ST. 2TR in each of the next 3 STS. In next ST, DC, CH2, SL ST) around. SL ST to base of 1st CH2. (12 petals)
Fasten off and weave in ends, or keep adding increase rounds and petal rounds to make it even bigger! I used an entire skein of yarn on each one.
suzy
I don’t know how to continue after row 5… can you please tell me how.
Thanks,
Gail
Hi!
I know it has been a long time coming, but I should have the completed project out next month!
suzy
I am curious how you turned it into a square pillow.
Hi Rhonda,
I’m not sure if it would become weather proof or not. If you decide to take it outside, I would seal it in multiple coats of clear sealant just to be sure.
suzy
The faux stained glass, the sealant u use at the end does that make it weather proof so u could hang them outside
These are fantastic! What a beautiful throw pillow idea. Thanks for sharing with us at Merry Monday this week!
I’m so anxious to get started on this. Those flowers are so beautiful.