Lately, I’ve gotten into creating miniatures. Making the scenes realistic in small scale can be challenging. I have decided to take on that challenge and create a miniature store and quilt shop. My first project was the brick exterior of the tiny building and how to make realistic miniature bricks!
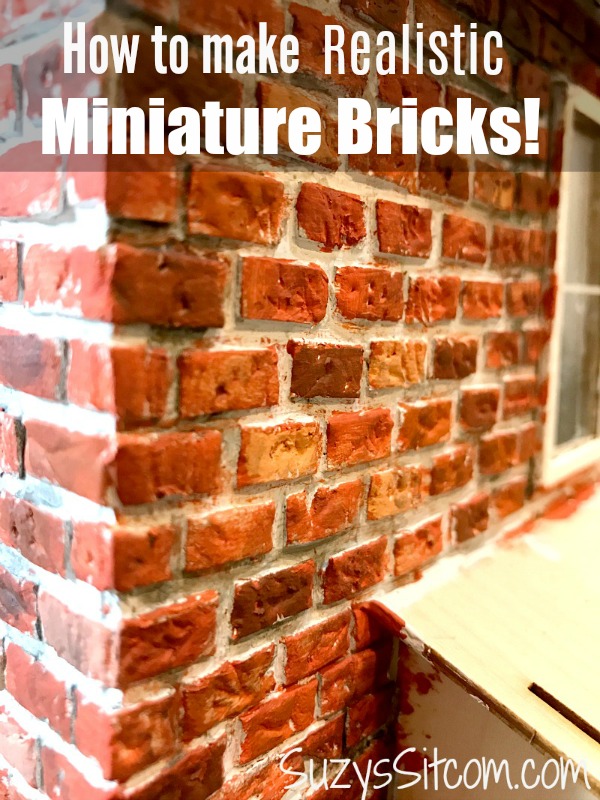
They look almost real don’t they? But, believe it or not, they are made with styrofoam plates! This simple project took a bit of time, but next to no money spent, and the end result was realistic looking miniature bricks. Want to know how?

My miniature library in half scale.
The Basics of Working in Miniatures
One of the first things to decide when working in miniatures is what scale you would like to create. Scale refers to the ratio of a dollhouse or miniature to an object in real life. Scale is often expressed by two numbers with a slash or colon between them. (For instance, 1/12 or 1:12.) The bigger the second number, the smaller the miniature is.
The most popular miniature size to work with is 1/12, where a 12″ item in real life is represented as one inch as a miniature. There is much readily available in miniature for this size.
Since I do not have the space available, and I love a challenge, I went with “Half Scale”, which is 1/24. This means that a 12″ item would be 1/2″. So when creating, I need to keep in mind and convert sizes as I go.
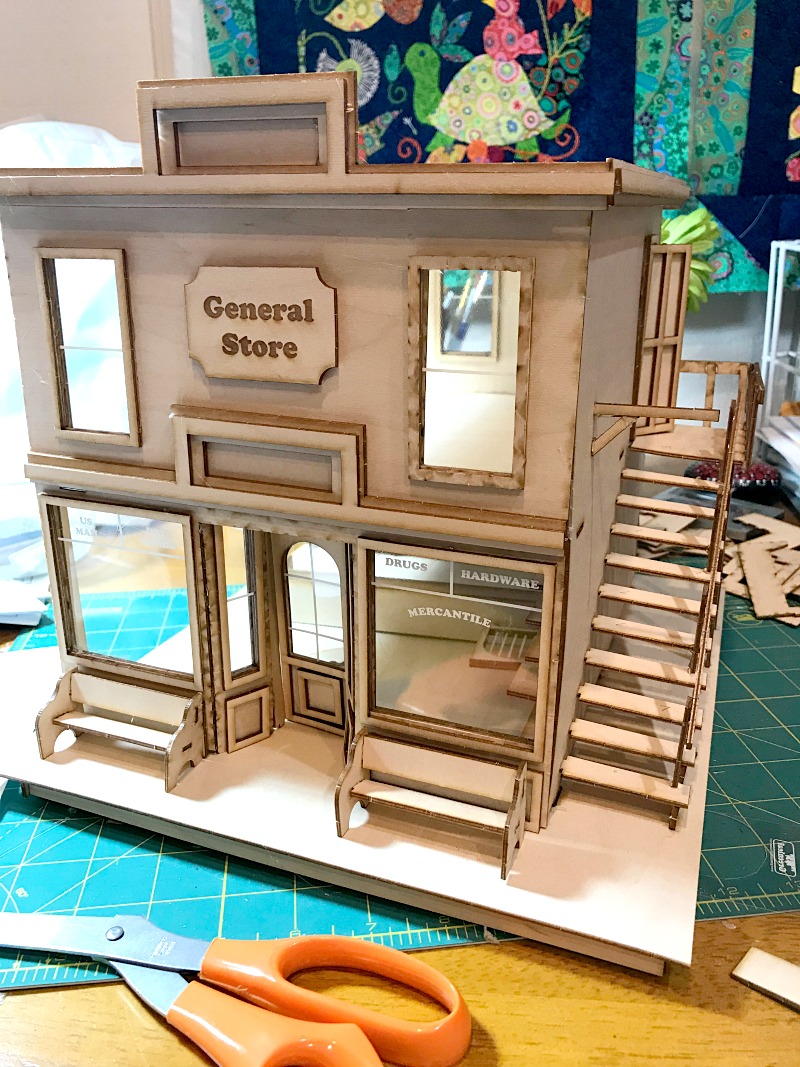
I started with a basic “puzzle” miniature that I found on line for a general store in half scale. If you are interested in trying this one, you can find it here.
What I loved about this particular one is that I can turn the upstairs into a quilt shop! Since I’ve always wanted to own a quilt shop, well there you go!
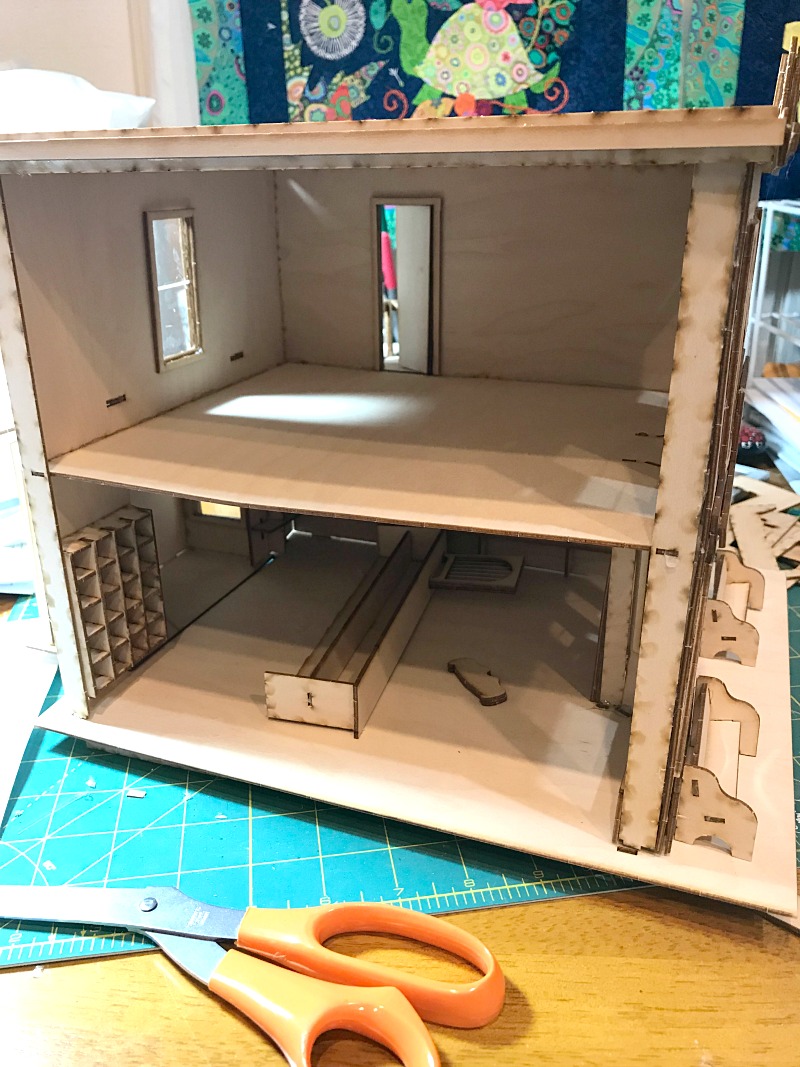
Basic assembly was simple, using hot glue and white glue. Once the basic assembly is complete, it is time to personalize and detail this General Store and Quilt Shop!
How to Make Miniature Bricks
I wanted to make my miniature as realistic as possible and that begins with the outside of the structure. I decided to create brick walls on two sides of the building.
Supplies for this Project
Styrofoam plates
Craft Knife
Ruler
White Glue
Paint Brushes
Acrylic Paints (reds, gray, terra cotta, black)
Tweezers
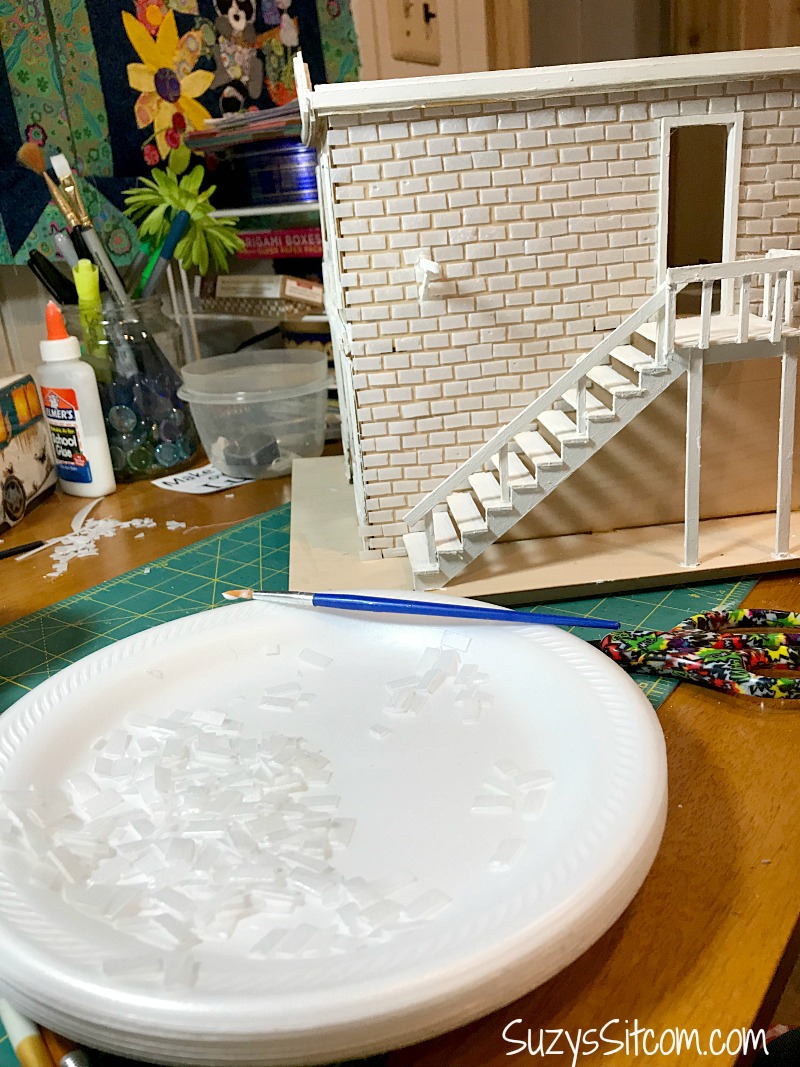
I created my bricks out of styrofoam plates. They are cheap and the styrofoam is easy to cut and manipulate. My first step was to decide the size of each brick. A standard brick is about 3″ x 7″. If I convert that to half scale, I’m looking at bricks that are about 1/8″ x 1/4″. I chose not to work quite that small and went to 1/4″ x 1/2″ when cutting them out. My thoughts are that bricks definitely vary in size and I don’t want to go crazy cutting them out.
I used a ruler and a craft blade to cut out the bricks.
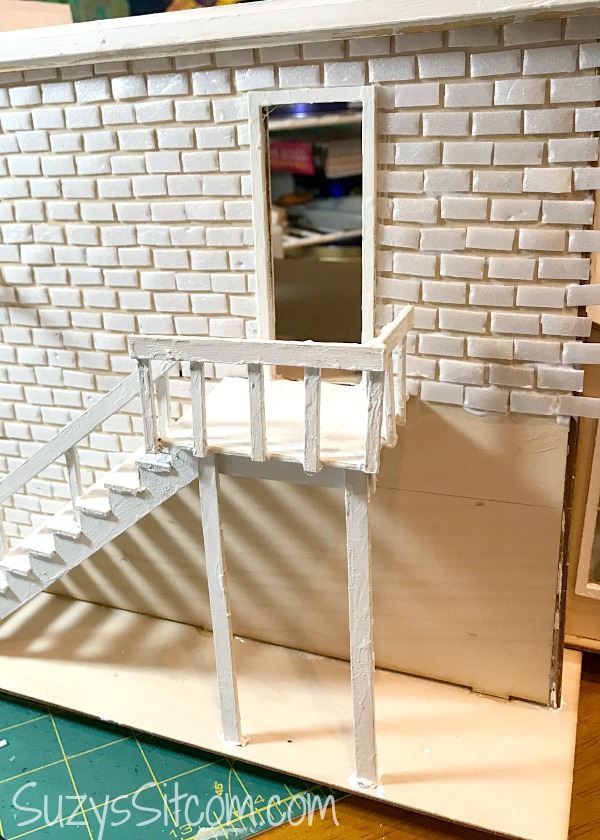
Add guide lines to the side of the building and use these to help keep the rows straight. I added a line with pencil every few inches in order to keep things in line.
Paint a small section at a time with white glue and begin placing the bricks. On the edges where the bricks overlap, allow the glue to dry and then simply cut off the overlapping brick with a craft knife.
The styrofoam bricks will easily cut to fit in small areas. When going aroud the corner, be sure that the rows meet.
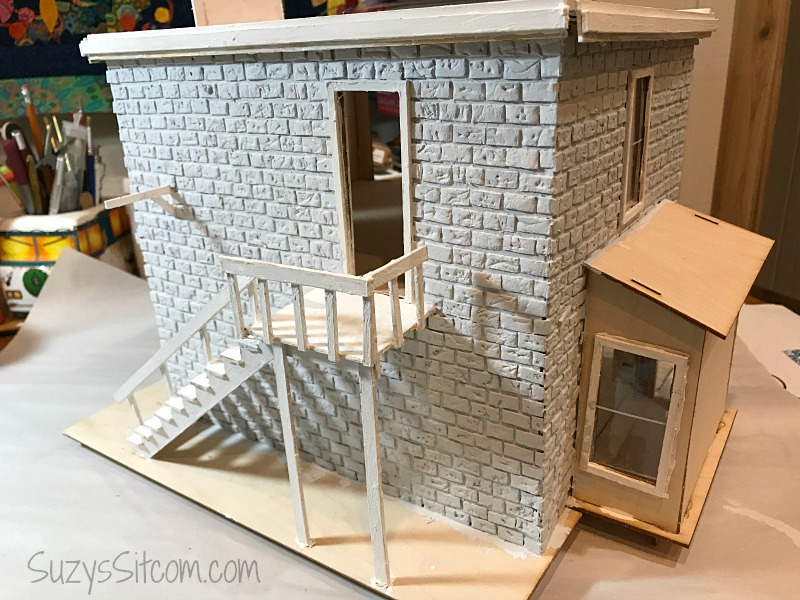
Once the glue has dried, it is time to add texture to the bricks. I used tweezers, a craft knife, and paintbrush handles to beat up the bricks and add texture to them.
Add Acrylic Paint
Once the bricks were the texture that I liked, I then painted the entire bricked area with a gray acrylic paint, being sure to get into all the crevices. The gray will serve as grout.
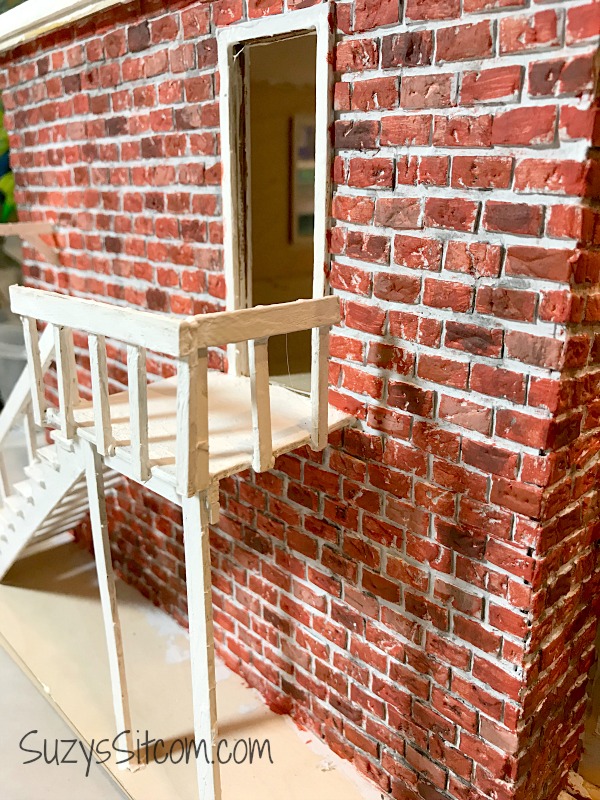
To add the brick colors, select a few reds and terra cotta colors in acrylic paint. Use a paper towel to dab off extra paint from the brush and lightly add a base color (I chose a brick red) to the bricks. The object is to not get color on the grout lines and allow some of the gray to show in the brick crevices.
Once the base color is dry, lightly add various reds to the different bricks creating a variety of shades of red and red/orange.
Weathering the Bricks
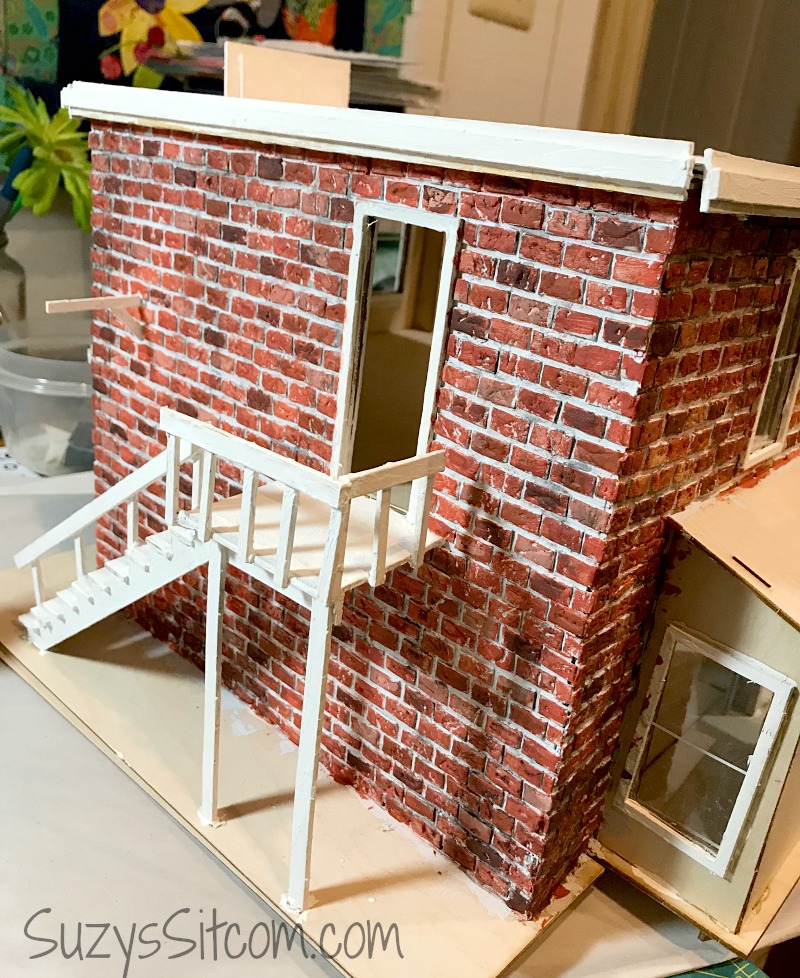
Once the red paints are dry, go through and touch up any areas of grout that might have gotten red on them with the gray paint.
Create a wash with 80% water and 20% black paint and then use a wide brush to add age to the bricks. Add extra wash around the base of the foundation and near the roof top giving the bricks the illusion of water stains from years of weather.
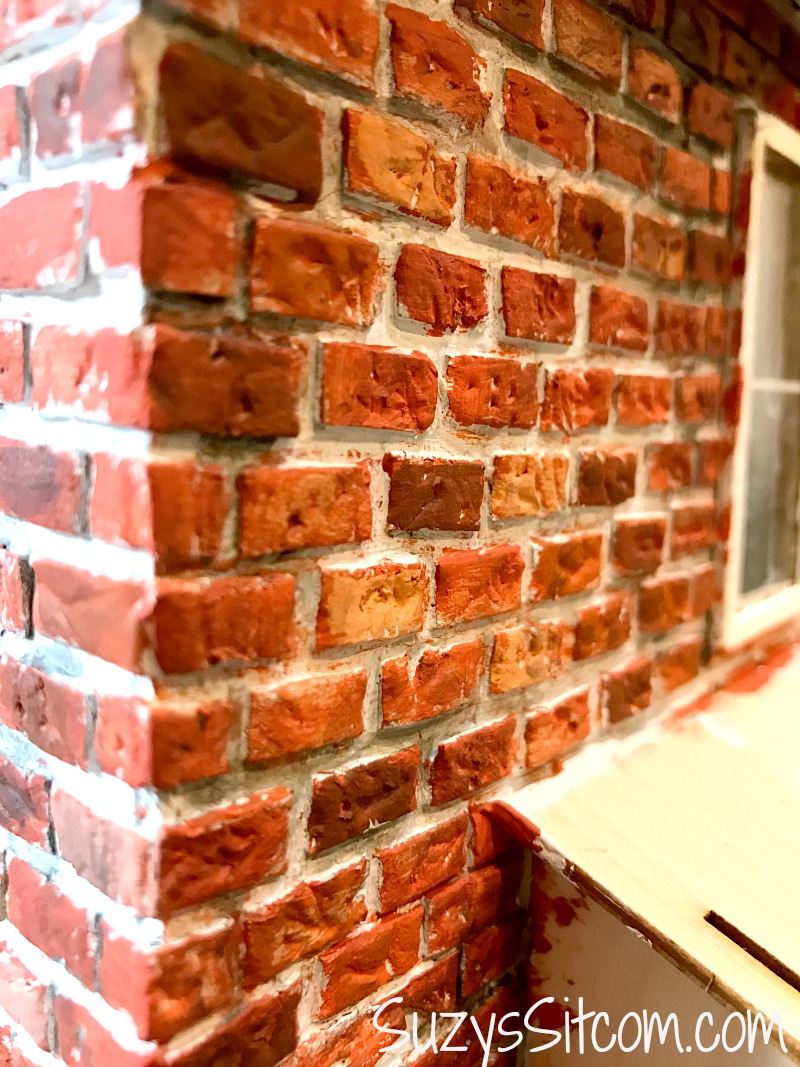
My bricks are not perfect, but I love the final effect. This is just the beginning of this fun miniature model.
Stay tuned for much more as I gradually make this little store my own.
For over 200 crafty tutorials for all ages, visit my Tutorial Page!