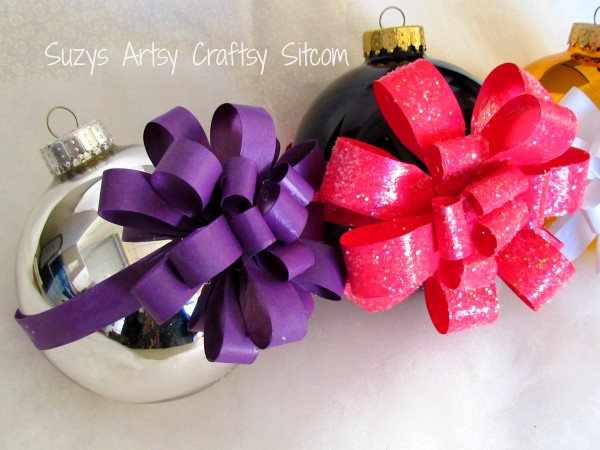
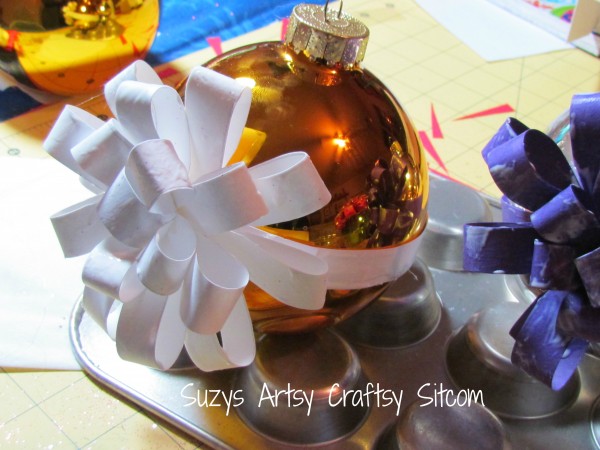
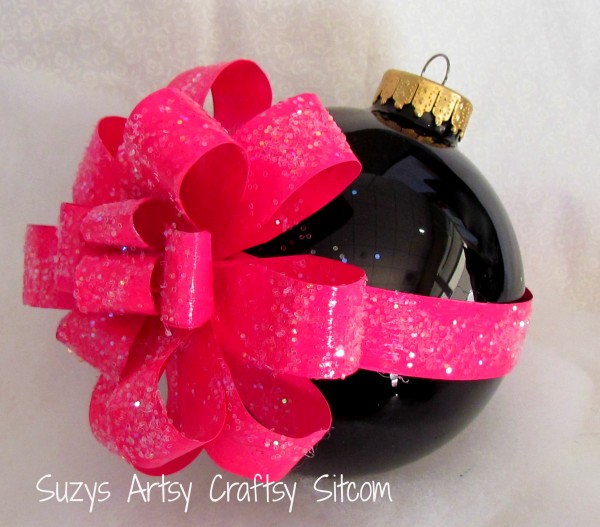
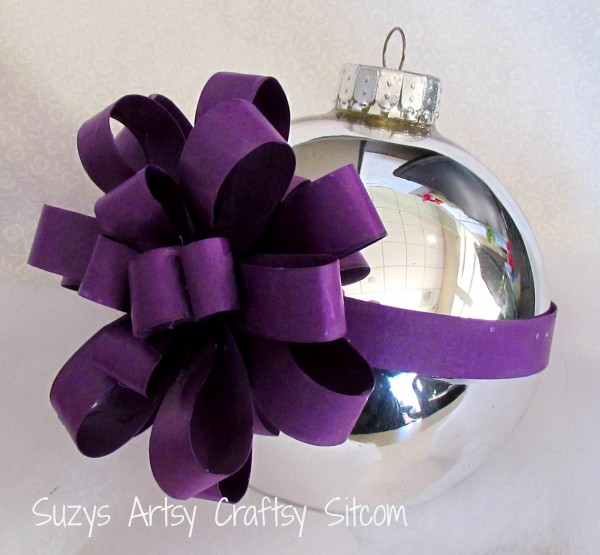
How about a sweet little wrapped ornament for your tree? Those ribbons you see are actually paper. And such an easy project too!
Each ornament took about 20 minutes to create and they make an unusual addition to your Christmas tree. Want to know how they are made?
For this project I used:
A 4″ glass ornament
1 sheet of colored cardstock
Hot Glue
Mod Podge (Matte finish for the purple, Gloss finish for the pink)
Clear glitter
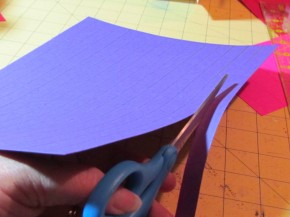
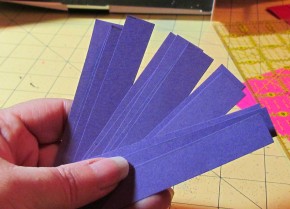
Cut your sheet of colored cardstock in strips. For the purple smaller bow, the strips are 1/2″ wide. The wider pink bow was cut at 3/4″ wide. Set aside one long strip. Then cut your other strips into 4″ long pieces (for small bow), or 5″ long pieces (for large bow).
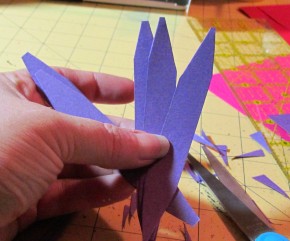
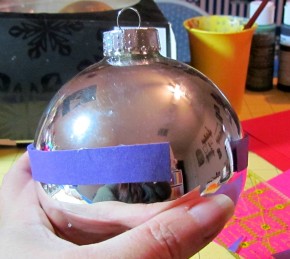
Cut your short strips into a long “V” on each end. Take your long strip and hot glue it around the center of your ornament. My ornaments were too big for my strip of paper, so I added a small strip overlapping the two ends shown here. My bow will be going over top of this, so it will not be seen.
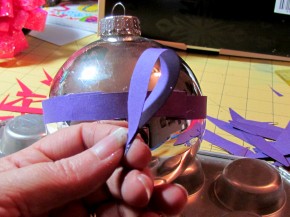
Add a dot of hot glue to the end of your short strips and touch the other end to it, creating a petal-like shape. Do this to all of your short strips.
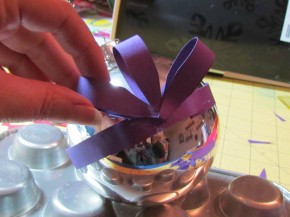
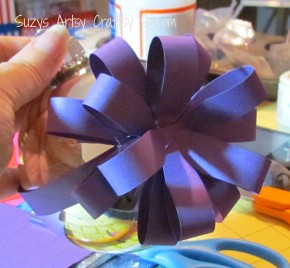
Take your curls of paper, dab a dot of hot glue on the tip, and start gluing them at a centralized point on the ribbon. Do a bottom row, and then layer them for a second row. The final step is to cut a few shorter strips (about 2″ long) and create smaller curls for the center of the bow.
Add a good coat of Mod Podge to your paper bows to protect them. I used Matte Mod Podge on the Purple and White bows, and then experimented with the Gloss Mod Podge for the pink, sprinkling on clear glitter before it dried.
And there you have it, pretty wrapped ornaments for the tree!
Want some more great holiday crafty ideas? I’ve linked this project up with a great winter idea blog hop hosted by Jen at 100 Directions.

Be sure to check out some of the great holiday ideas below, and link up some of your own!

