Canning made Easy- Homemade Blackberry Jam
How do you make homemade blackberry jam? It is surprisingly simple! Enjoy this easy canning method and recipe brought to you by my sister!

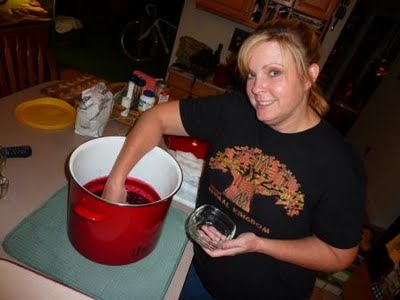
Well, my sister has been at it again. This time she made homemade Blackberry Jam! She is totally making me look bad. My husband looked up from his cellophane wrapped to-go box and said, “Why don’t you like to cook like your sister?” Hey, I’ve been telling him to fire me for a long time and he keeps me on anyway. Ha!
It’s an attention span thing. And besides that, it gives me an excuse to visit my sister and come home with all kinds of home-cooked goodness! This recipe looks easy enough for even me to be able to do it. Imagine that! So, here is another episode of “Lynda’s Kitchen” for those of you that enjoy that cooking thing…
For this recipe, Lynda used:
5 cups crushed blackberries
7 cups sugar
1 package regular powdered fruit pectin
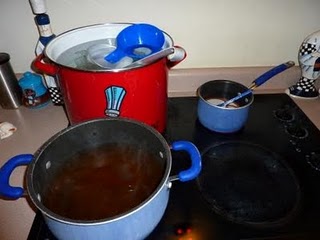
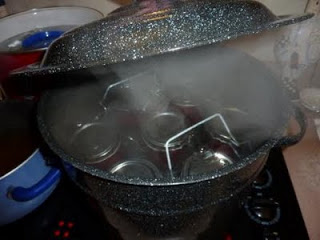
Prepare your canner, jars, bands and lids. Make sure you boil your jars and bands for 10 minutes and then turn down to simmer to keep them warm. Do not boil the lids, only simmer. Tip: Hot food into hot jars and cold food into cold jars.
Prepare the berries by washing gently and removing any stems or dirt and any moldy or dried up berries. Pretty, aren’t they!

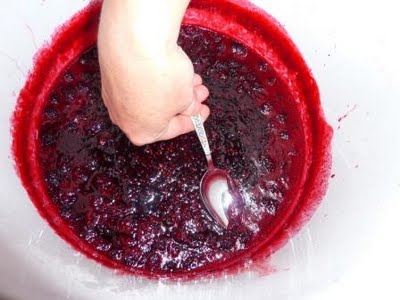
Crush with a potato masher but don’t crush them to oblivion, this is a jam you want to have some intact pieces so it’s yummy. Crush berries until you have five cups crushed.
Place the berries into a deep stainless steel saucepan and whisk the powdered pectin into the crushed fruit until it is dissolved. Bring to a boil stirring frequently. This step is essential to dissolve the pectin. Add the sugar and return the mixture to a full rolling boil that won’t stir down.
Boil for one minute and then remove from the heat and skim off the foam. I use a large tablespoon to do this and if you just barely skim the top of the foam with the back of the spoon the foam will stick to the spoon.
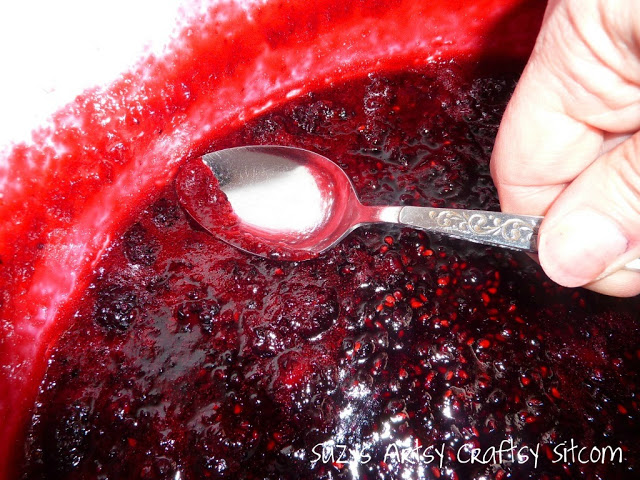
Don’t skip this step because you really don’t want foam on your jelly.

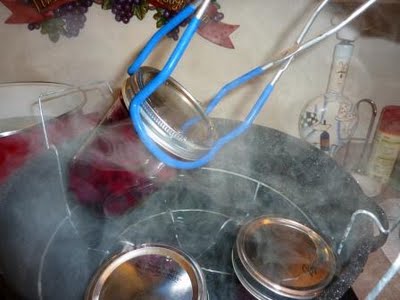
Ladle hot jam into hot jars and leave 1/4″ head space. Wipe the rim and place a lid and band on the jar tightening only until resistance is met and then increase until fingertip tight. Place the jars in the canner with about 2″ of water covering the jars. Bring to a boil and process for 10 minutes.
Remove jars and let them sit undisturbed for 24 hours. This recipe makes about 7 half pint jars.
You will hear the beautiful sound of “ping” when the jars have sealed. I love to hear this sound and frequently make a spectacle of myself when I hear it. My family just rolls theirs eyes now when I get all excited about the jars sealing.
Lynda, thanks so much for showing us how it is done. And if you have any leftover berries, remember that Blackberry Cobbler is always a hit.

Want some more goodness from Lynda’s Kitchen? Check out her previous tutorials:
Monkey Bread– for those of us that can’t get enough of that sugary goodness
Canned Pickled Beets– a great Pennsylvania Dutch recipe!
Are you new to the Sitcom? Be sure to check out my Frequently Asked Questions Page!
For over 100 tutorials including crafts, diy and cooking, be sure to visit my tutorial page!

Now that I am growing my own fruits and vegetables, I’m definitely learning how to can this year. I have all the mason jars, but no idea how to use them the right way.
thanks for sharing your post at Inspire Me Monday!
Pinned to my canning page & shared on twitter. Come visit & link up sometime at my weekly party! Theresa
In doing the crushing so you just crush and take of the top stem. I know this sounds like a silly question but I was wondering about the other part that the berry center.
Thanks for linking up with me at Eat, Grow, Sew I featured you today on my site, come check it out and grab a button 😉
Great feature. Thanks for sharing at Bacon Time. MMMM… Jam
I LOVE blackberries! This sounds so yummy! And lots to save and use in the winter months! Thanks for sharing on Fancy This Fridays!!!
That looks delicious!
Blackberries are my FAVE for summer! I just bought some jam from the store, but this looks so much better!
This really gets my canning juices going, i've got to get on it! Thanks for linking up Suzy at Eat, Grow, Sew!
oh
my
lands
does this look
absolutely scrumptious
who cares if you can't make it
as long as you can eat it up?
thanks for sharing on fridays unfolded!
alison
I am drooling for that yummy looking jam. Great photos.
BEAUTIFUL! You did a really good job on the jam and the cobbler looks so good I swear I can smell it. We use to pick wild blackberries along the country roads when I was a child growing up in Arkansas. You just brought back those wonderful memories of smelling the berries cooking during the canning process. And the not so wonderful memories of getting covered in ticks and chiggers in the process of picking the berries…LOL.
Yum, yum! My favorite jam.
Yum. Stumbled and pinned. 🙂
Oh yum! I love blackberries. My mom used to make blackberry jam all the time. I can taste it just looking at these pictures. Thanks for linking up to Finished for Friday! Have a great weekend.
Thanks for posting my blackberry jam tutorial Suzy. I plan on making that homemade bread tomorrow so hopefully it comes out good and you can do that tutorial next Friday. I'll be sure to take lots of pictures of the process!