Make Beautiful Memories with Plaster Casting!
My granddaughter was born in April and we were able to spend two full months with my daughter and her family. Living in our RV makes things like that a bit easier! The hard part is leaving. This week, I put together a beautiful LOVE sign with plaster casts that I had made from molds of my granddaughter’s feet.

Plaster Casting is easier than it looks and I would love to show you how to create your own beautiful memories with this simple project!

These are the little feet that I started this project with. Made with a plaster casting kit, they show every little fold and wrinkle in her tiny little feet. She will never be that tiny again. What a wonderful way to keep a bit of the memory!

And here is the rest of her. She is now about a thousand miles away as we had to go onto our next job in Cape Cod.
We will be back in October. But in the meantime, I put together this pretty LOVE Sign for her bedroom.
Want to know how to make it?
Affiliate links to Amazon below:
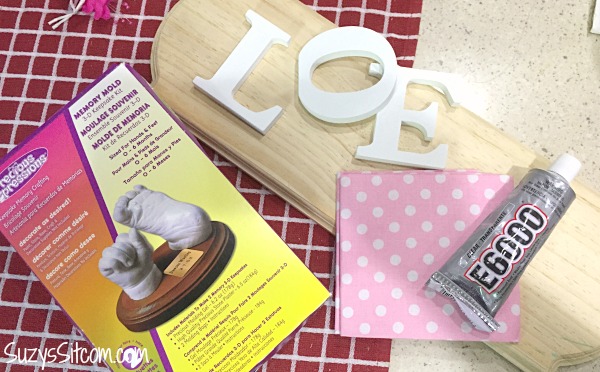
For this project you will need:
Precious Impressions Memory Mold Infant Kit
3″ Wooden Letters- L, O, E
6″ x 18″ Wooden Plaque
E6000 Glue
Fabric
Mod Podge
Polymer Sculpey Glaze
Sandpaper
Craft Knife
Silk Daisy
White Acrylic Paint
Step 1- Plaster Casting

I purchased the Precious Impressions Memory Mold Infant Kit which makes two different molds. One kit would make both feet. Since I wanted to practice a bit beforehand, I went ahead and purchased a second kit to make a practice hand.
The kit contains two bags of molding powder, one large bag of plaster mix, and several plastic bags.
You have to work quickly with this part of the project. Wet baby’s hand or foot with cold water.
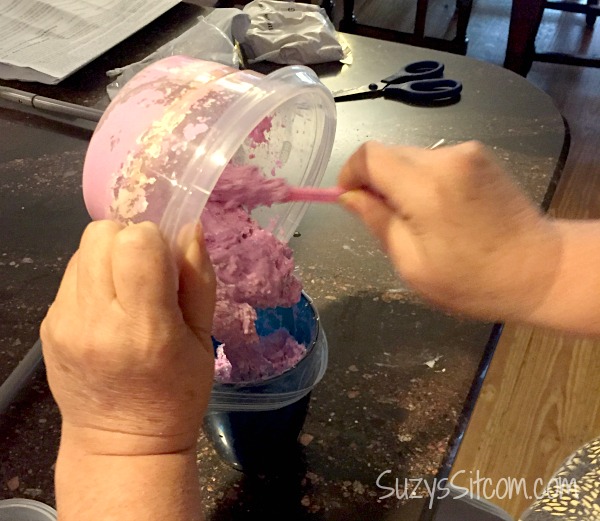
Place one of the plastic bags into a tall cup and anchor with a rubber band. Following instructions on the package, add water to one bag of the molding powder. (Use a disposable dish to mix it in). Mix quickly and the mixture will turn a dark pink. Pour it into the bag and then immediately get to the baby with it. (You have about 3 minutes before the mixture hardens).
Believe, me. Practice makes perfect!
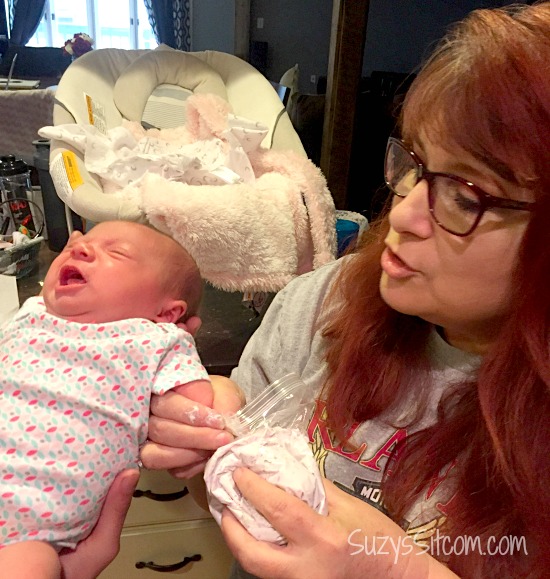
Be sure to have a little help with this step. My son in law is holding the baby and the hubby is taking the photos. Teamwork at its best!
Push the baby’s hand or foot deep into the mixture in the plastic bag, working the mixture around it. Then hold in place until the mixture turns white.
Baby Esme was not sure that she liked this process. It was cold!
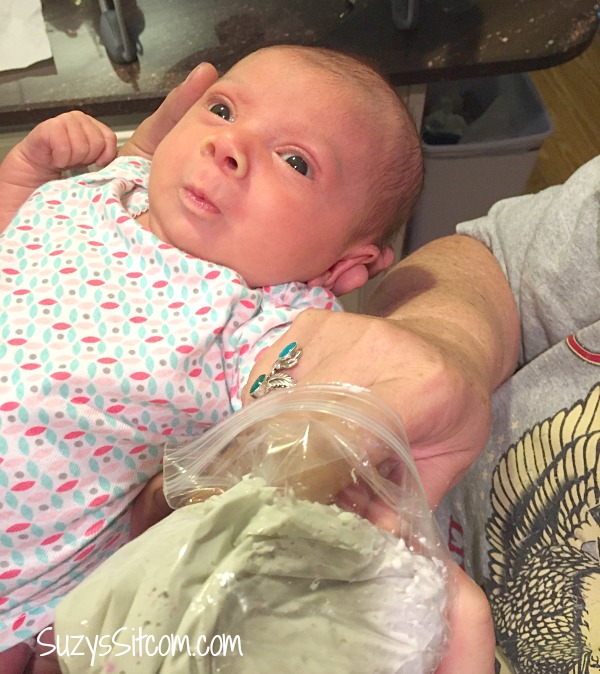
The mixture will turn white quickly and whatever position her little hand was in when it hardened is what you will get! After the mold hardens, slip the hand out of it.

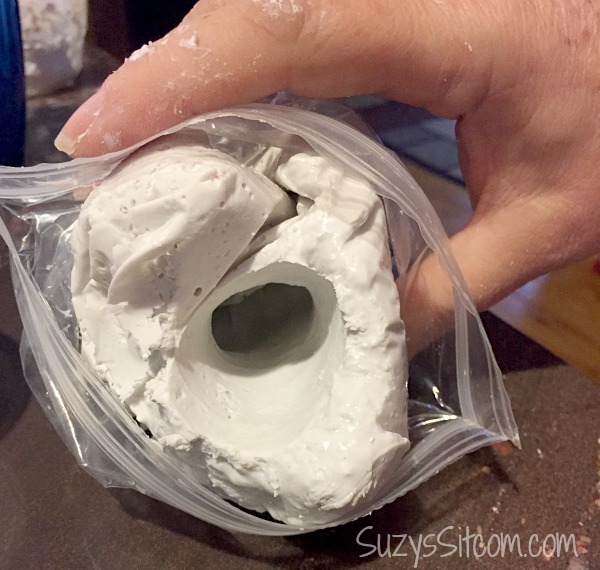
Here is the completed mold. The mold itself is a bit flexible- like rubber. You can pull it out of the plastic bag at this point.

Mix up the plaster according to directions on the package. It will be a thinner consistency- like thin yogurt. Pour a little in the mold and tap the mold to get any air bubbles out. Then add more plaster and repeat the process until the mold is full.
Now for the hard part. You have to wait at least 12 hours before you unmold it!
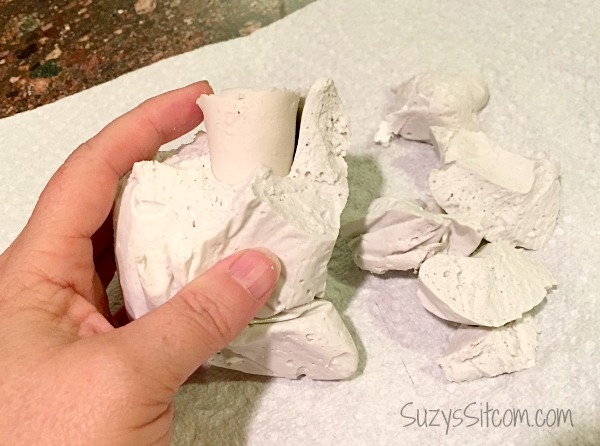
Once the 12 hours is up, you can start to pull apart the mold to get to the sculpture inside.
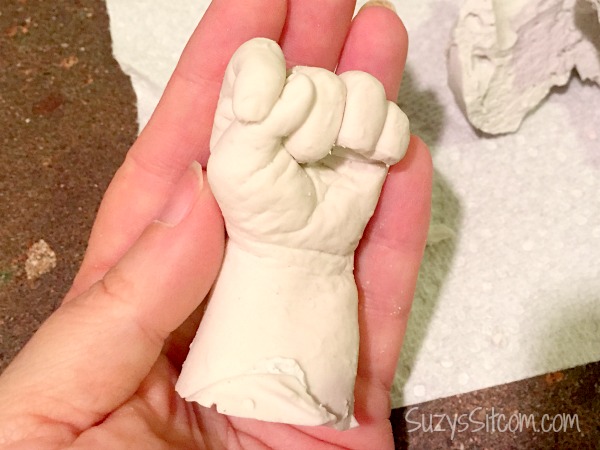
And there it is! The cutest tiny little hand you ever saw!
Since I had some practice now, I pulled out the second kit and did some casts of her feet.
And this is the cute result! Tiny little curled toes. Craziness.
For a more detailed tutorial on the full process of how to do plaster casting, check out the video below!

Now let’s do something with our sculptures!
Click here for the LOVE Sign Instructions!

ADORABLE!!! Thinking of my two-year old niece and realizing her wrinkly little feet aren’t as wrinkly now with a full year of walking on them. But still–she will never be THIS little again!
Thanks for showing us all how to do it. EYE-OPENING!
That is so cute!! I’ll have to remember this when Katie is born.
Hi Barbara!
Be sure to add water to baby’s hand or foot beforehand. For me, the hand was more difficult to get out than the feet. In either case, the mold itself hardens to a rubbery consistency and it is relatively easy to remove. Would love to see what you come up with!
suzy
¡De nada!
Thank you so much! This project was near and dear to my heart.
suzy
This is adorable!! My only wish is that I had thought of this some 17 years ago when my granddaughter was born. However, I did make several castings of her hands, feet, and holding daddy’s hand over the next 3 or 4 years and put them on a plaque. Precious memories for sure. For those worried about the molding product being harmful, it is the same or similar to what the dentist uses to make castings of your teeth so will not harm the precious one in any way. Love that molding kit and you can do so much with it! Love this one you made, Suzy.
Hermoso trabajo!!! Me encantó!!! Lo voy a tener en cuenta para decorar un primer año o un Bautismo! Gracias!!
Great job. Very cute. Was it difficult to remove the baby from the mold? I’m anxious to try this with my 2 year old niece. Even better than the plaster hand prints we made in disposable pie plates and painted (probably lead based paint) silver when I was a kid.