
DIY Halloween Tic Tac Toe Game!
One of my absolute favorite places to shop is Dollar Tree. There are so many great ideas there and I love the fact that everything is just a dollar! It totally makes my day. There is craft potential everywhere. I found some fun ice trays that I used to create this cute Halloween Tic Tac Toe Game!

Those little playing pieces are actually plaster casted from Halloween ice trays. I used the skulls and pumpkins for this project, but they also have spiders and scary fingers. Since I don’t do scary, I kept away from the spiders. So…want to know how I made it?

So ready to make something fun? For this project I used:
Skull and Pumpkin ice trays from Dollar Tree
Plaster
5″ x 6″ wooden plaque
Acrylic Paint
Halloween ribbon
Mod Podge or sealant

I found these cute trays in the Halloween supply section at Dollar Tree. Of course, I think craft project, but you could also use them for ice, melting chocolate, or even soap! Lots of great uses for these cute trays.

Add several scoops of plaster to a disposable bowl.
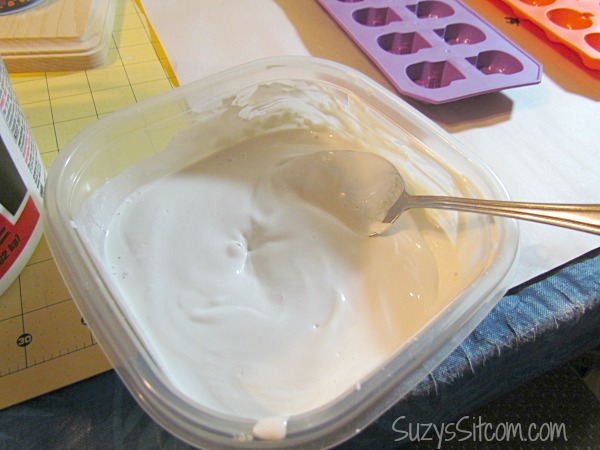
Add enough water to mix it to a yogurt-like consistency.


Add the plaster to the molds. For this project you would need five skulls and five pumpkins. (Try to make a few extra just in case you have air bubbles or accidentally break one). Allow them to dry overnight. Yep, I know. Sometimes it is difficult to wait, but if you try to pop them out too early, you will have massive breakage. Ask me how I know.
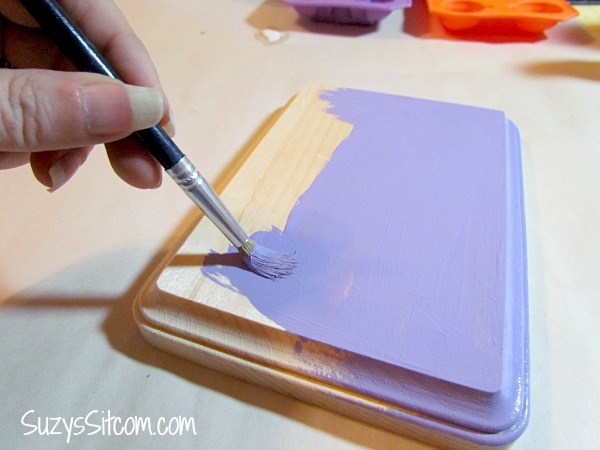
Use acrylic paint to paint the wooden plaque. You may need to do two coats of paint.

Once the plaster is fully dried, pop the playing pieces out of the trays. You can then rinse out the trays and use them again for another project!

Use acrylic paint to paint the pieces any way you would like. Since I do not do scary, I made the skulls as humorous looking as I could.

….and of course all my pumpkins are happy pumpkins! Once all the paint is dry, coat each piece with Mod Podge to seal them.

Paint the lines on the plaque using black acrylic paint. I used a ruler to mark them out with a pencil first and then painted the lines in.

Coat the entire board with a nice coating of Mod Podge to seal the paint. Use some pretty halloween ribbon to add a trim around the edges, attaching it with dots of hot glue.
And there you have it! This cute game is a fun decoration for the holiday. Mine is sitting on my coffee table, and I’ve caught the hubby and my father-in-law playing with it several times already!
Want more Halloween crafting ideas?

Need some more Halloween crafting ideas? Visit my Top 10 Halloween Craft Ideas page!
Are you new to the Sitcom? Be sure to check out my Frequently Asked Questions Page!
For over 200 crafty tutorials for all ages, visit my Tutorial Page!

What a great idea!
suzy
Thank you, Julia! And that is a great idea about a travel edition!
suzy
What a spooktackular good time! That is awesome! I love your ideas!
Love the jewelled pumpkin. I might try this with solar Christmas bud lights inserted from inside. Then hang it out the front of the house for halloween.
I love this idea. You could even make the board out of a metal tray/cookie sheet and add magnetic tape to the backs of the playing pieces for a “travel edition” of the game. I enjoy your site soooo much! Thanks for all your creative ideas!
I love it. I’ve always looked at those ice cube trays and wondered what I could do with them. You have given me some great ideas. Your pumpkins and skulls look so cute!