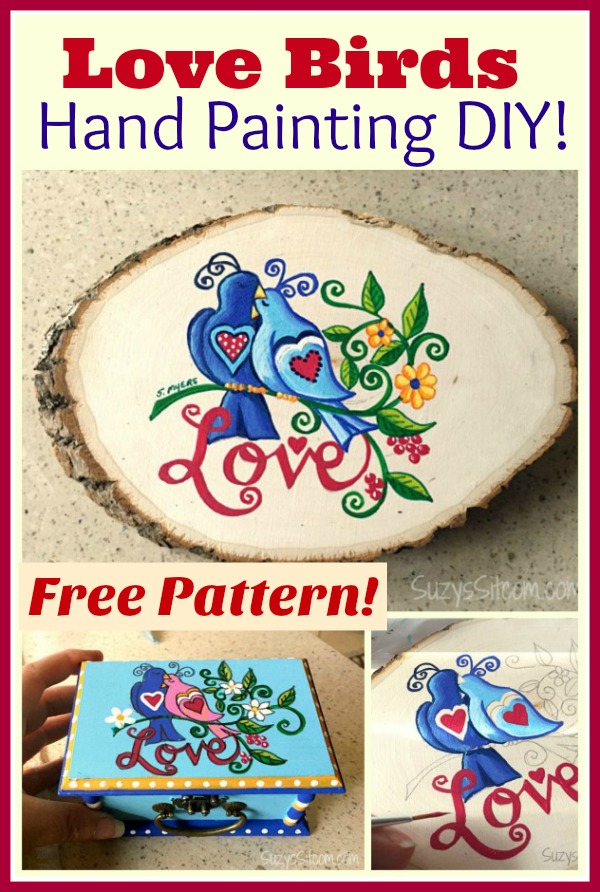
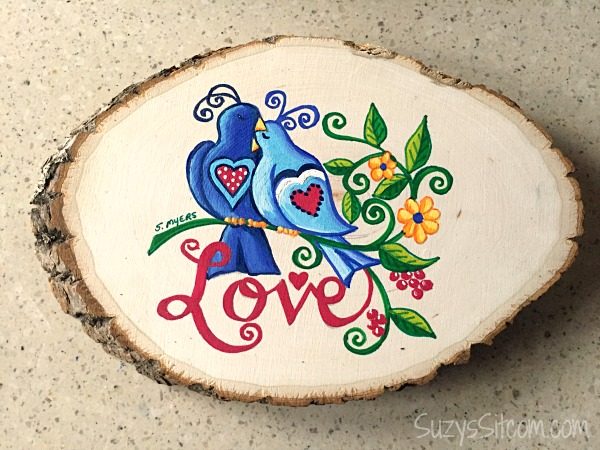
Last week, I introduced my new series called “Words to Live By”. It is a monthly series with a new free pattern each month featuring my little birds along with a meaningful word. This month, the word is LOVE, and I wanted to show you how to create your own beautiful love bird decorative painting. This is one of the many ways that you can use this free pattern!
Decorative painting is a simple process, made simpler with an easy pattern to go by. That is why I chose my Love Birds pattern to show you!
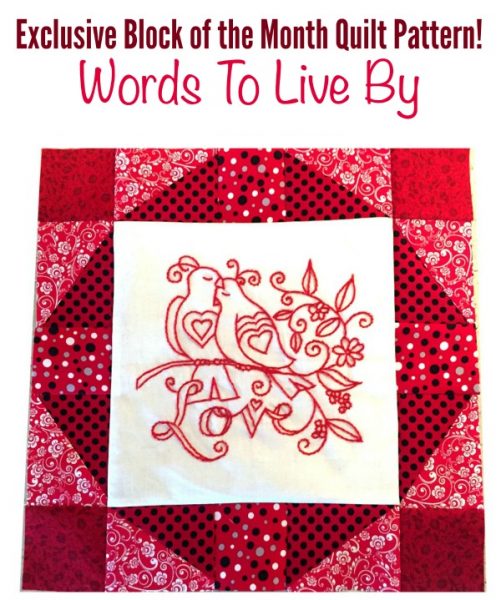
When I introduced the pattern series as a quilt pattern, many of my readers responded with, “I don’t quilt”. For those of you that do, a new pattern for this series will be available every single month this year. In fact, I’m just about finished with next month’s pattern. It is called “Family”. Stay tuned for that coming soon!
For those of you that do not quilt or are just looking for another way to use this series of patterns, I will be featuring new ideas for you each month.
Affiliate Links to Amazon below:
For this project I used:
One 6″ x 8″ Wood Slice
Acrylic Paints
Fine point Permanent Markers
Unfinished wood box
Mod Podge
All subscribers will receive the new pattern each month in your email!
Already a Subscriber?
Go to the MEMBERS ONLY Page for full access to this pattern and many more!
Not a member yet?
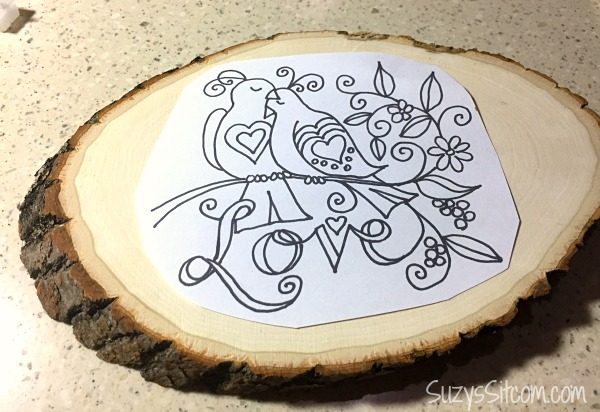
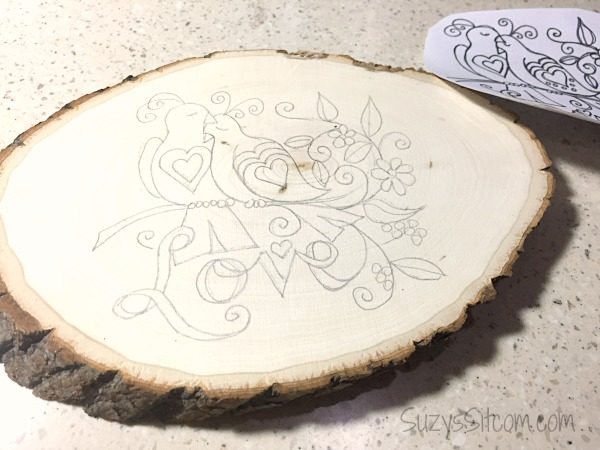
Use a printer to decrease the size of the original pattern in order to fit your wood slice. For my project, I made the image 75% its original size. Color the back of the pattern with a charcoal pencil. (Another option would be to use carbon paper). Trace the pattern onto the wood.
Here the pattern has been traced onto the wood. For further clarity, I went over it in pencil.
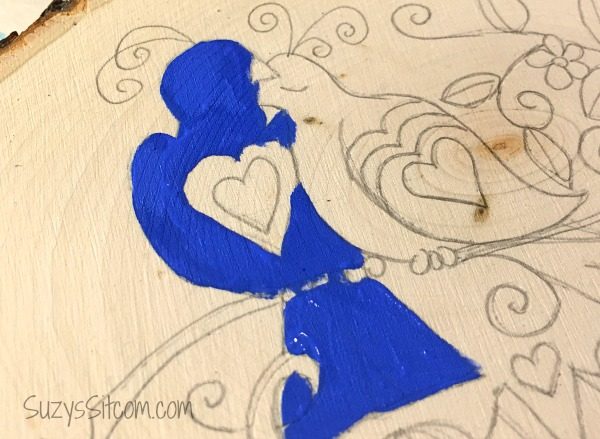
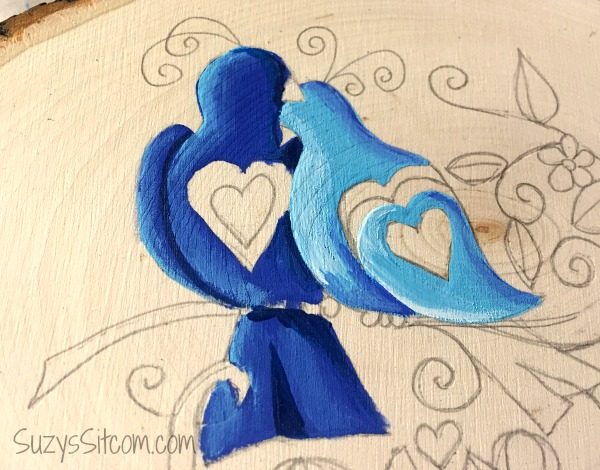
The basics for shadow and highlights are simple. First paint in your base color.
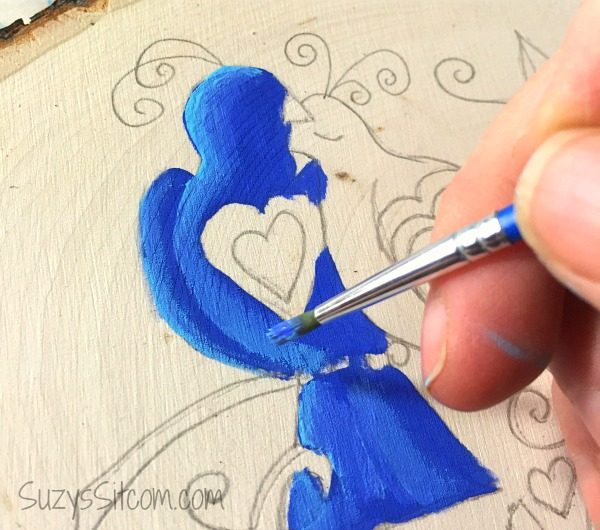
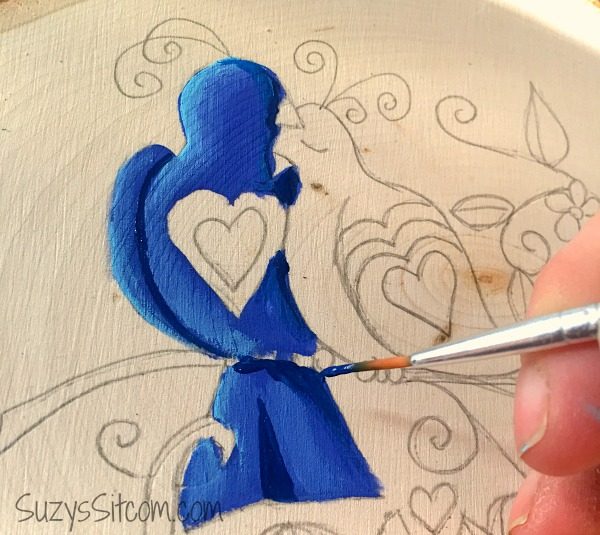
Choose the side that light will be hitting. In this case, I chose the left hand side. Imagine that the sun is on that side. Everything on that side will be lighter. Add a touch of white paint to your base color and add in lighter highlights on the left side as shown above. (With acrylic paints, you may need to add in a bit of the base color along the edges and blend, as acrylics do dry quickly).
The right hand side would be in the shadows. Use the same technique above to add shadow to the right side, darker blue paint to your base color.
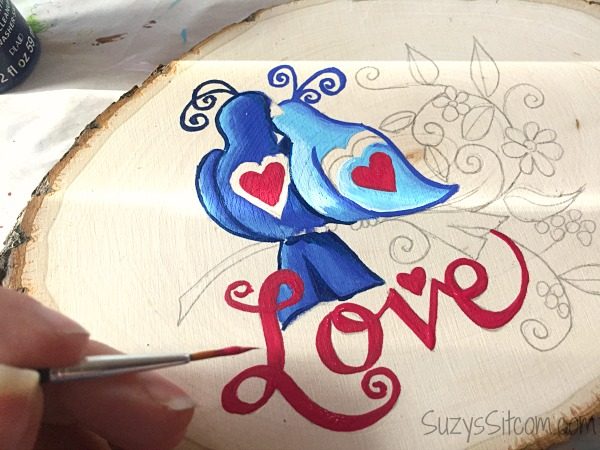
Here, I used the same technique and lighter colors to paint in the female bird.
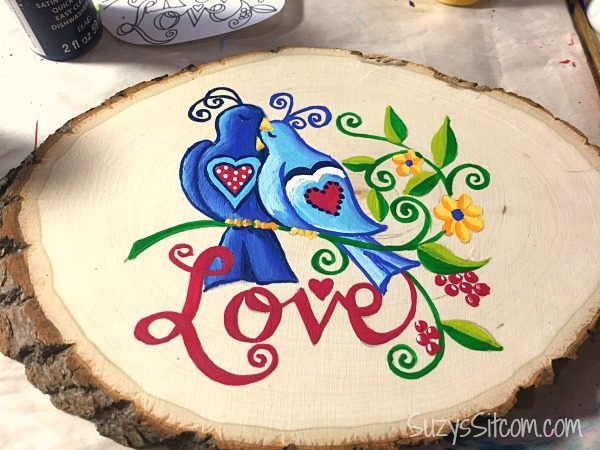
Use a cranberry red to paint in the word LOVE, and add touches of color to the birds.
When doing a decorative painting, I try to incorporate a few colors throughout the entire work. In this case I used blue, light blue, cranberry red, green, light green, yellow and gold.
The final touch is to add more outlines, leaf veins and any other tiny additions with fine point permanent markers.
Once the project is entirely dry, add a coat of Matte Mod Podge to seal and protect your work.
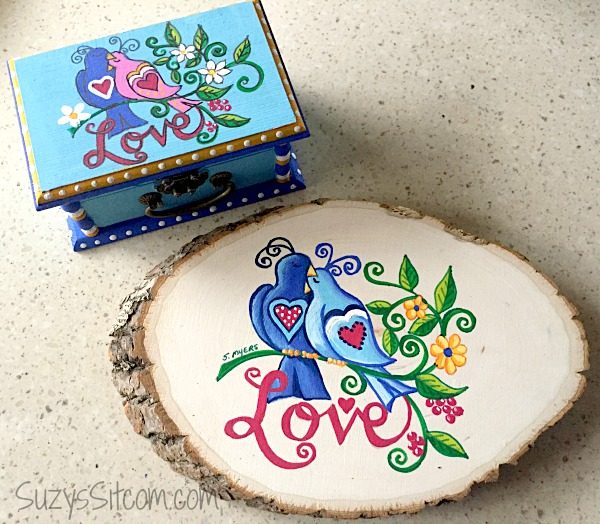
I plan on creating a wood slice for each of my 12 Words to Live By as a fun bit of wall art. Or, you can use this pattern for other things…
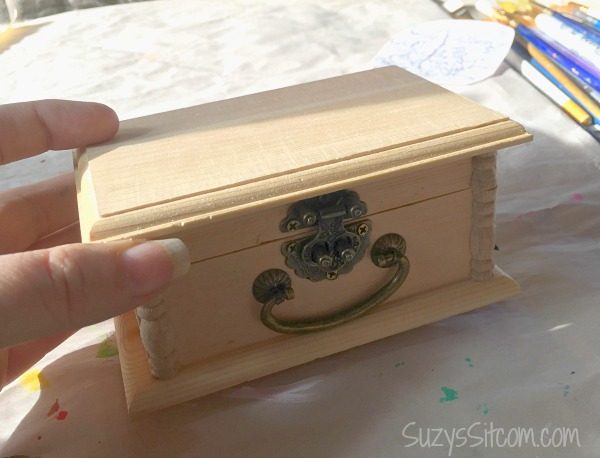
I found this cute little wooden box at my local craft store for a dollar.
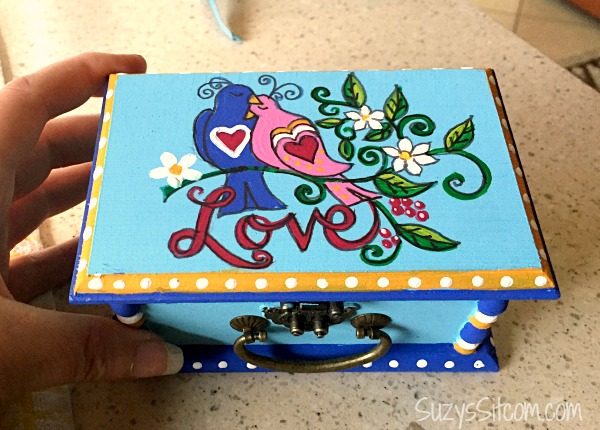
Using the techniques illustrated above, I resized the pattern to fit my box and painted another set of love birds.
Stay tuned for more free patterns and more project ideas!
Create something amazing and be sure to share it with us! I’d love to see what you come up with!
For over 200 crafty tutorials for all ages, visit my Tutorial Page!


