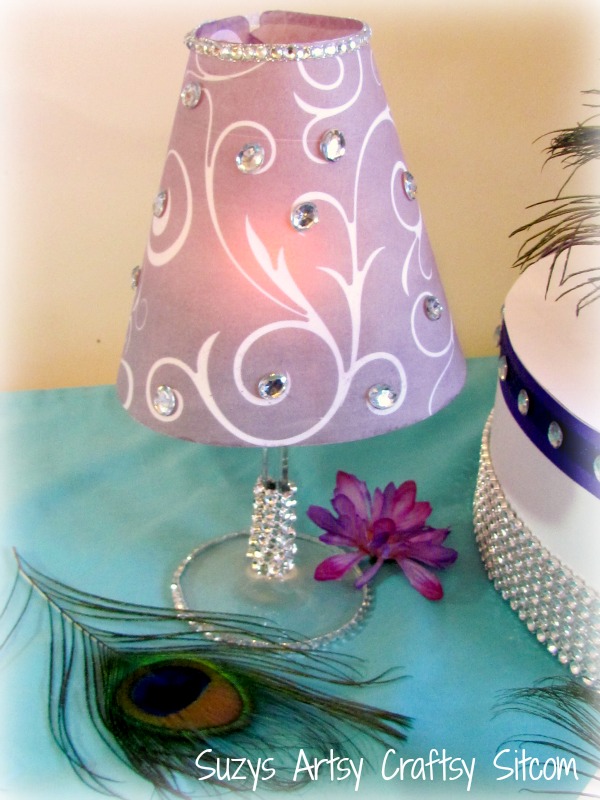
DIY Wedding – Tea Light Table Lamp with Bling
This is DIY Wedding week at the Sitcom, and our theme is peacocks! Today, we are creating a table lamp using a tea light, a wine glass, and a few items from the Bridal Collection by David Tutera!
I will be posting a new tutorial each day this week, leading up to the big reveal on Friday. So please stay tuned to see this peacock themed wedding come to life! Yesterday, I showed you how to make beautiful peacock themed soap gift boxes. Today, we are looking at the reception table and creating tea lights for the center of the table.
For this project I used:
Wine Glass
David Tutera Vellum Lampshade
David Tutera Adhesive Rhinestones in Oval
David Tutera Adhesive Rhinestones Sheet
David Tutera Bling on a Roll
Liquid RIT Dye in Purple
Battery Operated Tea Light
The Bridal Collection by David Tutera offers a very cool vellum lampshade that fits easily over a wine glass. Simply place a tealight in the wineglass and you have an instant tea light for your table! We are going to make that tea light, and then bling it up for our peacock themed wedding! In order to go along with the colors of our theme, I used Liquid RIT Dye in purple to dye the shades.
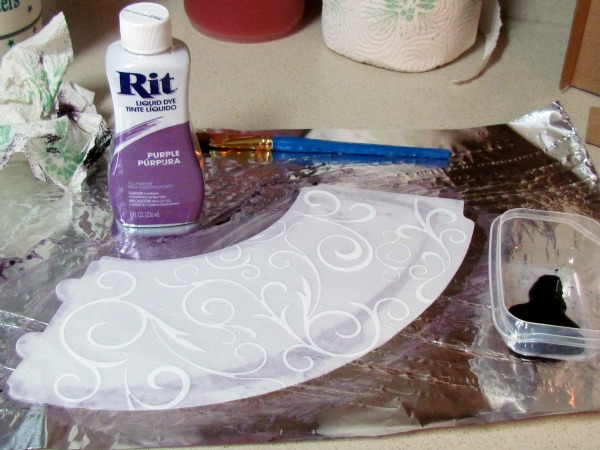
Lay out a piece of foil to protect your workspace. Pour a small amount of the liquid dye into a container.
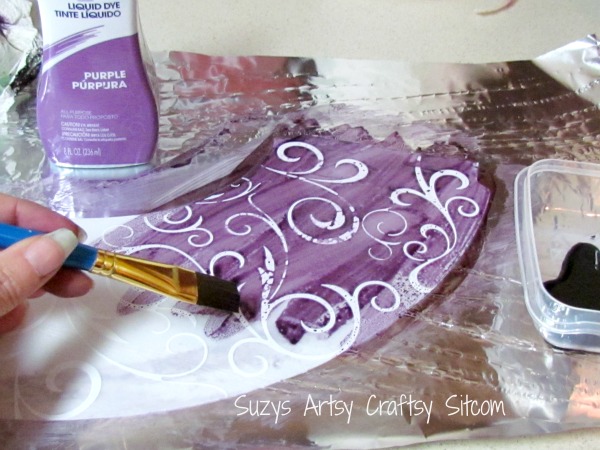
Using a wide brush, paint the dye onto the shade. Allow it to sit for a few moments, and then wipe off the shade with a paper towel. The longer it sits, the darker the color.
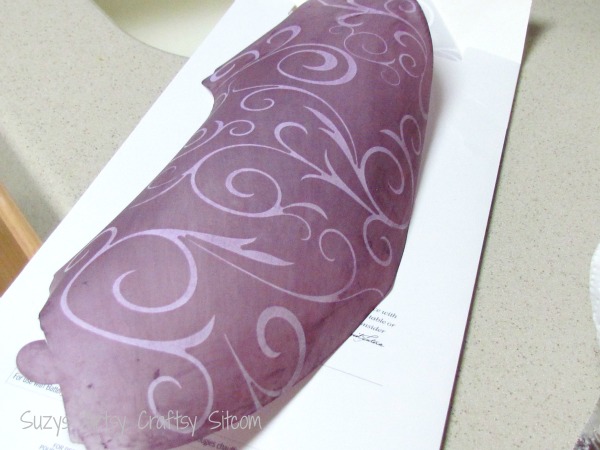
The shades curled up just a bit from the dye, but they will be perfectly fine to use. Allow them to dry thoroughly before the next step.

I used David Tutera’s Oval Adhesive Rhinestones to add a bit of bling to the shade. These little gems already have adhesive on the back, so it is as simple as peeling and sticking them on!
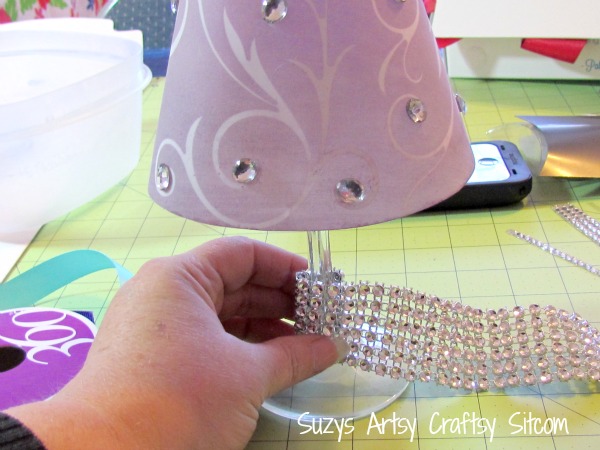
I assembled the shade using the tabs and notches in the shade and applying a couple dots of hot glue to keep it in place. The shade fits neatly over the top of a wine glass. To add bling to the glass, I cut a small piece off of the David Tutera Bling on a Roll and hot glued it to the base of the glass. The bling on the roll is an awesome deal, by the way. I used it for several projects this week and still have some left over!
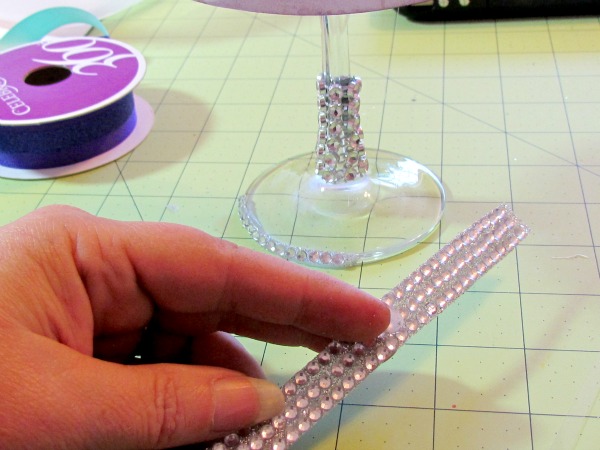
To add a bit of sparkle to the bottom of the glass, I cut strips of jewels from the David Tutera Adhesive Rhinestones Sheet and applied them. Again- simply peel and stick!
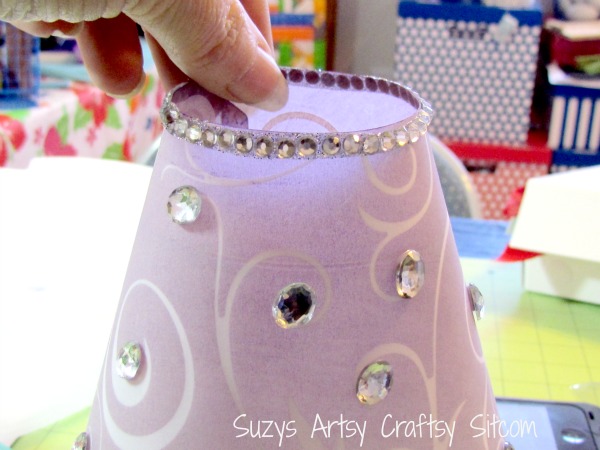
A final touch of a strip of rhinestones to the top of the shade finishes it off!
Simply drop a battery operated tealight into the wine glass and there you have it! A beautiful shaded tealight for the center of your reception tables! The purple goes great with the peacock theme.
This is the second part of a series of posts this week. So, stay tuned! I will be posting another tutorial tomorrow, and I have the “big reveal” post on Friday! Be sure to check out the other posts from this series – DIY Wedding- Peacock Themed Soap Gift Boxes, and DIY Wedding- Floral Centerpiece and Floating Candle Votives
The big reveal post can be found here! DIY Wedding- Peacock Theme Card Box
Are you new to the Sitcom? Be sure to check out my Frequently Asked Questions Page!


I wrote this post as part of a sponsored campaign with Darice and The Blueprint Social. The opinions in this post are my own.

How do you get he shade to sit on the wine glass ?
Love the design
LOVE that you painted with dye – what an awesome effect!!
Very pretty! I never thought of using dye that way. My head is spinning with ideas now! Thanks 🙂
wow the lamp is gorgeous, and looks easy enough to make !!!
Awesome! so beautiful 🙂