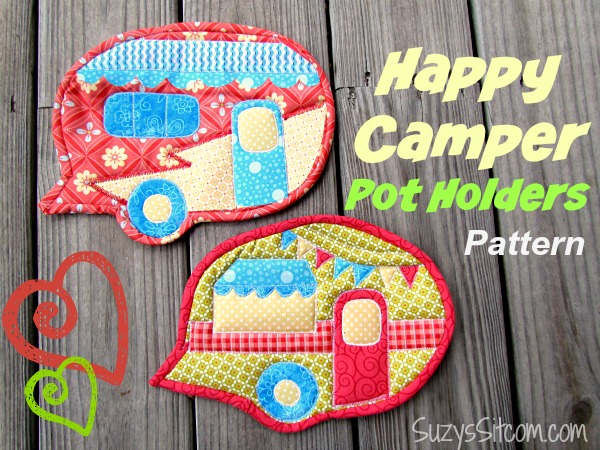
Love to sew? Me too! This week I would love to share with you my new pattern for Happy Camper Pot Holders!

I’m so glad that you stopped by to check out this fun tutorial!
It is one of the most popular sewing projects on the Sitcom! And that is saying a lot. The Sitcom currently features over 200 fun craft tutorials!
We will be officially living full time in our RV soon. The house goes on the market this week and we are slowly weeding out all of our belongings and getting rid of things we will no longer need. As I work toward getting my new kitchen together, I grabbed the pile of old grubby pot holders in my kitchen drawer and decided maybe I could use some happy looking ones to go with my RV. With that in mind, I took some of my “happy” fabrics and created some Happy Camper Quilted Pot holders.
This pattern is available FREE only to Suzy’s Sitcom readers!
Want to purchase a set already made? Be sure to visit my Etsy Shop!
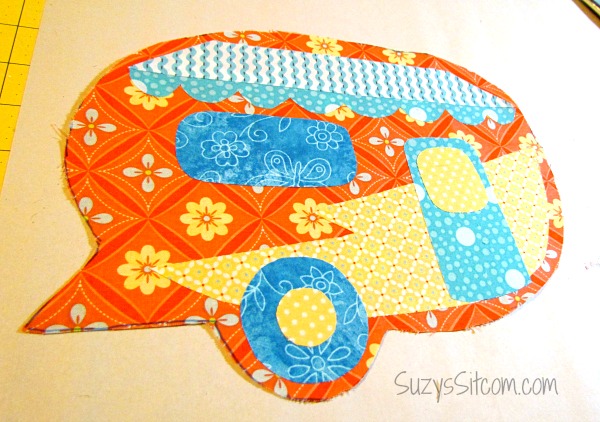
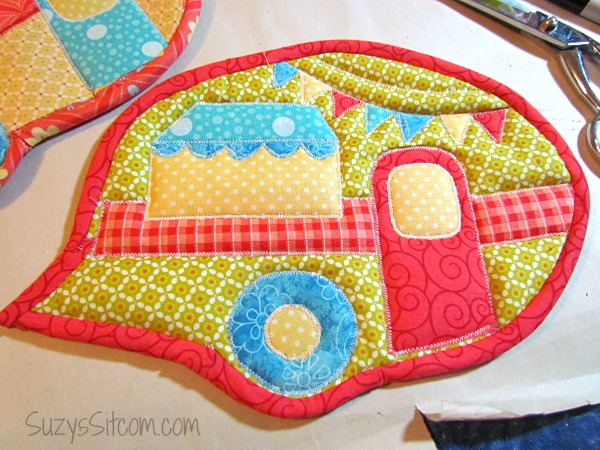
I just love the look of vintage RV’s! Fun, quirky fabrics work well with this project. I picked a few fabrics that were brightly colored and worked well together. This project doesn’t take a ton of fabric. A fat quarter of each color should work well to create both pot holders.

This post contains affiliate links to Amazon.
For this project I used:
5-6 coordinating fabrics
Fusible Web
Insulated Batting
Regular batting

Choose a grouping of fabrics for each potholder. Be sure to include some of the same fabrics in each one so that they will match.

Begin by cutting around the perimeter of the paper camper pattern. Lay it on your main fabric right side up and trace around it with a fabric pen.
IMPORTANT: You want to trace about 1/4″ larger than the original pattern to allow extra for binding.
(This makes the front of your potholder). Flip the paper pattern over and cut another piece of fabric for the back (again, trace 1/4″ larger than the paper pattern).

Cut out your paper pattern pieces, place them upside down onto the smooth side of the fusible web and trace around them. Cut the pieces from the fusible web.
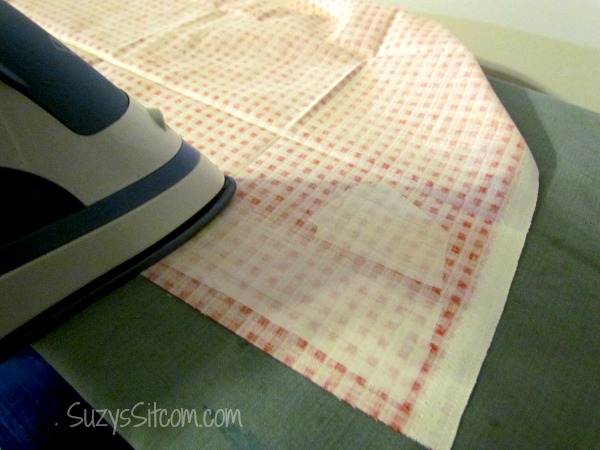
Choose fabrics for your pieces and iron the fusible web, rough side down, onto the wrong side of the fabric.
(IMPORTANT- be sure the smooth side is up and rough side is down. The rough side is adhesive which will stick to your fabric. You do not want it sticking to your iron).
Cut your fabric along the edge of the fusible web.
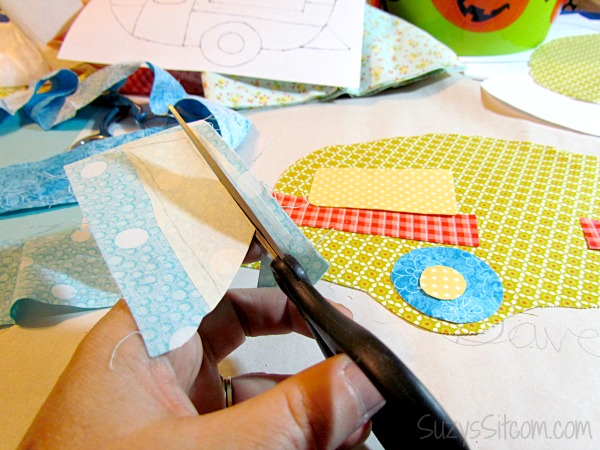
Now let’s assemble the pot holders!
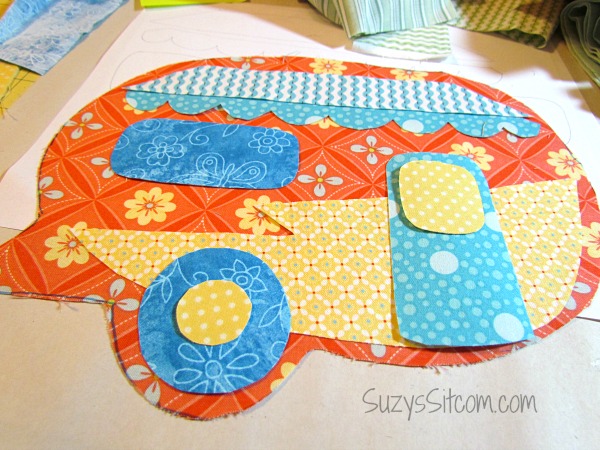
Place onto your camper front piece of fabric and arrange until you have a grouping that you like. Once they are all trimmed, you can peel off the fusible webbing, which will leave a layer of adhesive on the back side of your fabric.
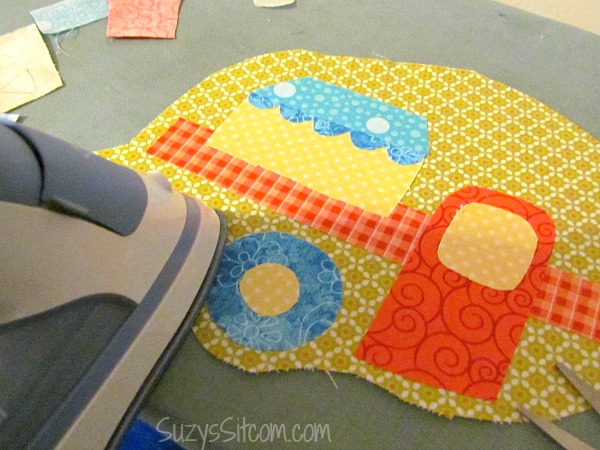


Layer the fused fabric front, one layer of batting, and one layer of insulated batting (both cut to the same dimensions as the front and back of the camper). The insulated batting needs to be placed with the shiny side towards the back. The bottom layer will be the fabric back with the wrong side up. Pin the layers together.
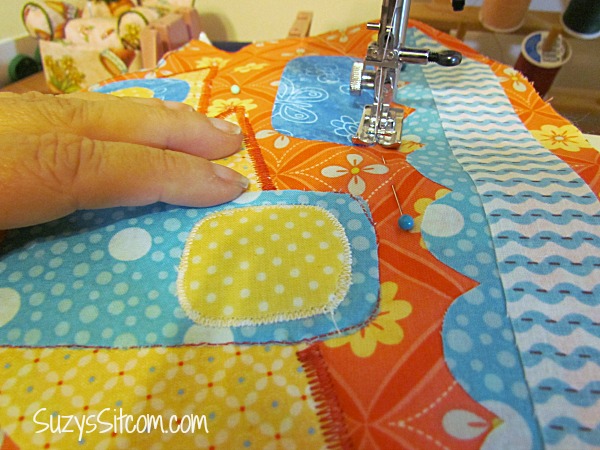
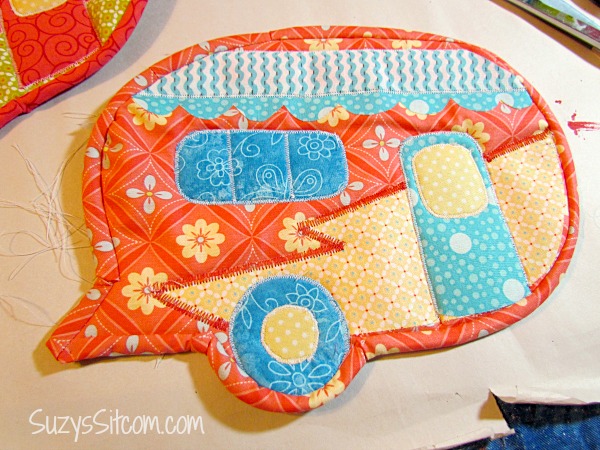
Now use a small zig zag stitch to stitch along all the outlines. This will keep the fabric permanently in place. And it looks pretty cool too!

Here is the pot holder with all the zig zag stitches in place. Now we need to add the binding to finish it!
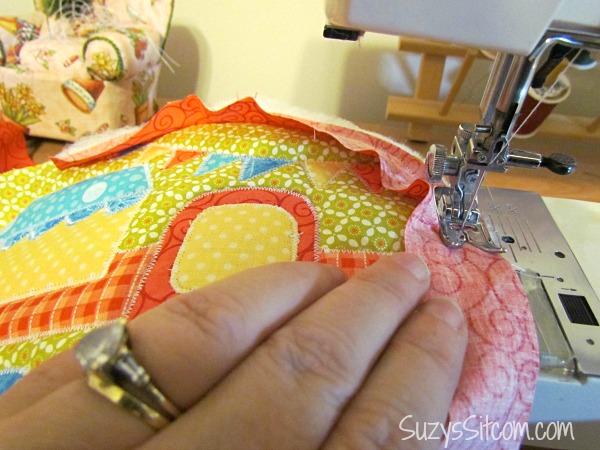
Cut 1-1/4″ wide fabric on the bias for the binding. Sew the binding into place. (I used a sewing machine to sew the binding to the front, and then hand stitched it to the back, easing the fabric to the curves). For more details on binding, see my quilt binding tutorial.
Here are the finished happy camper potholders!
I love the fun fabric and they will make me smile every time I use them!
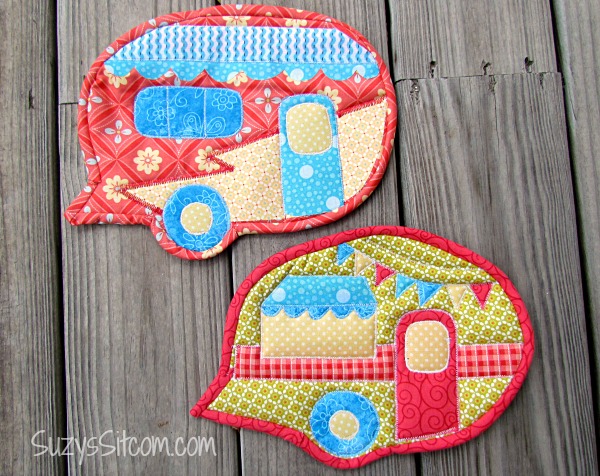
These fun pot holders take just an afternoon to make and will add a bright sunny spot to your kitchen! Enjoy the free pattern and if you decide to make them, I would love to see what you come up with!
Be sure to visit my Etsy Shop if you would like to purchase these fun pot holders!
More of my Quilt Patterns:
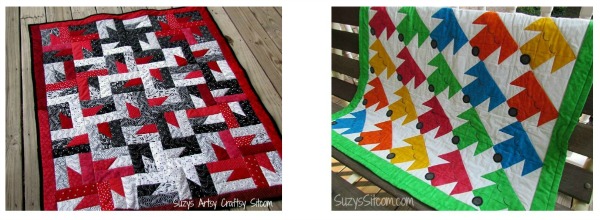
Windmills at Night and Sleepy Puppies
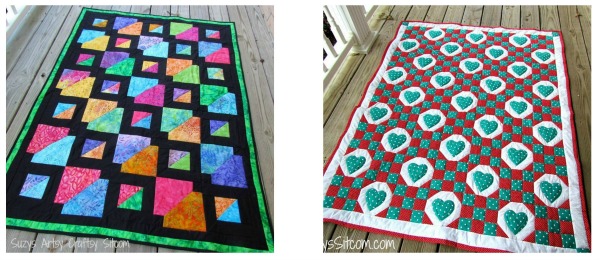
Batiks Gone Wild and Sweet Hearts
Are you new to the Sitcom? Be sure to check out my Frequently Asked Questions Page!
For over 200 crafty tutorials for all ages, visit my Tutorial Page!