Summer Jewels Beginner Quilt Pattern Series- Lesson Four
Want to learn how to make a beautiful quilt? This simple quilt pattern is easy enough for beginners! What an amazing gift! This is lesson number four: How to Bind the Edges of your Quilt. You can also refer to lesson number one: Cutting and Piecing the Quilt Blocks, lesson number two: Sewing the quilt top together and lesson number three: How to Machine Quilt your Project.

Summer Jewels Quilt
(Please follow this link for Lesson 3)
(Please follow this link for Lesson 2)
(Please follow this link for Lesson 1)
We are on our final step in completing this simple, but beautiful quilt. Made out of a Jelly Roll of fabric, this quilt is both fun and inexpensive to complete!
Use (4 ea.) 2” wide strips of fabric for your binding. Binding is the rolled finished edge of a quilt. There are many ways to bind a quilt, but this is one way that I discovered that is simple and easy to do. Begin by trimming the edges of the backing and batting so that they are not more than one inch wider than the quilt top all around. Place one of your strips of fabric along the edge of the top of the quilt, right sides together.
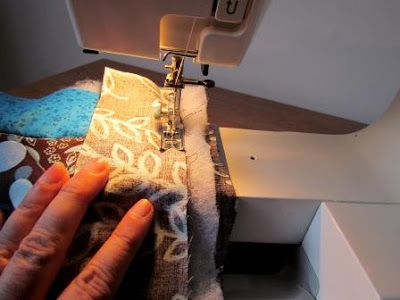
Sew 1/4″ seam the length of the strip onto the quilt top through all three layers matching the edge of your 2″ wide strip to the edge of the quilt top (right sides together). Repeat with the strips on the other three sides, being sure to fold the last strip out as you go so that all right sides are together.
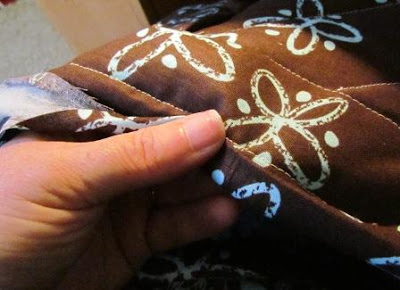
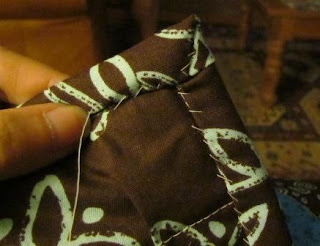
To sew the binding to the back, start in the center of one side and fold the binding over to the back of the quilt, rolling under about ¼”.
Hand sew the binding down along the sewing machine seam line for the front of the binding. (I used a white thread so that you can see it better, but a thread that matches the backing would be better).
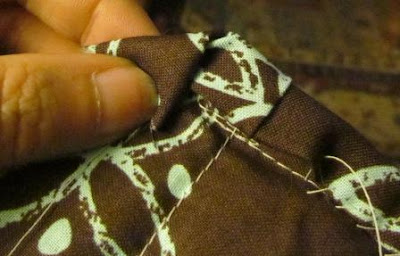
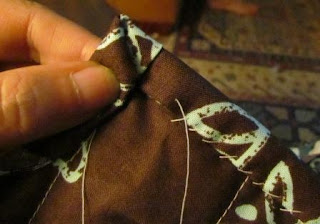
To go around a corner, fold the binding on the upcoming edge at 90 degrees, then fold it over, turning under ¼”. Sew into place.

I hope you enjoyed this series. Let me know if you would like to see more of them!
Be sure to check out some of my other quilt patterns!
Sleeping Puppies Baby Quilt or Twin Size Quilt
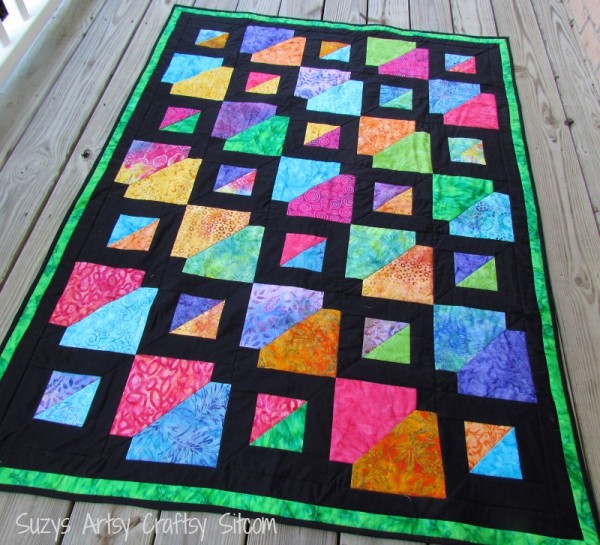
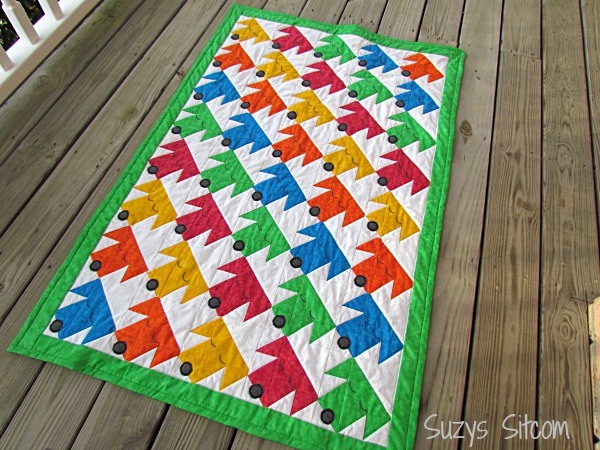
Batiks Gone Wild and Windmills at Night


Hi Rachel!
The average king size quilt is about 110″ x 110″. The blocks in this quilt pattern are 5″ when finished. So you would need to piece 22 blocks across and 22 blocks down, for a total of 484 blocks.
Would love to see what you make!
suzy
I am quite a newbie here. I would really like to make this king size. I was thinking I could make 4 of these then join them together. I’m not sure on the best way to go about doing that.
Hi Dee!
Thank you so much for the kind words! I love that my quilt designs will be used for charity quilts. Would love to see what you come up with!
suzy
I love your free tutorials. I will use windmills to make charity quilts for Project Linus and other groups I quilt for. I just purchased Batiks gone Wild to support you. Thank you for being so generous with your talents.
Dee
Hi Jackie,
The finished lap quilt measures 34″ x 39″. You can always increase the size by adding more blocks.
suzy
What is the measurement of this quilt?
For machine binding, there is a great tutorial here: http://www.cluckclucksew.com/2013/01/machine-binding-tutorial.html
Hope that helps!
suzy
I appreciate you taking the time to make a tutorial simple enough that new beginner quilters can follow along,The photos are also helpful. I look forward to other pattern tutorials.
Do you have a tutorial on making binding for the quilts, and machine sewing of binding?
Thank you for taking the time to help us new quilters.
HAHAHA love the umm “guard dog”, does she work for kibble ? LOL !! Great site!
was able to get all the pattern instructions. CUTE pattern and love the colors! Thanks Suzy!
Stay tuned!
It is amazing that the tutorial is offered for free. Thank you so much. Additional tutorials and patterns would be wonderful.
Hi Michelle,
I switched to Wordpress in Dec, and some of my links did not make the move. Because there is so many links, some of them gone unnoticed. Thank you for pointing this out. I will take some time during my lunch hour today and sort it out. Will let you know when it is right and running.
Thanks so much!!
suzy
Pity lesson 2 & 3 are not available as advertised, everytime I tried I could only access lesson 1 & 4 so quite disappointed
Thank you for these tutorials! I have always wanted to try quilting. Your tutorial made it look like something I can do. Thanks Suzy!
Thank you for this! I always have trouble with the edging on my quilts, but you explained it in a very easy way. 🙂
Cheers,
Tracy Screaming Sardine
So pretty! I can imagine sitting out there on the porch with a cozy quilt once the sun goes down and the evening breeze kicks up. 🙂