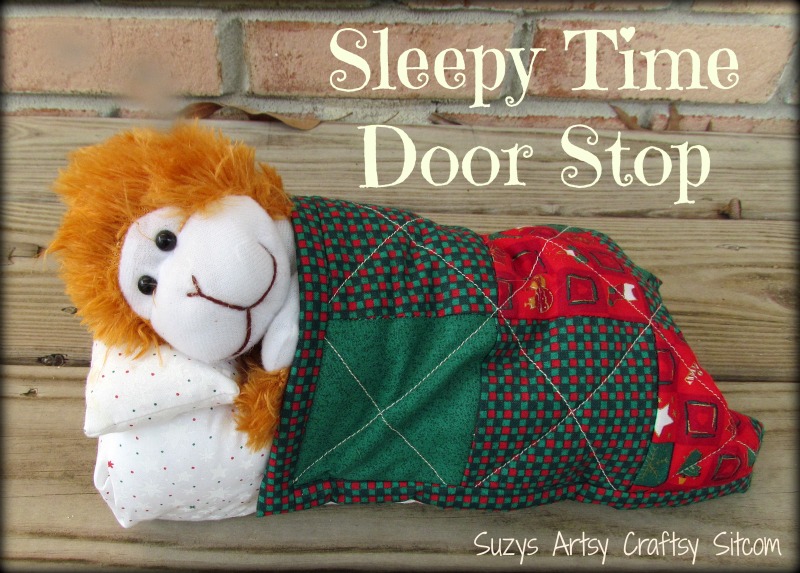
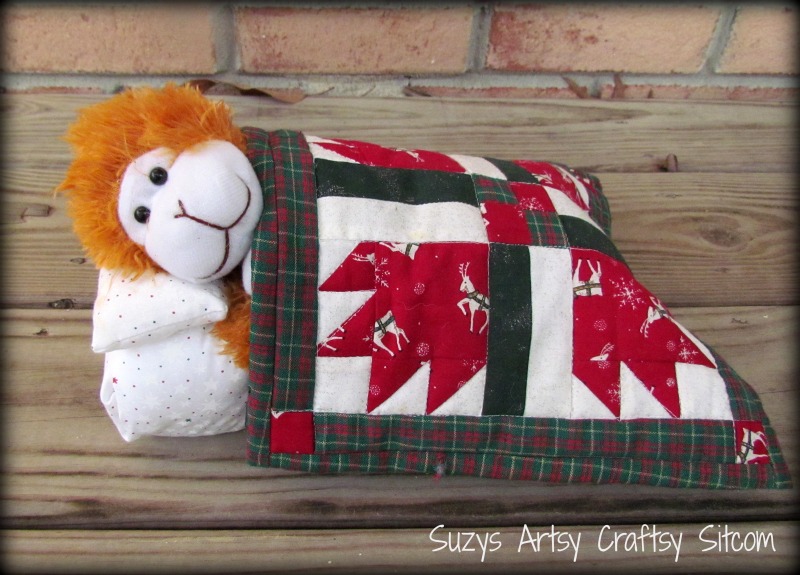
Sleepy-time Door Stop Tutorial
Create a cute door stop using a brick and fabric scraps! You can make a miniature quilt following this tutorial, or substitute a quilted hot pad for the blanket. Either way, this door stop is great practice for the beginning quilter and makes a great gift!
This project is something I made for the ornament club one year. While it isn’t an ornament, I used Christmas colors to make it holiday related. Heck, you can only get so many ornaments on the tree at one time! Anyway, while I used holiday colors again on this remake, keep in mind that any colors will work. This makes a great gift and an unusual conversation piece.
For this particular one, I used a nine-patch quilt pattern, but any 9″ block quilt pattern would work. Or if you really don’t want to quilt it, you can always substitute a quilted hot pad for the blanket.
For this project I used:
3 different fabrics for the quilt top (about a quarter yard each)
1/4 yard of light fabric for the back of the quilt and the “bedding”
1 brick
1/4 yard of quilt batting
Small bit of fiber fill
One small stuffed animal
Hot glue
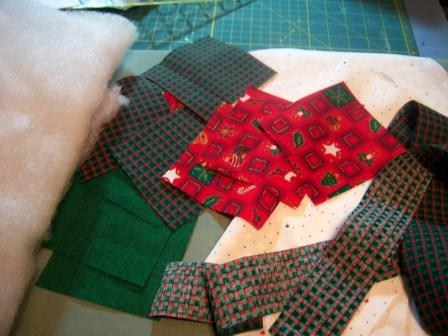
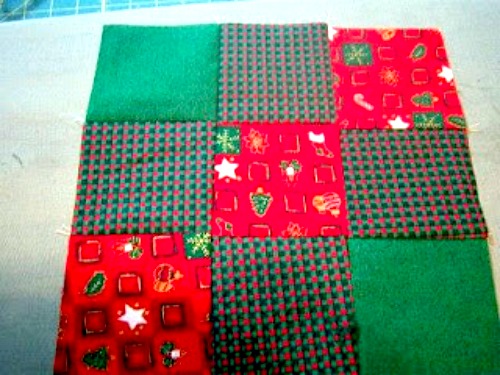
Starting with the quilt top, cut your colored fabric into (9 ea.) 3-1/2″ squares.
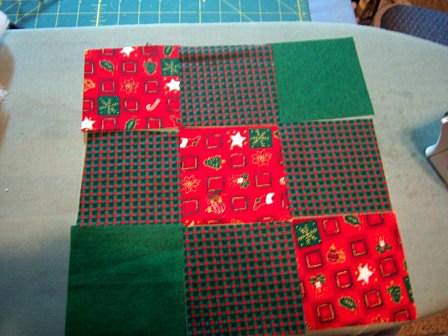
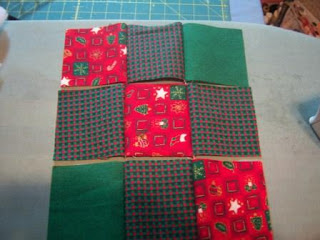
Play around with it a bit to see how you would like them arranged.
Sew them together starting with the top row. Place right sides together and sew a 1/4″ seam. Do all three rows this way.

Take a moment to press them, making sure that all seams face the same direction. This helps the quilt top to lay flatter.
Now sew the rows together. Right sides together, matching the seams, sewing a 1/4″ seam. Press the final product. You should have a 9 1/2″ block.
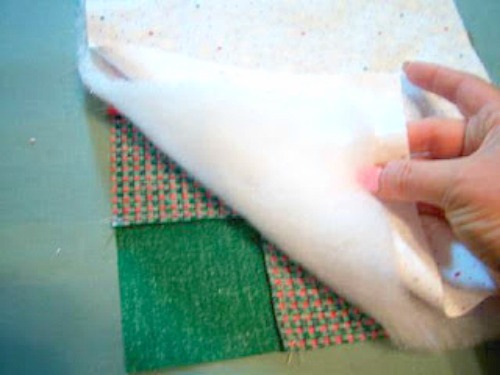
Cut a 10″ square out of the quilt batting and another 10″ square out of the light backing fabric. Turn the quilt top over and layer the batting and then the backing on top.
Flip it over and add some pins to keep all layers in place.
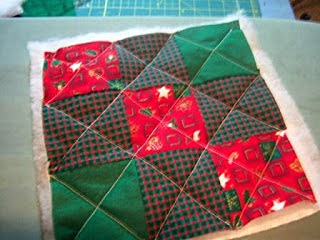
You can quilt this any way that you would like. Some folks like to “quilt in the ditch”, which means that they quilt along the seams. I like my quilting pattern to show.
So with this project, I set the sewing machine for a longer straight stitch and then sewed diagonally through all three layers, moving the pins as I went. If you are more comfortable sewing along the seams, then by all means, do that.
For the edging, cut 4 ea. (12″ x 1-1/2″) strips of the fabric of your choice. Matching the corner and the edge of the quilt top, sew the first strip to one edge of the top, right sides together, with a 1/4″ seam. You should have overlap on the end.
Then fold the strip out and place your next strip, right sides together with the end matching up to the side of your first strip. Hopefully, the photo will help.

Do this all the way around. Press.

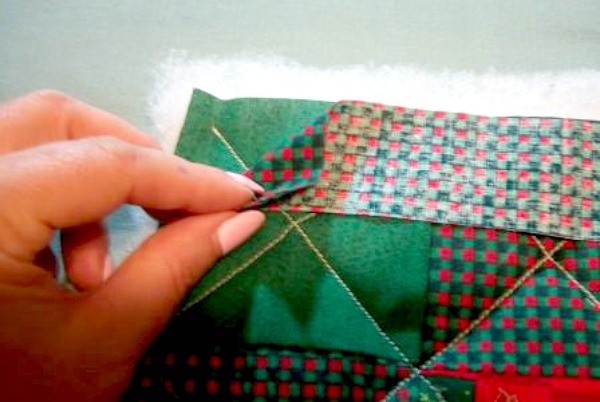
Now we do a little hand sewing. Working from the back, fold the edge strip over and tuck under so that you are basting with approximately a 1/4″ seam. Baste along the edge until you get to the first corner.

Fold your next side edge at a 45 degree angle and then fold over to create your 1/4″ seam. You will have to tack this corner to stay, then continue basting the length of the block.
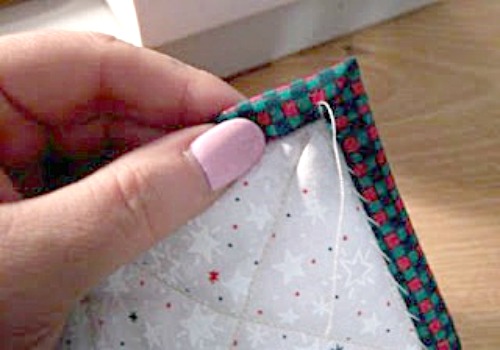
Continue all the way around, tacking the last corner down with a 45 degree angle. Again, I hope the photos help.
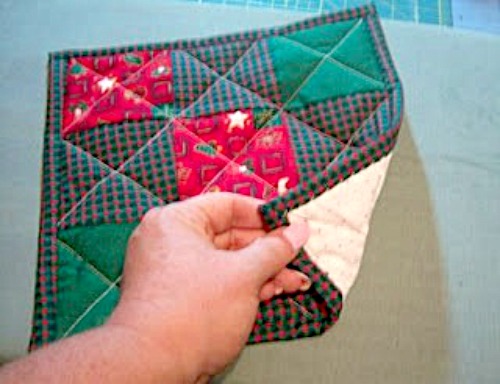
Now you have a completed mini-quilt. You can certainly stop here and use it for a hot pad. They are actually quite useful. Or you can make your stuffed animal a cozy, comfy bed.
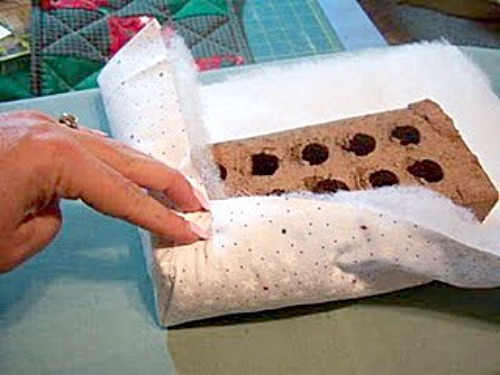
Cut a (18″ x 13″) piece of the light fabric for the sheets and a (18″ x 13″) piece of quilt batting. Lay out the fabric, cover it with the batting, and place the brick on top.
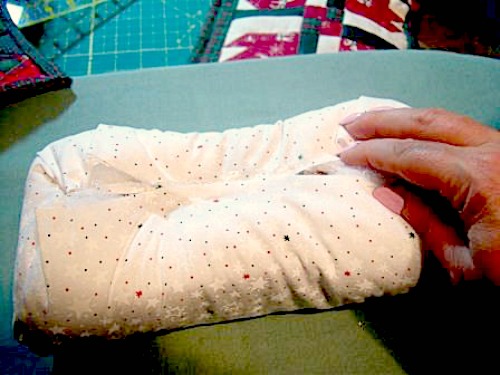
Using your hot glue gun, neatly fold the corners, like wapping a present, and wrap the brick with the fabric and batting, glueing down where ever it needs it.
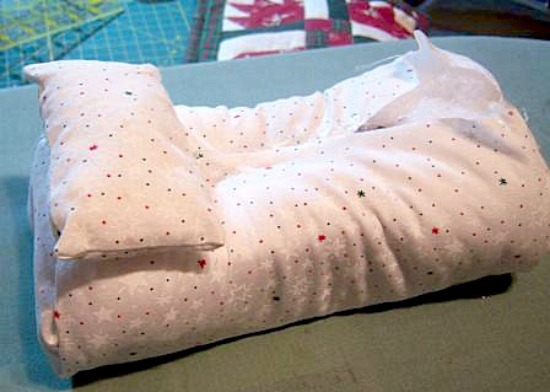
Cut 2 (3″ x 5″) pieces of the light colored fabric for the pillow. Sew them right sides together on three sides. Turn. Stuff with fiber fill and then baste the final seam shut. Glue to the “bed”. Looks comfy, doesn’t it?
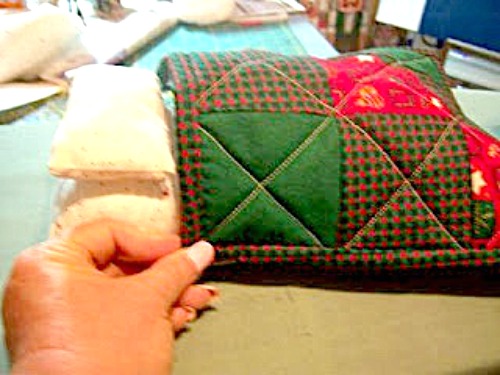
Now place your quilt on top, adding a bit of fiberfill to fill up and create the illusion of the stuffed animal’s body. Tack the quilt down to the sides of the bed using thread in the color of the quilt edge, folding the quilt neatly at the corners. You just have to tack in a few places to make it sit right.
Put your stuffed animal in and make him all situated. Now he can be placed as a door stop or a bookend or anything else you would like to do with him.
Are you new to the Sitcom? Be sure to check out my Frequently Asked Questions Page!

For more tutorials for all ages, be sure to check out my Tutorial page!

Thanks so much, Vicki! If you decide to make it, I would love to see it!
This is adorable.
this is soooo cute, love it !!!!
That is just too cute. Thank you. I’m sure my 1 yr old Granddaughter would thank you as well because I can totally see her stealing that constantly. You know how toddlers are ~ if they see it – it is theirs. LOL
great idea– original and fun! thanks so much for joining us at a crafty soiree. hope to see you again on thursday… and i love your banner– it always makes me smile
what a fun way to hold a door open! I need an outdoor version for my screen door! Thanks for Linking up to Topsy Turvy Tuesday's!
Wow! This is just so cute! Thank you for sharing. 🙂
That is adorable! If I ever need a door stop I will definitely keep this in mind!
How cute!! Thanks for linking @Creative Itch's "Sew Cute Tuesday"!
Brilliant! My cats are toy stealers, they would probably be fascinated by this. I love all the different mini-quilts you've made.
Thanks so much for linking up to Finished for Friday!
So cute! Great idea, thanks for sharing
This is a great project! Thanks for sharing at Make It Fantabulous!
Hi Suzy, following you now from Boost My Blog Friday, please follow back!
Holy cow, what a fantastic project! Love it – and love the part about "confiscation." LOL!
CUTE! Oh my goodness…too adorable. Thanks so much for linking up to my Open House. I'm very disappointed that Tom couldn't make it but maybe next month.
This has always been one of my favorite "ornaments" and it is one of the few that never gets packed up. Right now it lives on my entertainment center.