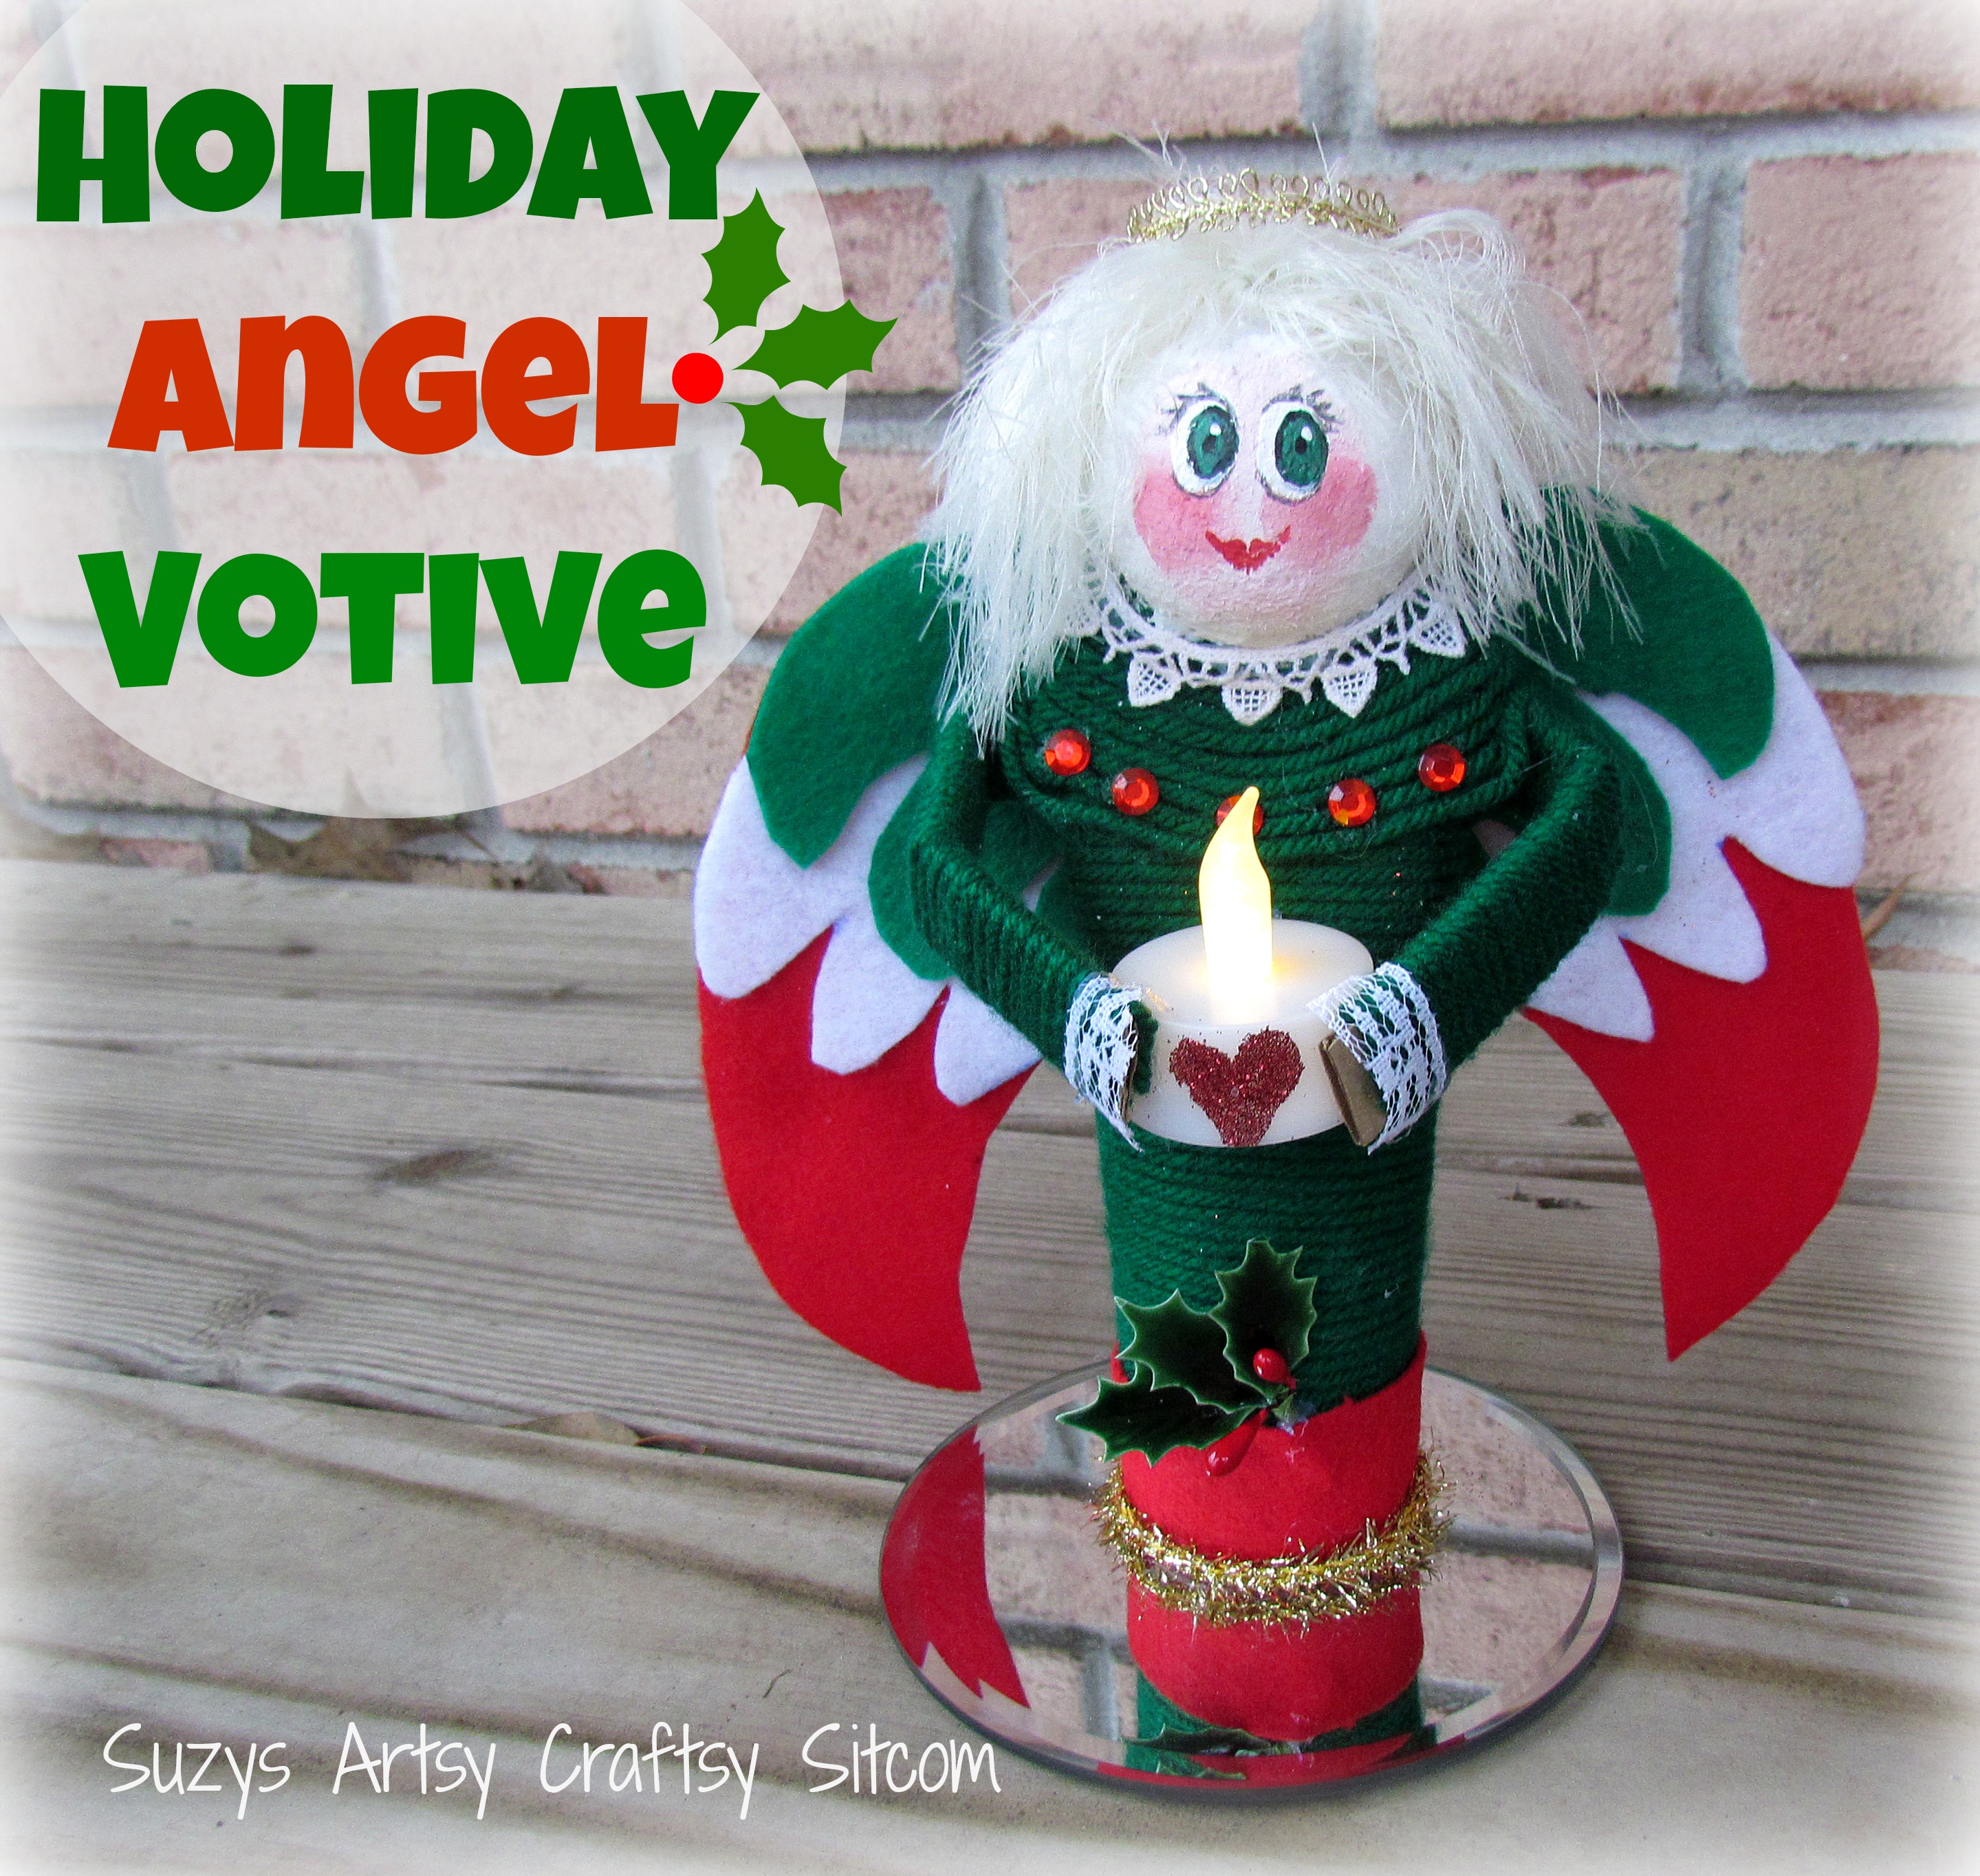
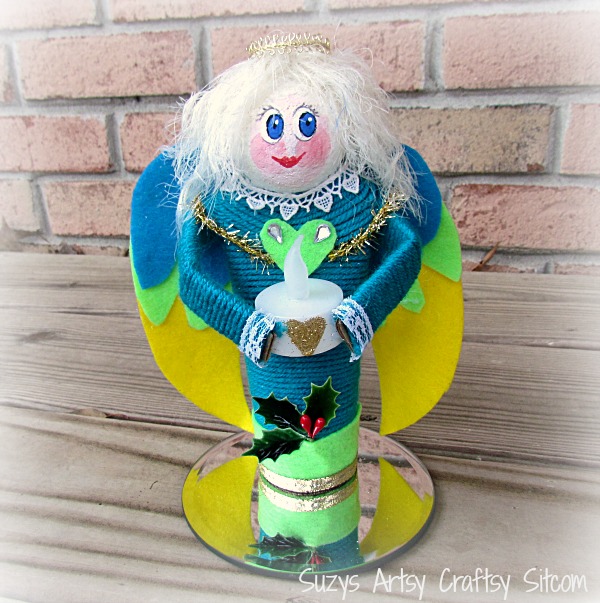
Create a cute Holiday Angel Votive from paper towel tubes, a bit of yarn and some dollar store items! These sweet angels are a perfect, inexpensive decoration to light up your holiday mantel. And they are fun to make too!
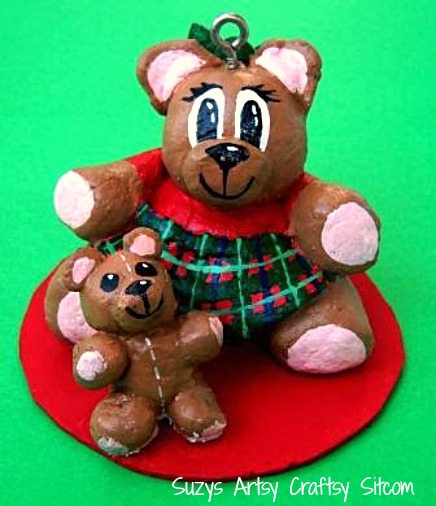
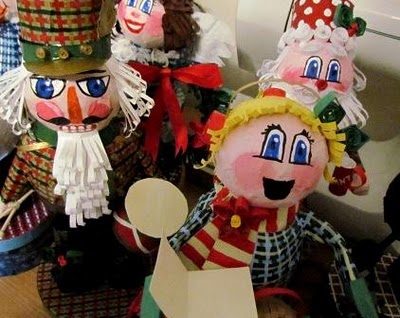
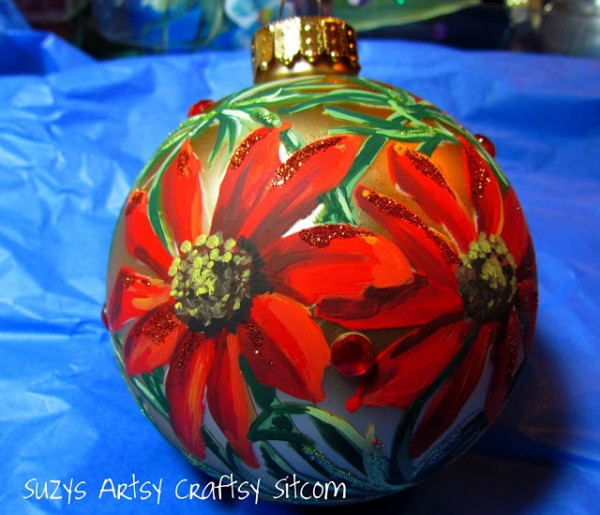
Every year, I participate in an ornament club. Our club has been meeting now for the past 21 years, and we have quite a few artistic folks in it that appreciate time spent on ornaments. We get together on the first Saturday in December to swap handmade ornaments. Of course, that entails coming up with something original every year. But you would be amazed at some of the awesome things that we have exchanged over the years. Many of my Christmas projects on the Sitcom were originally projects I made for the club. Such as: Paper Mache Characters , Vintage Snowglobe Ornaments, Sleepy Time Doorstop , Floral Handpainted Ornaments, and Bread Dough Bears.

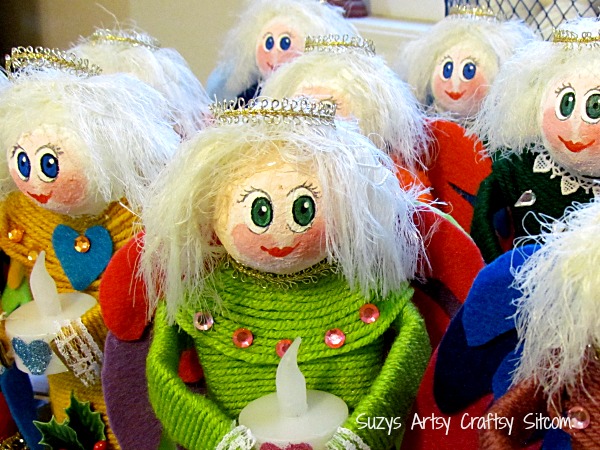
This year, I wanted to go back to my recycling bin and pull out all those paper towel tubes. So many possibilities! After running across battery operated tea lights at the dollar store, it suddenly became clear what I had to make this year! How about yarn-wrapped Holiday Angel Votives! Want to know how?
For each angel you need:
One paper towel tube
One dollar store battery operated tea light
One dollar store candle mirror
Scrap corrugated cardboard
Yarn
1.5″ styrofoam ball
FloraCraft® Smooth Finish
Various colored felt
Yarn Wrapped Angel Votives Wing Pattern (1)
Novelty Eyelash Yarn
Various ribbons, Christmas greenery, stick on jewels and glitter
Acrylic paint
sandpaper, white glue, low temp hot glue

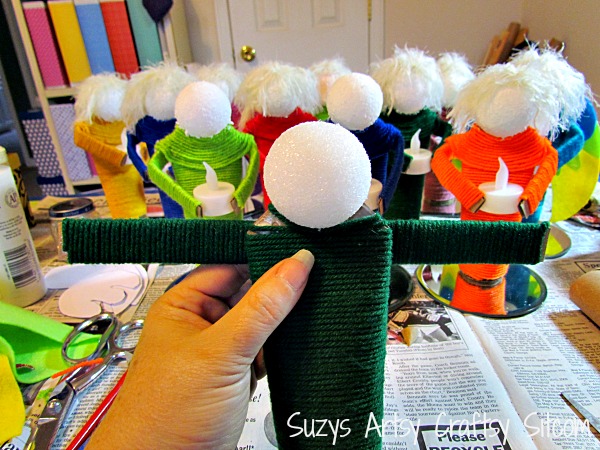
Begin by cutting the paper towel tube to a 6″ length. Cut a half circle into the center of one end and clip the two edges to create a place for her head and shoulders. Use hot glue to the head and should section together.
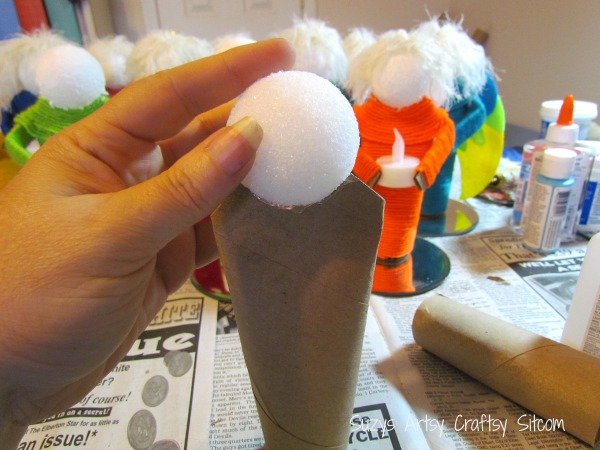

Use low temp hot glue to add the styrofoam head to the top. Use white glue to coat the side of the paper towel tube and begin wrapping yarn from the bottom up.
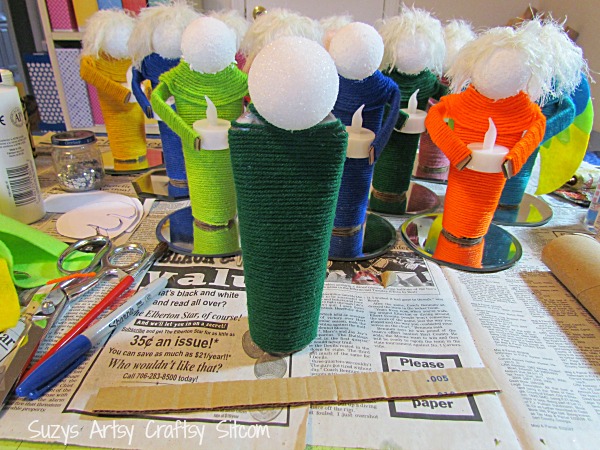
Wrap yarn all the way to the should area, and tack to the back with white glue. Cut a 1/4″ x 7″ piece of corrugated cardboard. Apply white glue to both sides and wrap with yarn.
Use the low temp hot glue to glue the arms to the back of the angel.

The final yarn wrap starts at the base of the neck and works down, covering the arms in the back and draping down in the front. Simply add white glue to the areas and wrap the yarn, ending in the back.

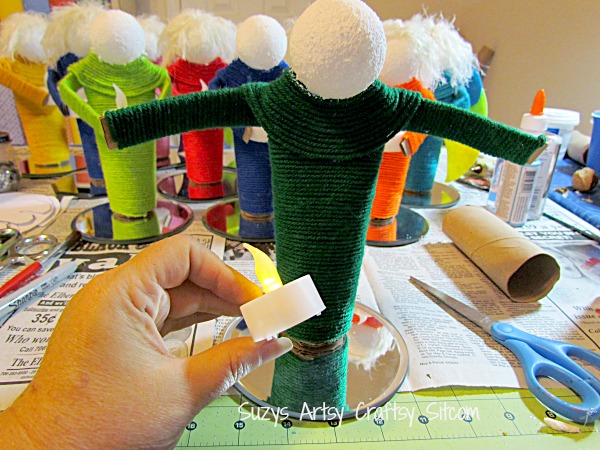
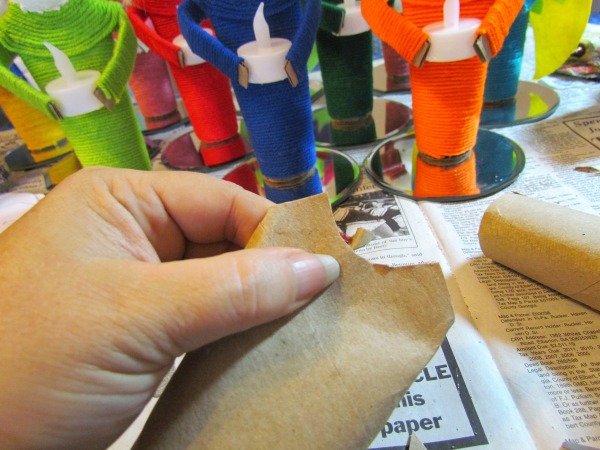
Because we want our angel to have a decent complexion, it is necessary to apply Smooth Finish onto the styrofoam ball. Spread on in a relatively thin layer and allow to dry for about 24 hours. Once dry, sand the face with a small piece of sandpaper. (Unless you don’t mind your angel looking like she had a bad few years of puberty). Glue the battery operated tealight to the angel’s tummy and glue the hands to it using hot glue. Glue the base of the tube onto a candle mirror.
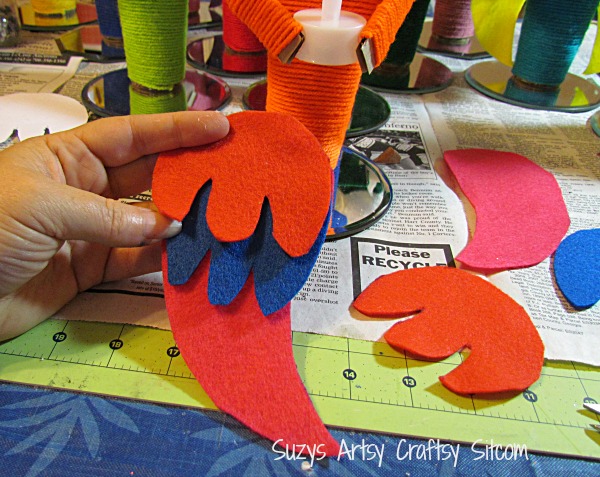
Use the Yarn Wrapped Angel Votives Wing Pattern (1) to cut out colorful wings from felt the coordinate with your yarn color. Each wing is three pieces, glued to each other with hot glue. Glue the wings in place between the shoulders of the angel, making sure that they are high enough not to drag on the ground.

I chose white novelty eyelash yarn for these angels, but any color will work. Wrap it around your hand about 6 times and clip. Clip another piece about 4 ” long and tie the wrapped yarn in the middle. Glue onto the head with the tied part on top of the head.
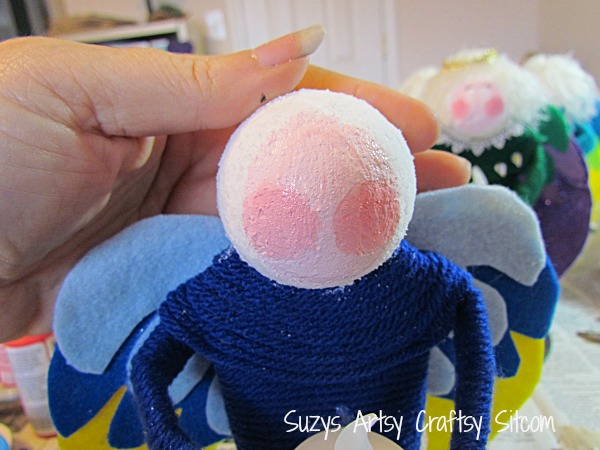
Use acrylic paints to paint the face. I painted a circle of pink for the face and added darker pink for the cheeks.

The whites of the eyes are painted in and then various ribbons and gemstones are used to make each angel unique.
Here you see the finished face, once the eyes are painted in. I used a pencil to create the fine lines of the eyelashes.
One of the final touches was adding white glue in the shape of a heart on the tealight and then adding glitter.

And a bevy of angels are now done and ready for presenting to this year’s ornament club! Another fun year of creativity!
If you are interested in my other ornament club ornaments from previous years click on the photos below:


—
Are you new to the Sitcom? Be sure to check out my Frequently Asked Questions Page!
You can keep up with the Sitcom on Facebook for daily updates!
For over 150 crafty tutorials for all ages, visit my Tutorial Page!


