How to make Foil Covered Easter Eggs!
With Easter is just around the corner, I thought I’d bring you a fun Easter craft that costs nearly nothing to make and is fun and easy to do! How about foil covered Easter eggs?

Pretty! I’m a big fan of metallics, and when I discovered the art of burnishing foil onto things, it came to mind that this process might just work well on Easter eggs!

So, I gathered up my supplies. For this project I used:
Hardboiled eggs
Aluminum Foil (regular)
Acrylic Paints
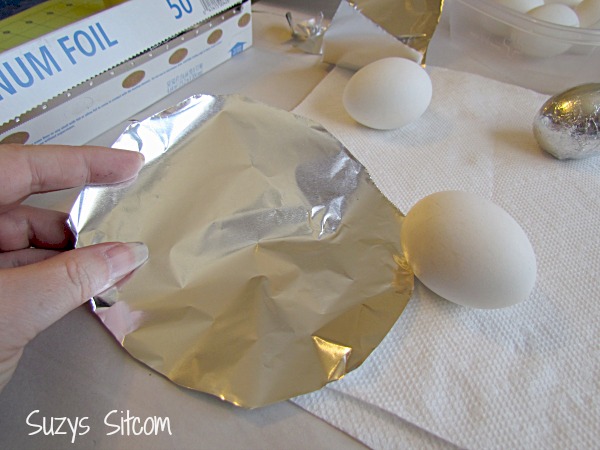
Begin by cutting an oval out of the aluminum foil that is large enough to encompass the egg without too much extra foil. (Use your least favorite scissors for this as foil will dull them pretty quickly).
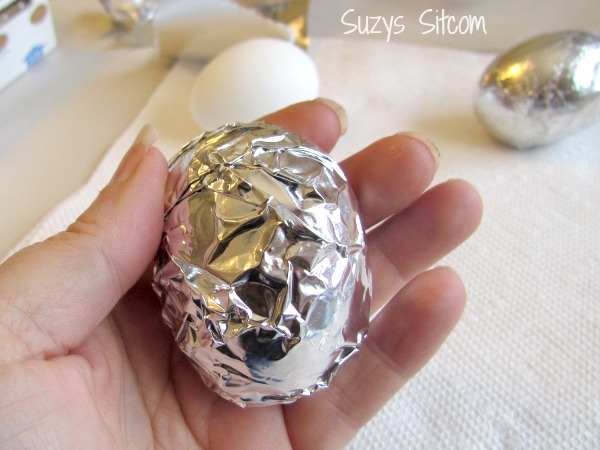
Here is my egg wrapped in foil. Not much to look at yet, but we are going to do some magic here!

I used the handle of my good scissors to start burnishing the foil onto the egg. For this you can use any hard tool such as the handle of a butter knife, or even the end of a paintbrush. I used my handy-dandy quilting scissors. Simply rub the foil with the hard tool until it smooths out onto the egg. This takes a bit of practice because you will need to push a little, but don’t want to crack the egg.
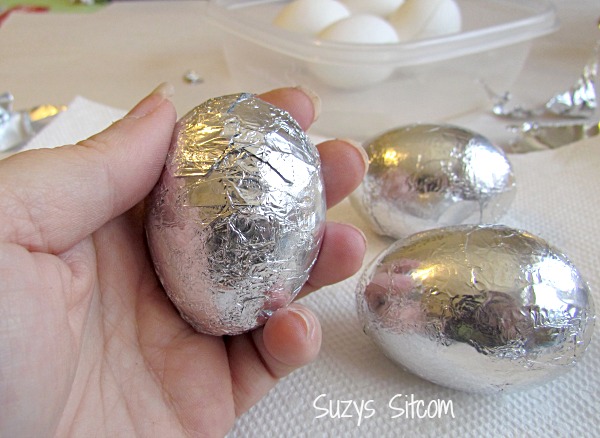
You will notice that the egg has a definite front and back. That is okay, though. Once the acrylic paint is added, it looks beautiful either way.
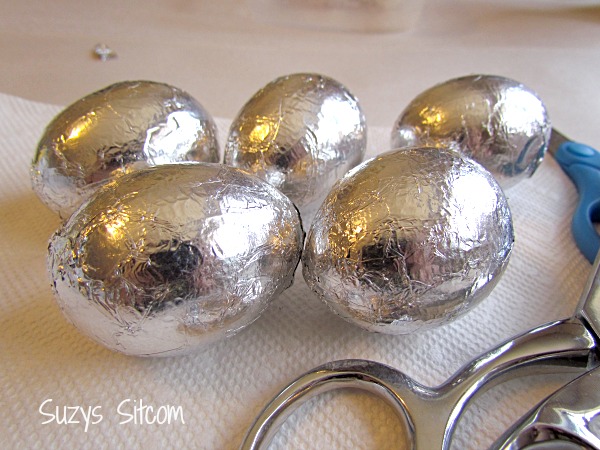
Once all the eggs are covered in foil, you can either stop here, or go to the next step!
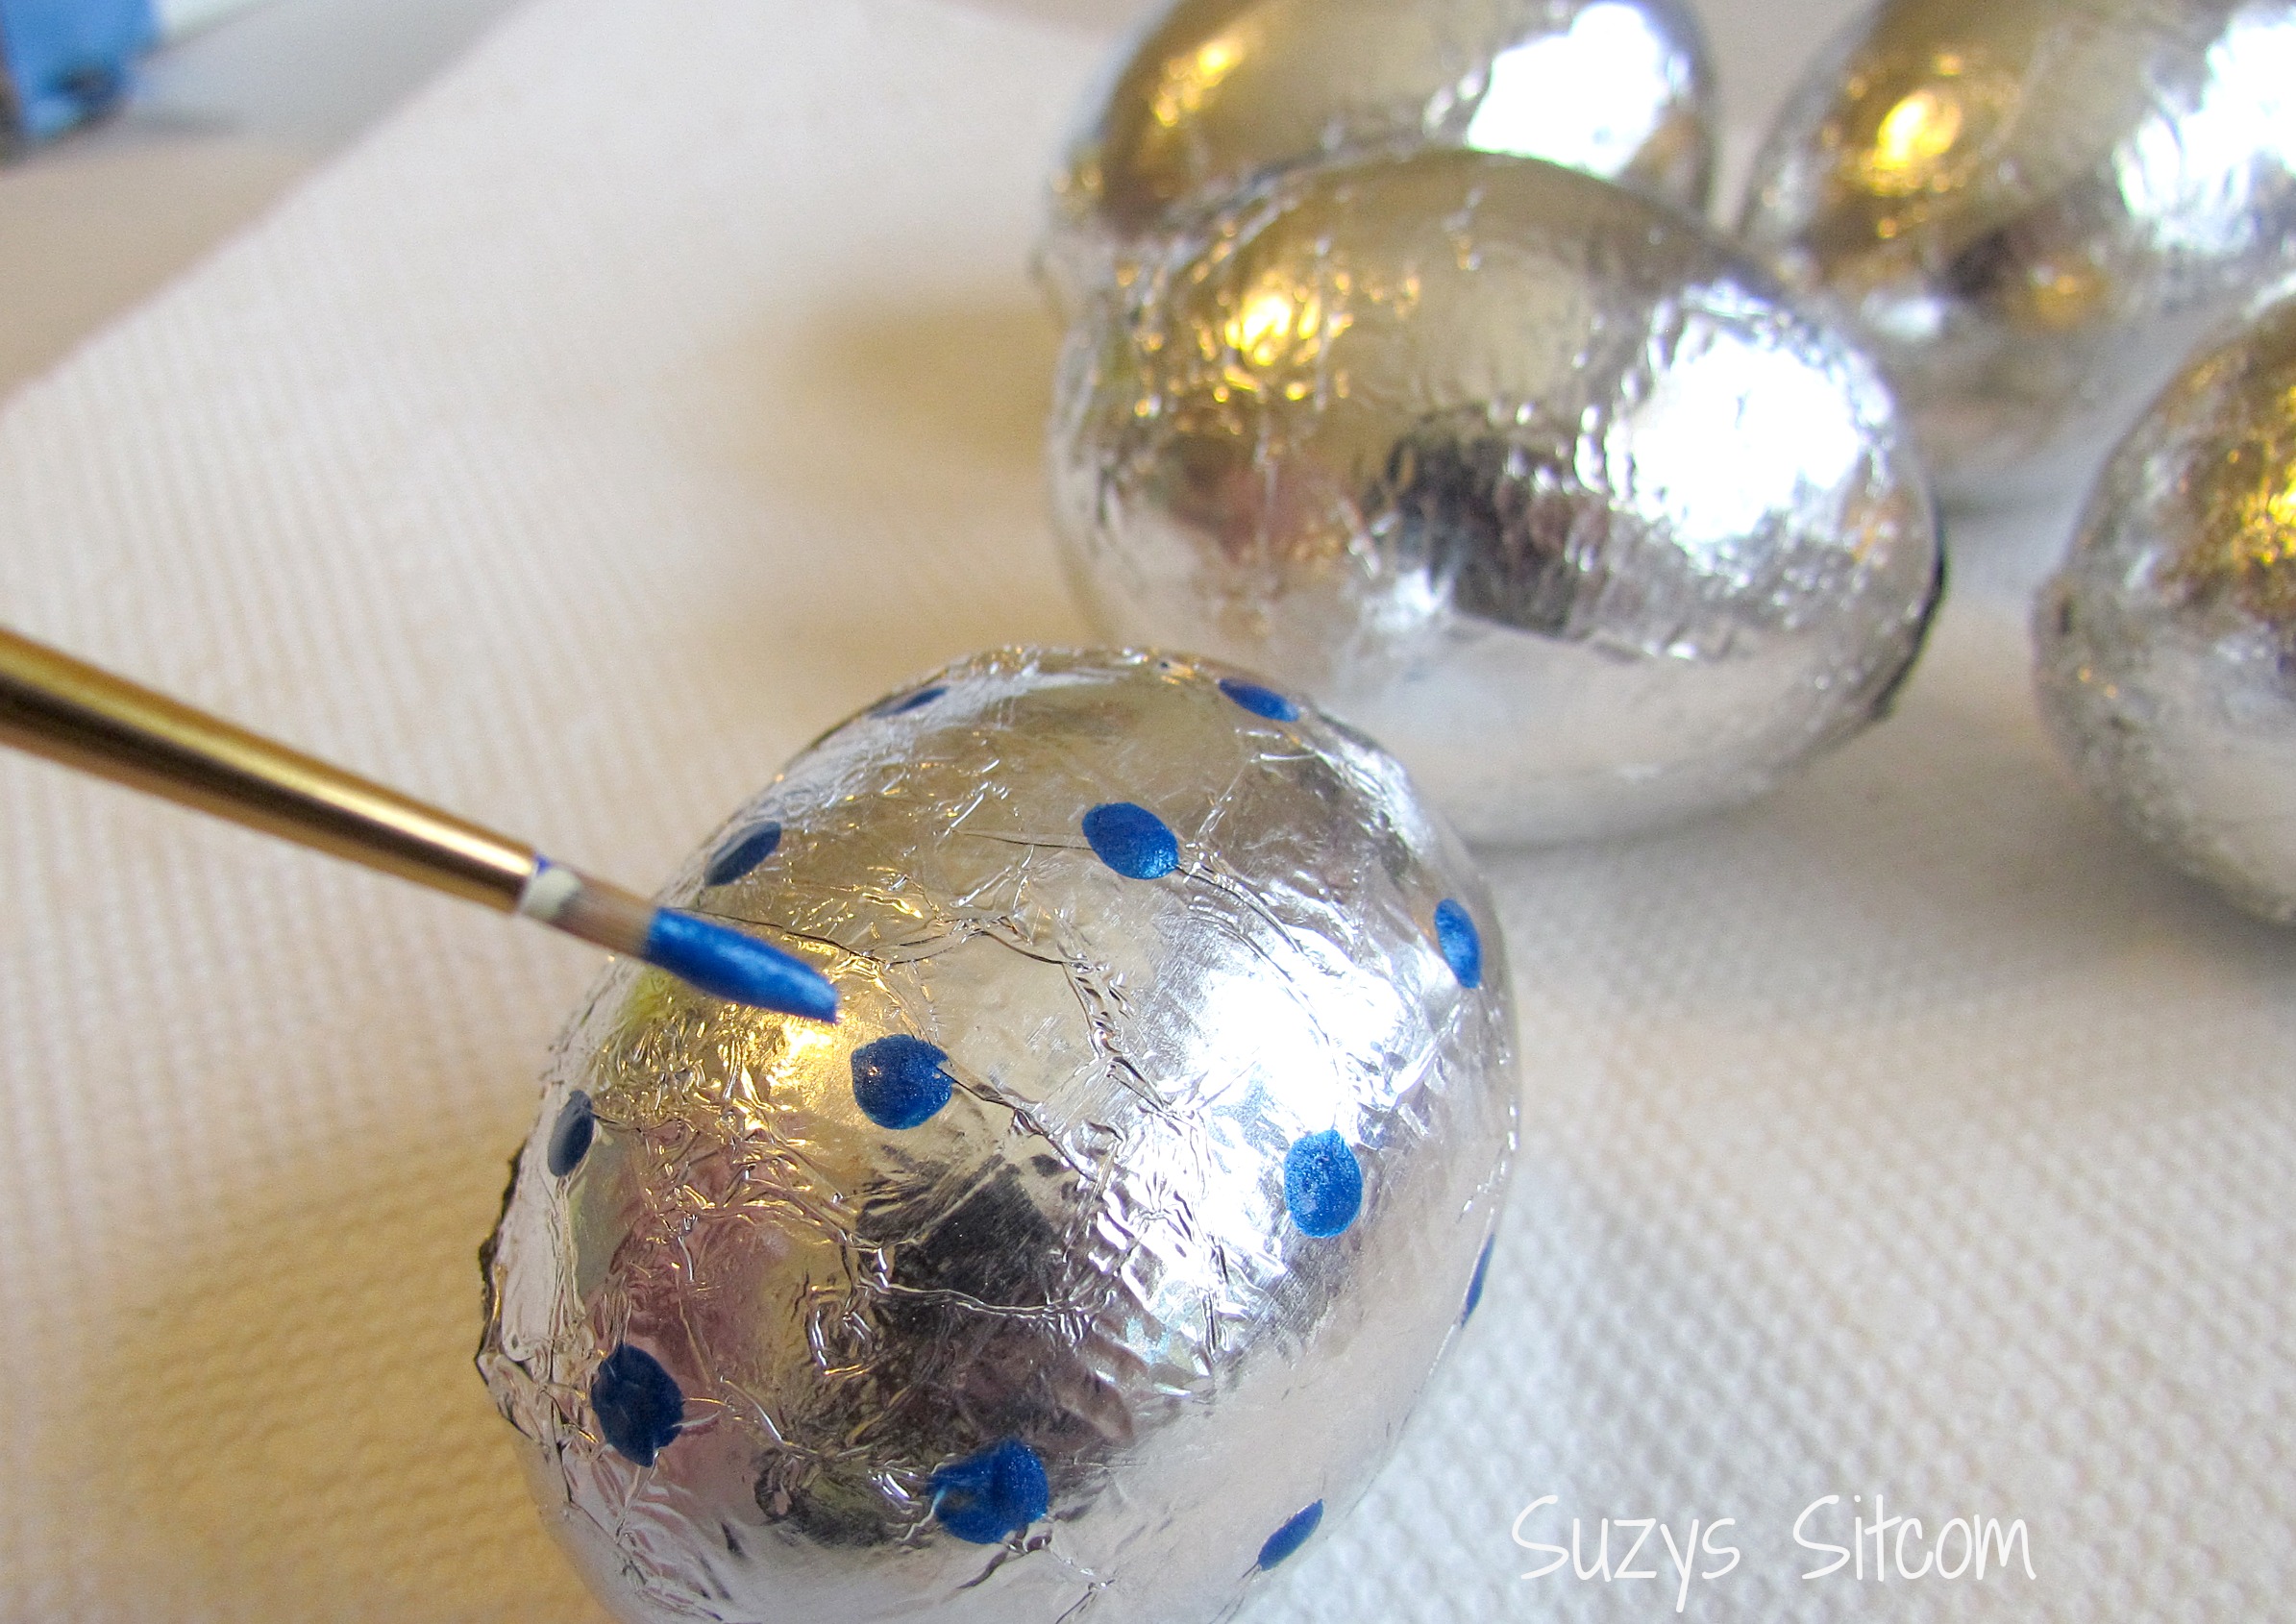
Why, we are going to paint it of course! Grab some acrylic paints and go for it! I painted one side of each egg, let it dry and then painted the opposite side.
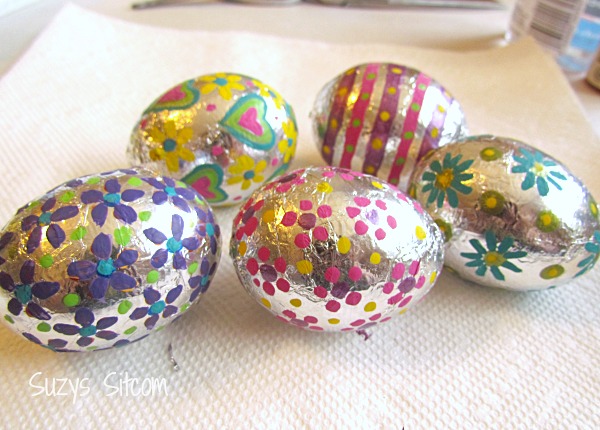
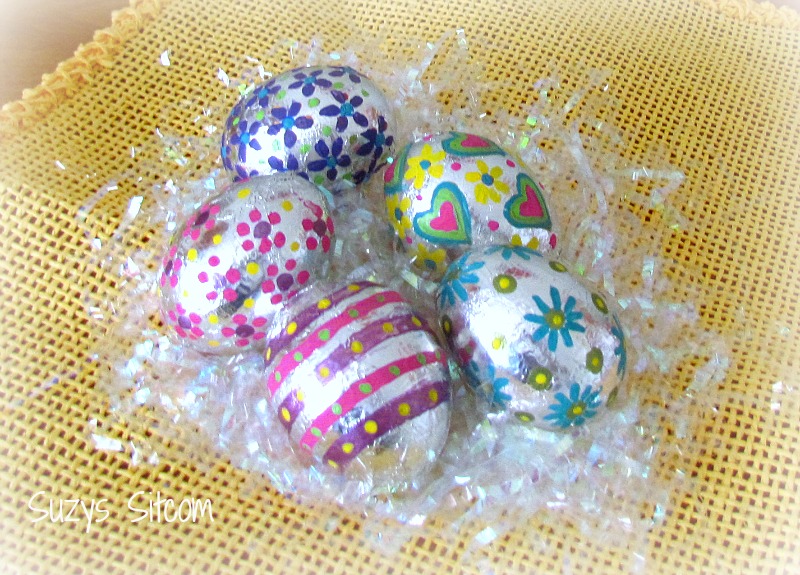
No two eggs are alike and they are all fit for a pretty Easter basket!
In fact, I put two of them in the hubby’s lunch box this morning. I would love to see his face when he opens his lunch box in front of the guys. Bet I get a phone call! LOL!
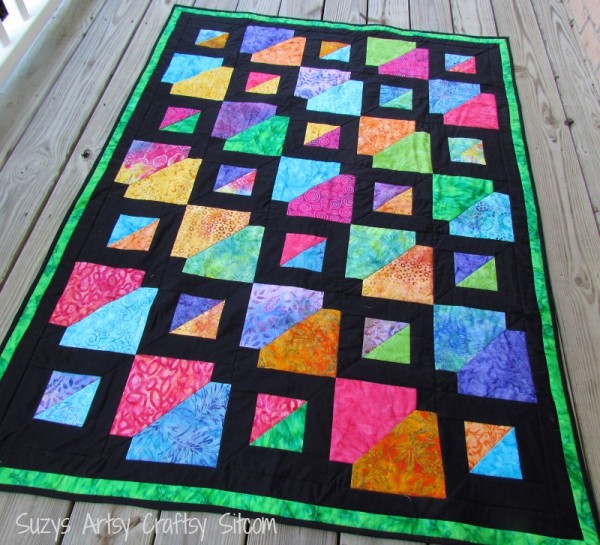
Want to try your hand at quilting? My newest quilt Pattern- Batiks Gone Wild! A great gift!
Are you new to the Sitcom? Be sure to check out my Frequently Asked Questions Page!
For over 150 crafty tutorials for all ages, visit my Tutorial Page!

These came out great. Depending on what you read, cutting foil either sharpens or dulls your scissors.
These eggs look adorable! What a creative cute idea. Thanks for sharing at #HomeMattersParty
Wow! Those are so pretty and easy to do. Except….. staring at those foil eggs just makes me want to peel them and gobble them up as if they were chocolate 😀
Wow, fun and easy idea! Great craft for kids to try. Visiting from Talk of the Town.
What a fun idea. Seems like it might work with plastic eggs since we aren’t big boiled egg eaters here.
These are super cute. Thank you for sharing at The DIY Collective! Would love to see you back this Thursday at 6am EST to see what you have been up to!
Could you do this with plastic eggs?
So cute!
This is terrific. I love the idea of creating such beautiful Easter eggs.
This is by far the best Easter Egg idea I’ve ever seen! Super cute and clever, and I can’t wait to make a few with my kids at the Smith House. Happy Easter!
These eggs are so pretty! What great idea!
I love these foil colored eggs! Would love if you shared this on the Spring Craft Easter Blog Hop.
Beautiful I love it, great proyect to do with my grandchildrens. Coming from Monday Funday
Hi! Stopping by from Craft Allie’s Worthwhile Wednesdays! These are so cool! Thank you for sharing!
Hi Suzy,
These eggs are magnificent! I totally love them so I thought I’d drop you a note to let you know that I’ve featured this project on http://www.DIYFunIdeas.com, a hub for only the really cool DIY stuff. The direct URL to the post is http://diyfunideas.com/diy-foil-easter-eggs/
Thanks so much. Totally love it!! ~Jenise