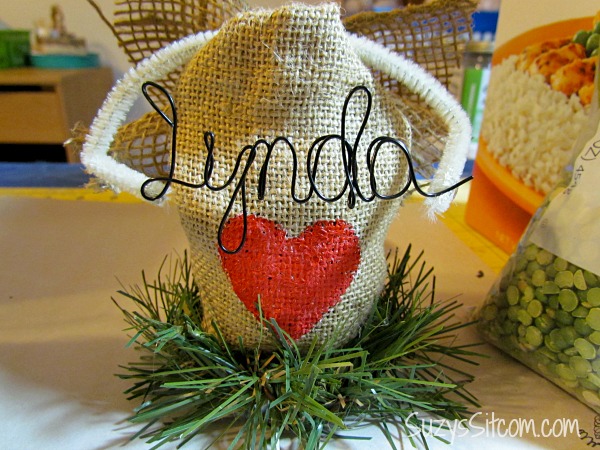
Burlap Angel Personalized Place Settings
I ran across some great burlap bags to work with, so I decided to create some Burlap Angel Personalized Place Settings!
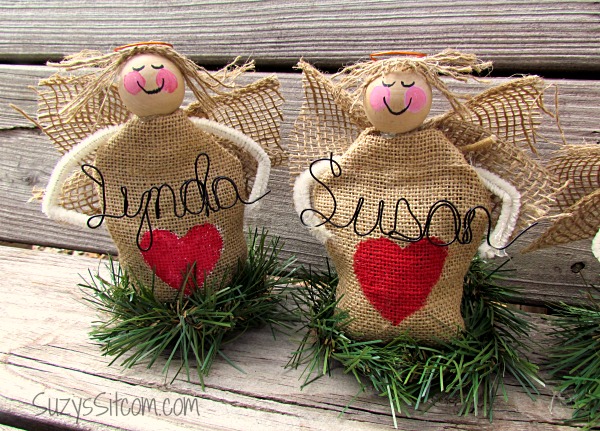
I’m always looking for fresh new ideas to make the holiday table special, and this year I wanted to add personalized place settings. The hubby says that we know each others names, otherwise why the heck would we even hang out together? True. But place setting are cool because if you are in charge, you get to sit next to who you want. Right? You can’t fault my logic. (At least the hubby isn’t allowed to). So place settings it is!
For this project I used:
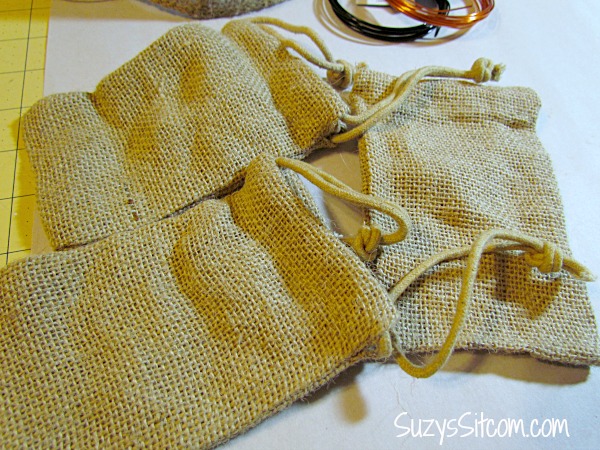
3″ x 5″ Burlap Bags
3″ wide Burlap Ribbon
Dried Peas or Rice
Acrylic Paint
2″ Wooden Balls
Faux Pine Branches
Pipe Cleaners
18 gauge black wire
Hot Glue
Black Permanent Marker
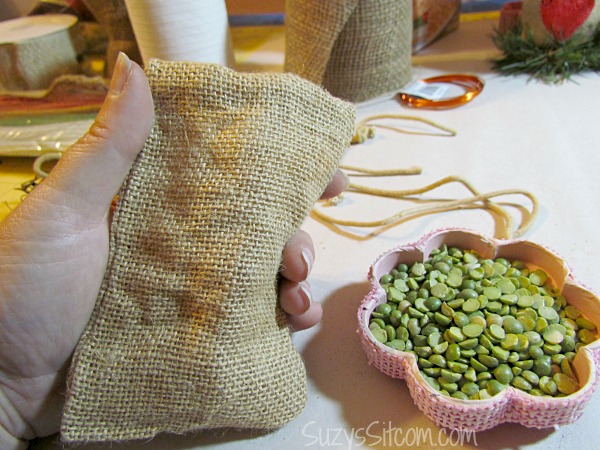
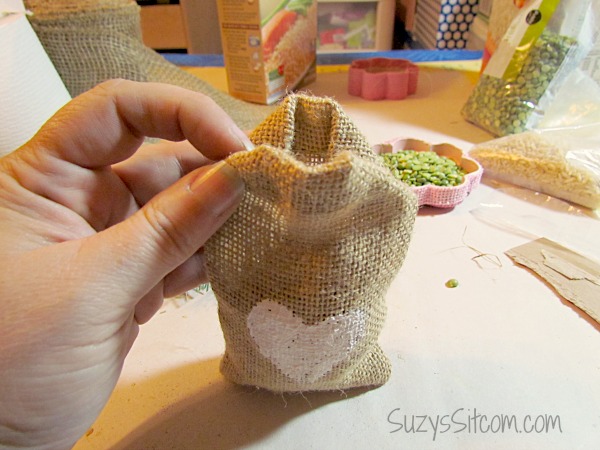
Begin by removing the strings from the top of the bag. Set them aside as you will use parts of them later. Then fill the bag about 3/4 full with either dried peas or rice. (This is to weight down the bag and make it better able to stand).
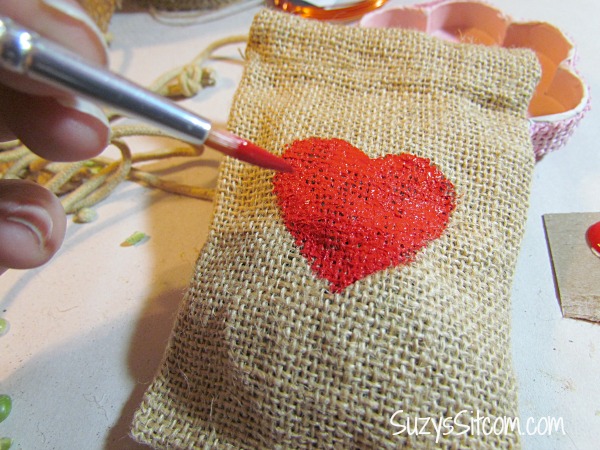
Use acrylic paint to paint in a heart on the bag. I started with white, but decided that it needed a bit of color, so changed it to red.
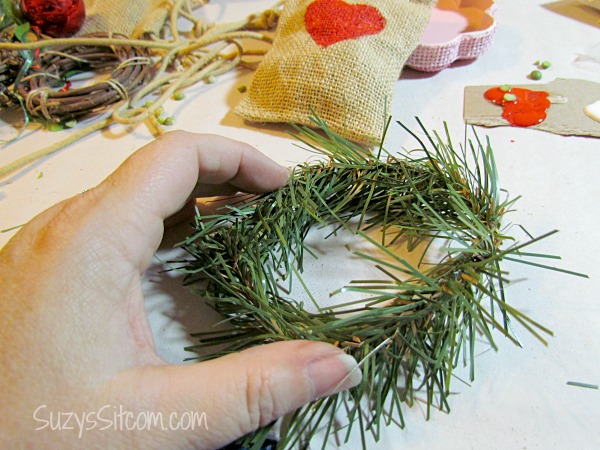
The greenery can be found in “picks” at craft stores. In my case an old wreath donated the fake pine boughs. Even with the weight of the dried peas, the bags still need a little something to help them stand. Create a little wreath with the fake pine boughs.
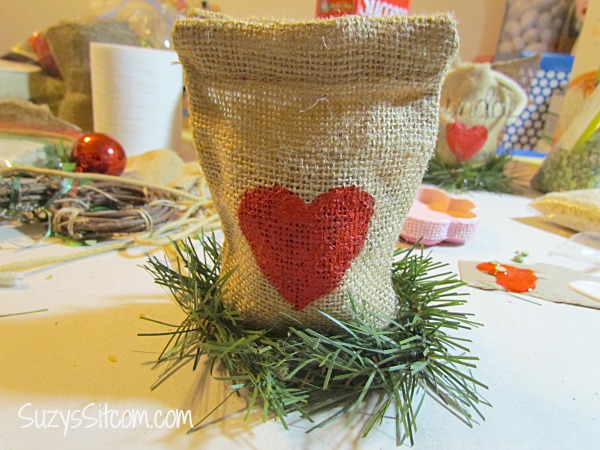
Push the bottom of the bag into the wreath. And now the angel can stand!
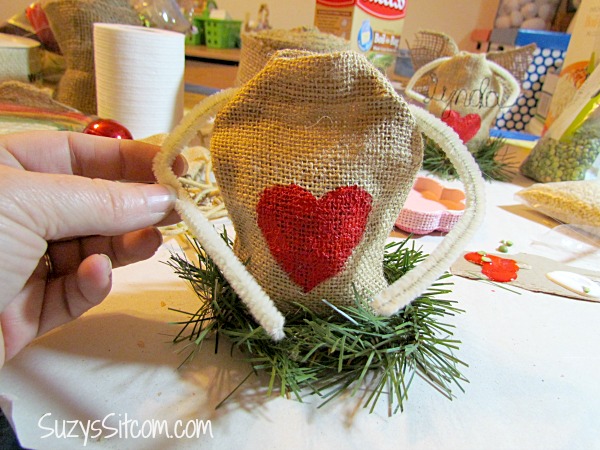
To create the shoulders, fold in each side of the bag top and glue in place with hot glue. (Use low temp hot glue for this project so that you don’t burn the crap out of your fingers). Just saying.
Glue a pipe cleaner into place and bend it at the elbows. It will be a bit too long, but you adjust it after the name is made.
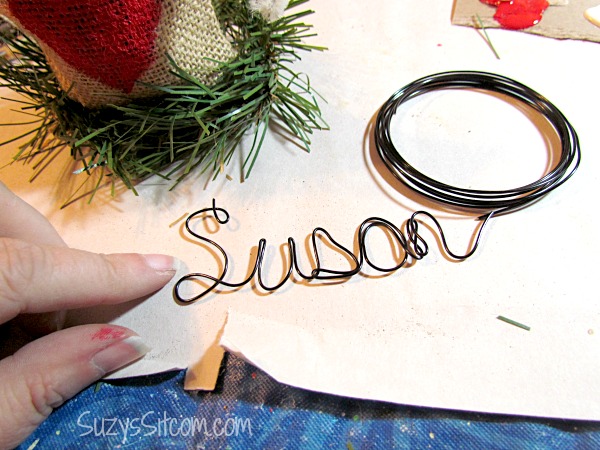
Draw the name out as you would like it on a piece of paper and then bend the wire to match as best as you can. You may need the help of a small pair of pliers.
Then adjust the arm lengths, cutting to the proper length and use hot glue to glue the name in place. (The name looks best if placed above the heart).
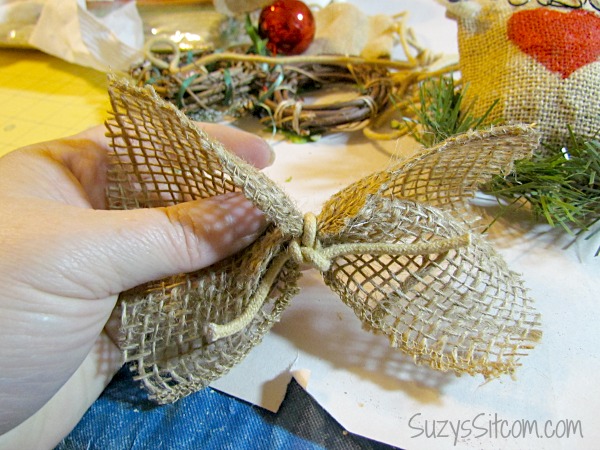
Cut about a 4″ piece of burlap ribbon and tie it in the center with a small piece of the string from the top of the bags. This will be the angel’s wings!

Glue the wings to the back of the angel. Glue on the wooden ball for a head. Use pink acrylic paint to add in the blush of her cheeks.
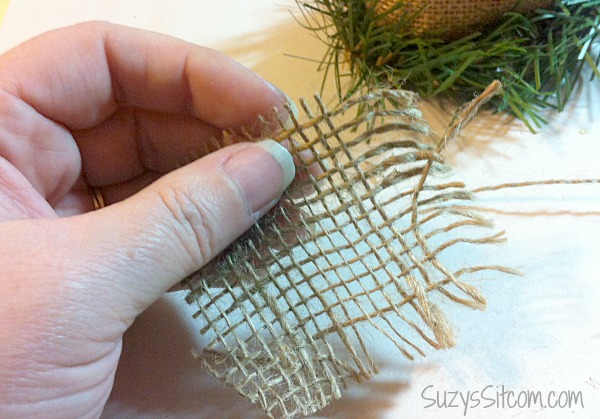
For her hair, cut a 3″ x 3″ piece of burlap ribbon and carefully remove the strings of burlap that run vertically, leaving about 3 or 4 of them in the center.
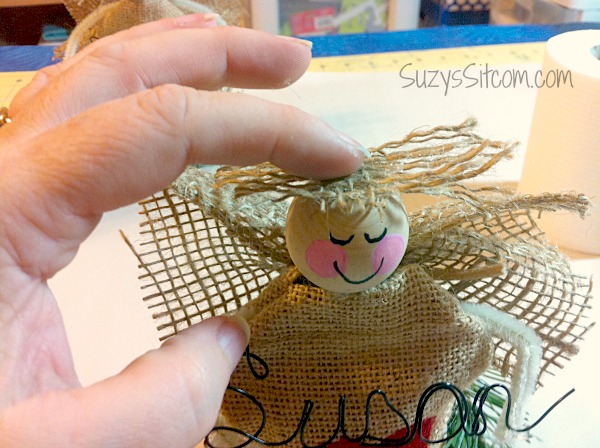
Glue onto the top of her head. Add a few dots of glue to the side of her head and press the burlap strings down along the side of her head.
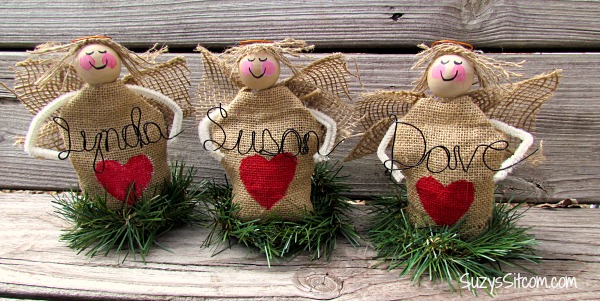
And there you have it! Place settings for the table!

Are you new to the Sitcom? Be sure to check out my Frequently Asked Questions Page!
For over 200 crafty tutorials for all ages, visit my Tutorial Page!

I hope you have had a wonderful holiday season! Thanks for partying with us at Merry Monday. Our first party of 2016 begins tonight, can’t wait to see what’s new!
Wow, this is so creative. I love how the wire letters look against the burlap angel. Such a nice idea. Thank you for sharing with us at #HomeMattersParty. We wish you a very Merry Christmas and Happy Holidays !!. We would love to have you again when we are back on Jan 8, 2016.
These are gorgeous and so creative – I love them! Thanks for sharing your crafty inspiration on this week’s Monday Funday Party!
These are the cutest angels!!! I love them. Thanks for sharing the tutorial. Pinning!
Suzie these angel are adorable, well done girl.
i’m not in the mooth for a xmas party but i will remeber them for one day to try it as well;-D
Thank you for the great tute and the sharing, have a merry chistmas;-D
These are so cute. I especially love the way you put the names on. thanks for sharing at the #HomeMattersParty
Those are just the sweetest!
Here from Inspire Me Monday.
I love the burlap rolls…so many projects could be made with this!
I LOVE THE Lion Burlap Pillow Case 18 x 18
OMG!!!! Now I’m famous!!!!! I love these, they would be great for the ornament club too
I would love to have one of the angels.
I like the canvas tote bags.
Suzy these are sooo cute!! i like the bags, stockings, and jewelry boxes! thanks
I love burlap. I would love to win to make these angels.
I love the Lamé fabric, gold & silver!
THe angels’ hairdo is to die for.
I just love the angels. There are so many things that you make that I truly enjoy. Happy Thanksgiving & crafting.
I love the beautiful lace rolls!
I loved the Burlap Mason Jars. These would be so cute decorated for Christmas and put each family members name on them, put a tea light with timer inside jar. Then have each member hang on the Christmas Tree while decorating it and tell what they are thankful for. Happy Holidays everyone! 🙂 DiEtta
I liked burlap masons jar’s can decorate them lot’s way..Thank’s Suzy
I love these angels and they look very easy to make. Thanks for the inspiration.
I love all of the linen articles especially the linen bags. But the burlap jewelry boxes also spoke to me.
What cute little angels! Would love some burlap bags to make some for Christmas angels.
I Love most everything but the coffee bags, so cute I can think of so many uses.
I really like the Burlap Banner!
I loved the chevron burlap. Would love to do something creative for my daughters room
I love the Burlap Euro Shopping Bag and the burlap lace rolls!
I love all the different size natural burlap bags as well as the colored ones!