
Easy to make Spring Yo-Yo Pillow!
May is right around the corner and the trees have just started to bud. So I decided to bring a little spring color into my RV. I created a colorful yo-yo pillow out of fabric scraps and a throw pillow!

This is a great project to do in front of the television at night. You do not need a sewing machine and the stitching is a basic running stitch. I’ve included the full tutorial for you below!
For this project I used:
Brightly colored fabric scraps
5″ diameter lid (for template)
Pillow
Needle, Thread

Begin by creating lots of 5″ circles using a various mix of colorful fabric. Trace around your 5″ template with a fabric pen or pencil and cut out the circles.
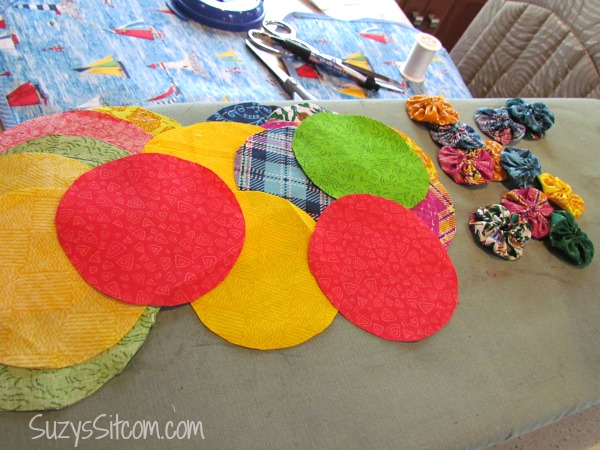
The number of circle that you might make depends on the size of the pillow.
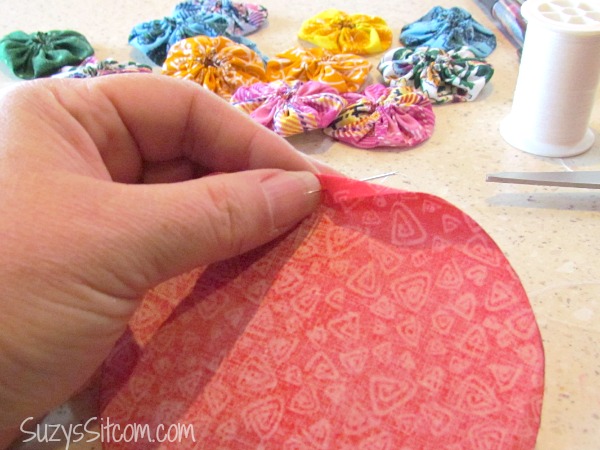
To make the yo-yo’s, fold the edge of the circle about 1/4″ (with wrong side facing you), and begin sewing a running stitch.

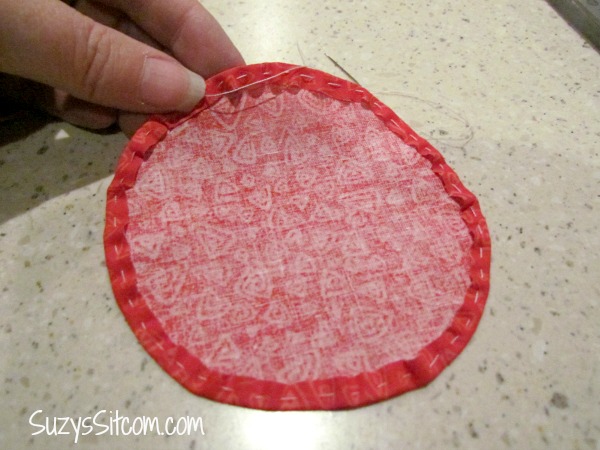
Work all the way around until you get to the starting knot. Do not cut or knot your thread at this point.
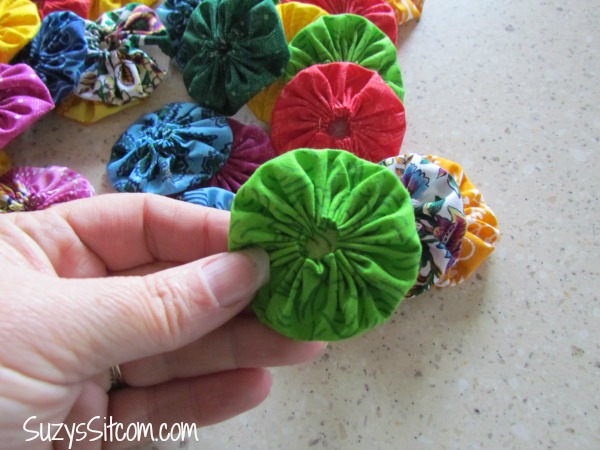
Pull the thread tightly to gather the circle of fabric, creating a yo-yo like above. Take a small stitch to hold the gathers in place, then knot your thread and cut off the end. Backstitch over the knot so it doesn’t pull out.
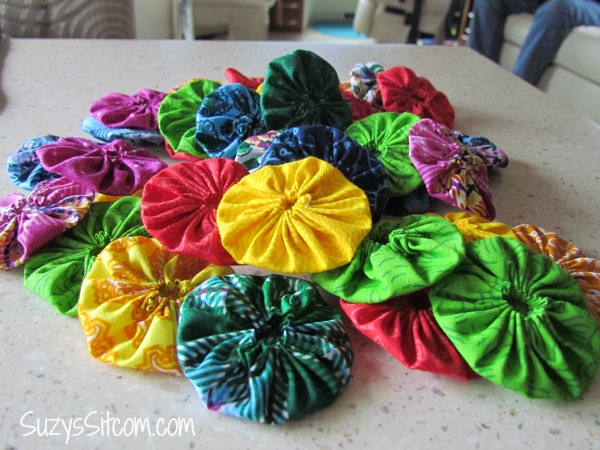
Create as many yo-yo’s as you might need to cover your pillow.

To join yo-yos, place them with the gathered sides together. Using thread and small stitches, whipstitch them together for about 1/4-inch.
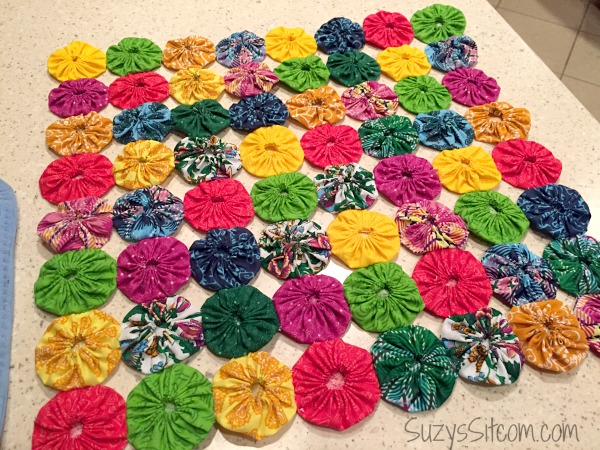
Make rows of joined yo-yos, then sew together the rows in the same way.

Center your sewn together yo-yo’s on top of your pillow and tack into place with a needle and thread.
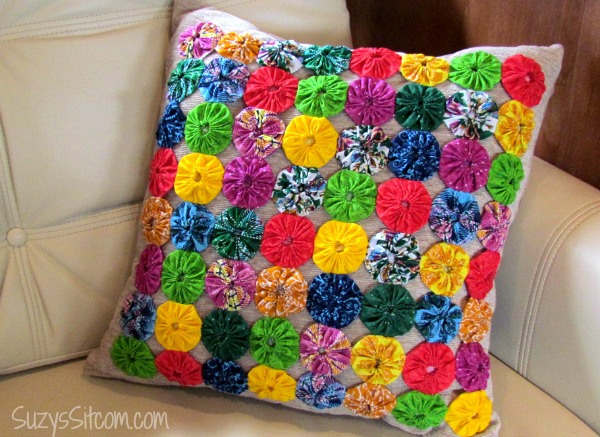
Looks pretty doesn’t it? All that color just makes me smile.
Are you new to the Sitcom? Be sure to check out my Frequently Asked Questions Page!
For over 200 crafty tutorials for all ages, visit my Tutorial Page!


I can,t find the tutorial for yo-yo pillow please tell me how i can get it
Very cool! I’ve been planning on making some of these so finding this post at Inspire Me Monday must be a sign!
I never thought of making small ones to fill in gaps, great idea!
also i used to make smaller ones to lay over the “gap” it turned out nice that way too
blast from the past! gosh i used to make dolls and other things from these… even a baby blanket! neat little quick things to take with you while waiting for appointments and such!
I love yo-yos! I’ve been working on a bunch of these lately and would to make a pillow like yours. I would love for you to link up at the Stitch It, Blog It, Share It Link Party going on now at behindtheseamssewing.com.
~Bonnie
So bright and cheery! Thanks for partying with us at Idea Box! See ya back next week!
I love yo-yo’s and what you can make with them. I usually use the Dritz yo-yo makers. Thanks for sharing.
Beautiful. Very colorful and pretty. xo
What a cute project. I have lots of scraps I could use to make this.
Saw this on You’re Gonna Love It.
I remember yo-yo projects and love easy things I can do while watching TV. This is really cute thank you for sharing at Share It One More Time. Cathy
Love the bright colours, pinning!
I love making yo-yos. They are so fun and I love the colors you used for your pillow. I’ve tried many techniques for yo-yos including sewing around paper patterns but I hate having to remove the paper after the fact. For your project I’ll cut out the 5″ circles then cut a cardboard pattern 4 1/2″ circle, lie the smaller circle inside on the wrong side and press over the 1/4″. Before sewing I remove the smaller pattern and don’t have to worry about the exact 1/4″. It takes and extra step in prep but overall I find my sewing goes must faster.
Very colorful. Those yoyos might make a cheerful edging to curtains or around the top of a tote bag.
That sure perked up a plain pillow! Might make a pretty edging for curtains or around a tote bag.