Make Beautiful Butterfly Window Clings!
I love adding a bit of color in my motorhome. Especially this time of year when the dry days turn all the beautiful green fields a dusty brown. While paging through some of my old craft books, I came upon the idea to make your own window clings with fabric puff paints.
So let’s create some butterflies for the windows! And I’ll throw in a free pattern or two. Want to know how to make them?
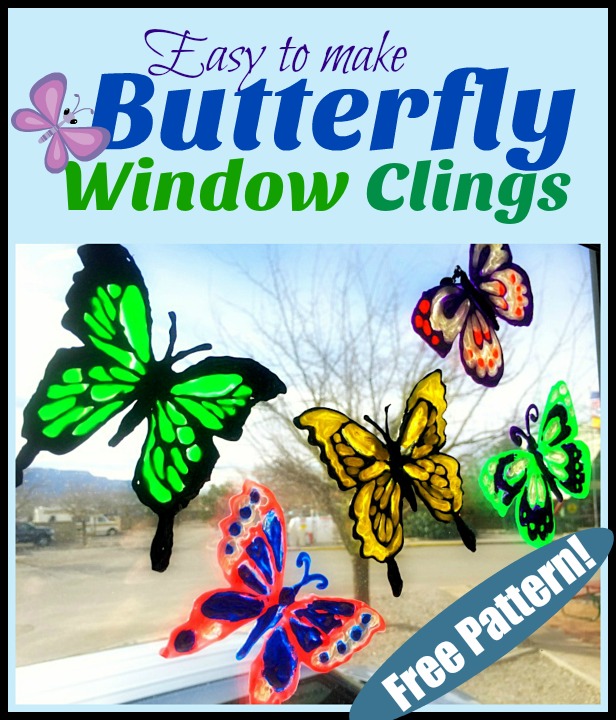
These pretty window clings are so easy to make! All you need is puffy fabric paint and my free butterfly pattern. They cling easily to your shiny clean window without leaving any residue and add a bunch of bright color to an otherwise dreary day. You can even stick it to windows with flyscreens Melbourne.
For this project I used:
Assorted colors of Fabric Puffy Paints
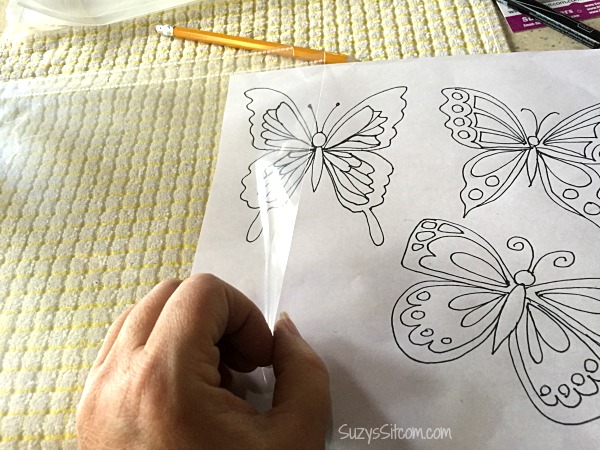
Clear Sheet protectors
Free Butterfly Pattern: Click Here!
Begin by placing a clear sheet protector over top of the butterfly patterns.
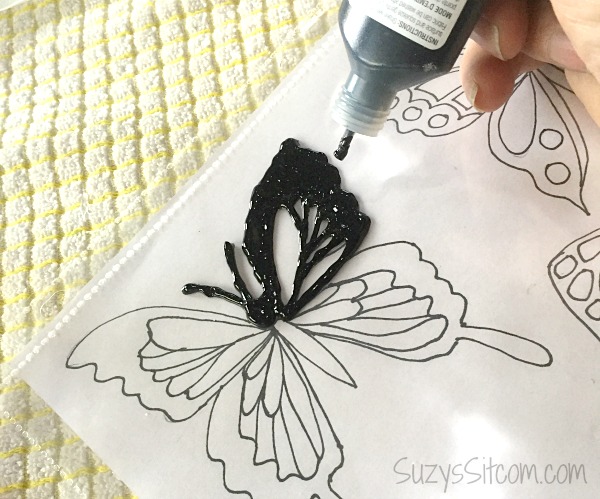
Using the fabric paint, draw out your outlines.
Keep working while everything is still wet. (Fabric paint takes a long time to dry, so you have plenty of time). A thick layer works best.
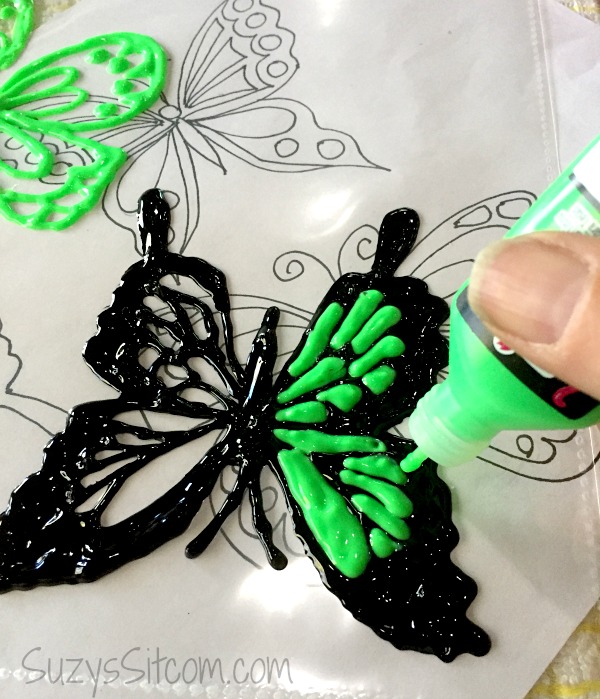
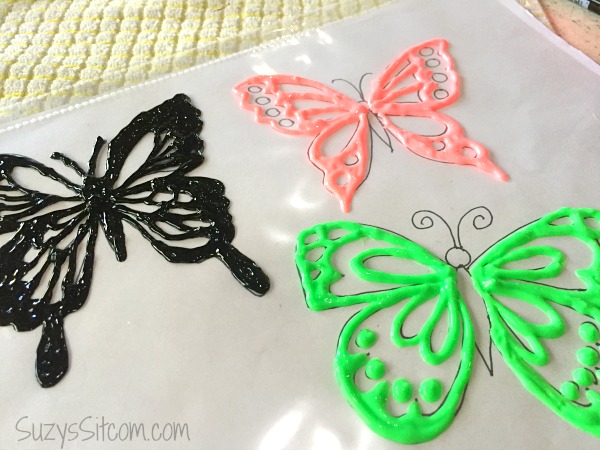
Fill in your empty areas with more color.

Allow your butterflies to dry overnight. (Don’t try to rush them as it is much easier to get them off the plastic when totally dry).
Once they are totally dried, peel them off of the plastic.
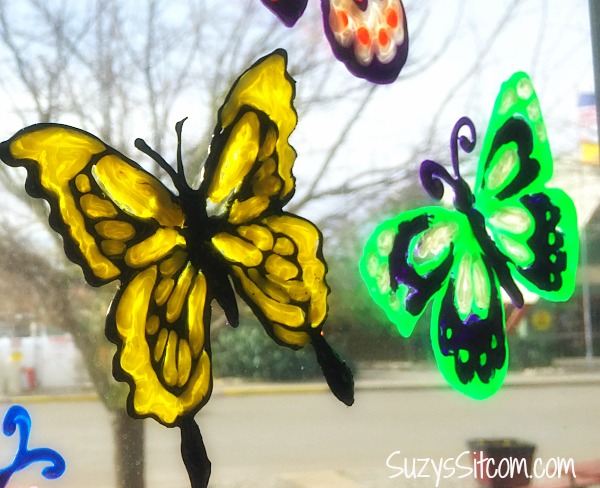
Then add bright colors to your windows! Simply push them onto your window and they will stick to the glass. Move them around by peeling them off and re-sticking them.
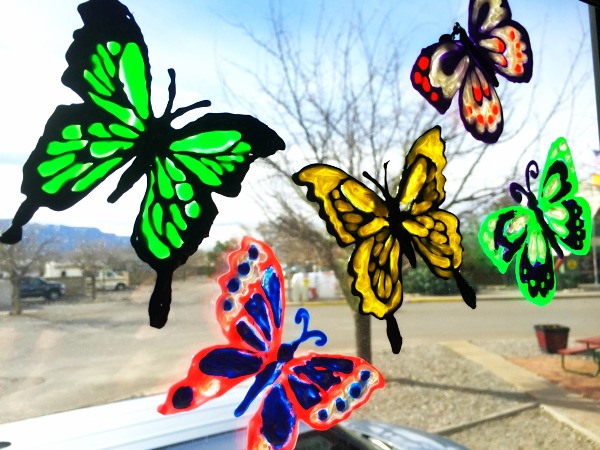
It is a great way to add a touch of color to your windows!
Are you new to the Sitcom? Visit my Frequently Asked Questions Page!
Want more butterfly craft ideas?

For over 200 crafty tutorials for all ages, visit my Tutorial Page!