DIY Quilted Doggie Placemats
We are finalizing the move into our RV this week and after finally finding room for their dog food, I realized that the dogs needed placemats under their dishes. Why? Well, for one it will keep the floor from getting messy, but the most important thing is everyone knows that dog food has much better taste when it is eaten over a rug. Since I want to save my new carpet, a quilted placemat is in order!
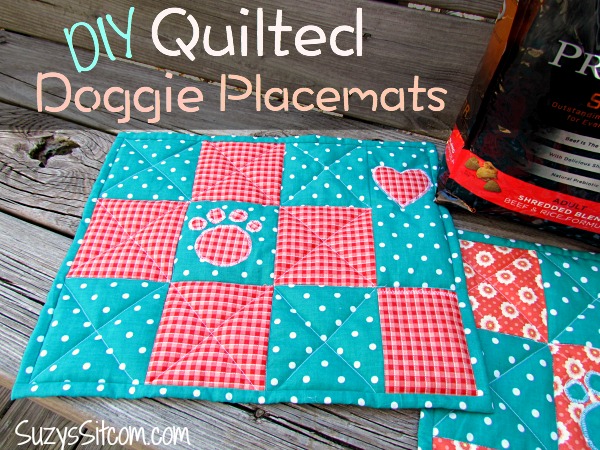
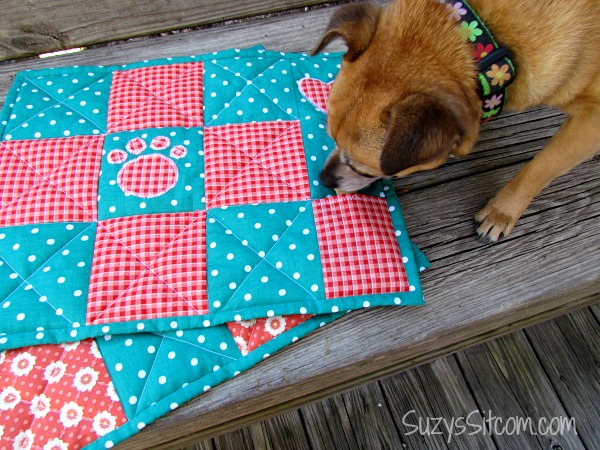
These quilted placemats are easy to make! And they have a little pocket on the side to put a treat in for dessert! I love creating my own decor and since my motorhome will be featuring teal and red inside, these little placemats will work well!
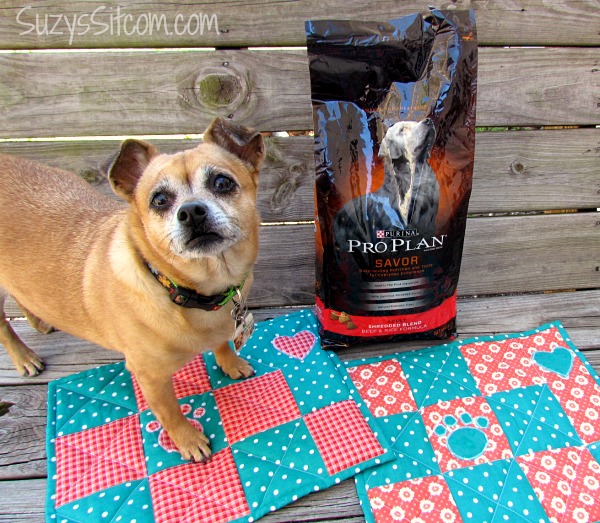
Faith seemed pretty impressed with them. But then again, maybe she was just wanting me to open that dog food bag.
So let’s make some placemats!
For this project I used:
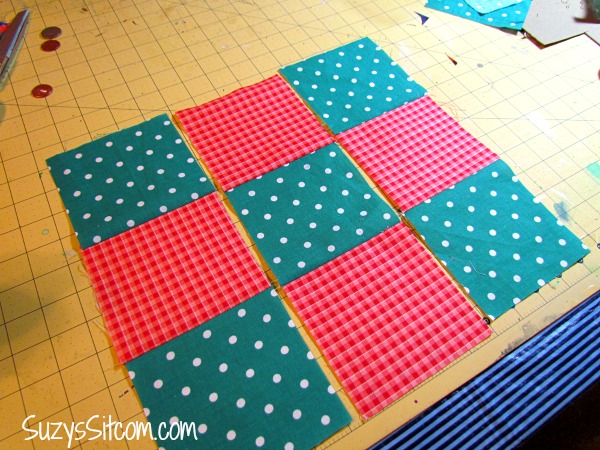
(5 ea) 4.5″ x 4.5″ teal squares
(4 ea) 4.5″ x 4.5″ red squares
(1 ea.) 3.5″ x 12.5″ teal rectangle
(1 ea.) 3.5″ x 5″ red rectangle (for pocket)
(1 ea.) backing in teal (15.5″ x 12.5″)
batting cut about 1″ larger (16.5″ x 13.5″)
(2) 1.5″ x 40″ strips for binding
Small amount of Fusible Web
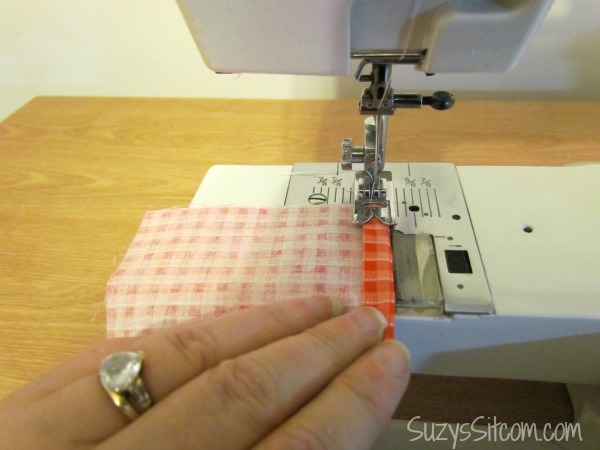
These directions are for one placemat. (I made contrasting ones for each dog). Begin with the rectangle meant as the pocket. Fold over one of the 3.5″ sides and sew in place. (This is the top of the pocket).
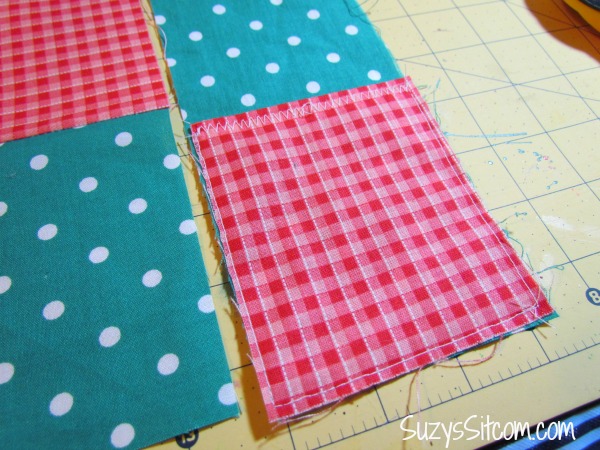
With wrong side of pocket against the right side of the 12.5″ x 3.5″ strip, sew the pocket in place with a 1/8″ seam, leaving the top of the pocket unsewn.
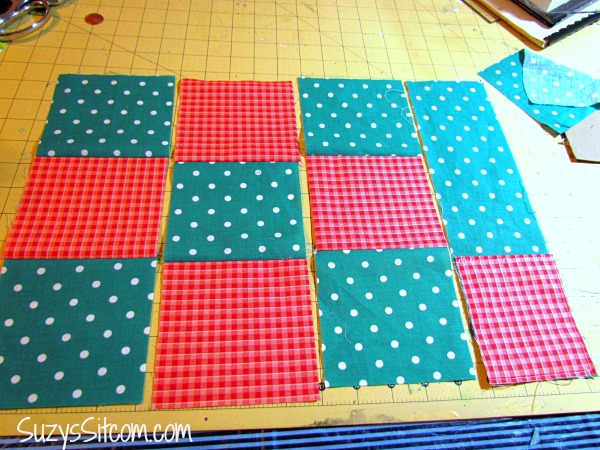
Sew each row of squares together using 1/4″ seams as shown. Then sew each row together to create the placemat top.
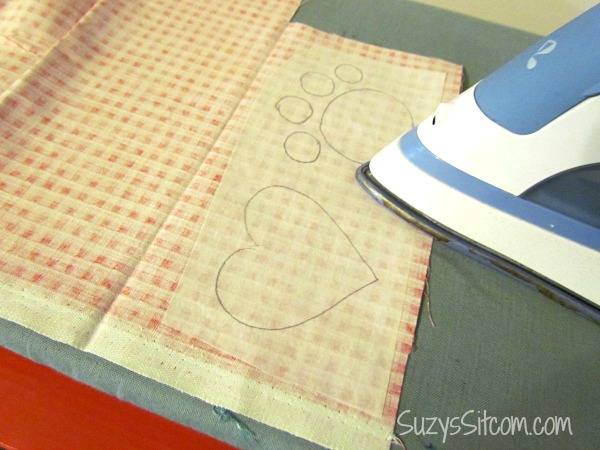
Draw a heart and a paw outline onto the smooth side of some fusible web. Choose fabric for your pieces and iron the fusible web, rough side down, onto the wrong side of the fabric. (IMPORTANT- be sure the smooth side is up and rough side is down. The rough side is adhesive which will stick to your fabric. You do not want it sticking to your iron).
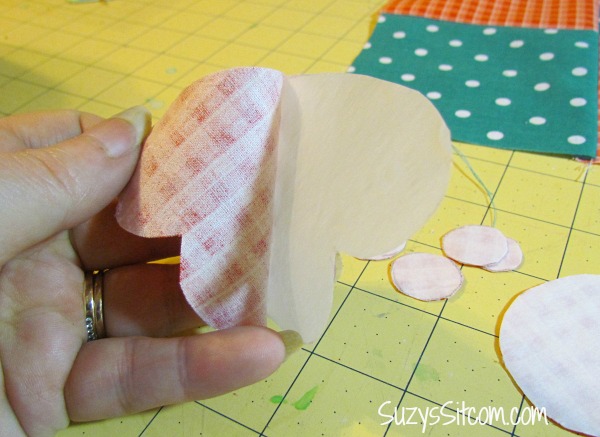
Cut out your pieces. Once they are all trimmed, you can peel off the fusible webbing, which will leave a layer of adhesive on the back side of your fabric.
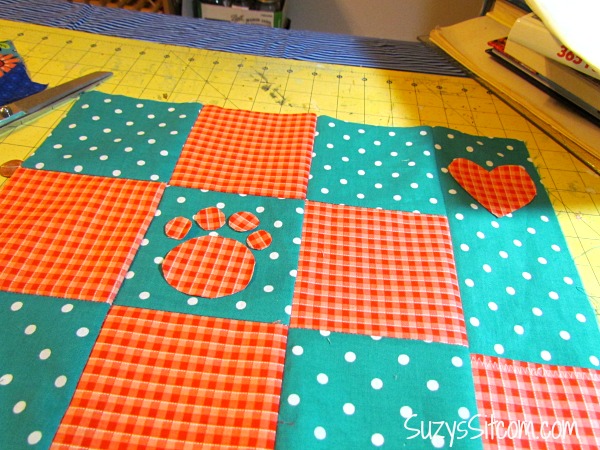
Lay your pieces down one by one, and iron them onto the fabric front.
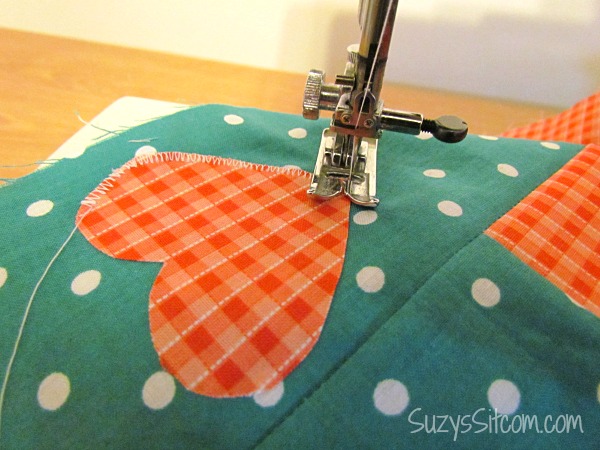
Now use a small zig zag stitch to stitch along all the outlines. This will keep the fabric permanently in place. And it looks pretty cool too!
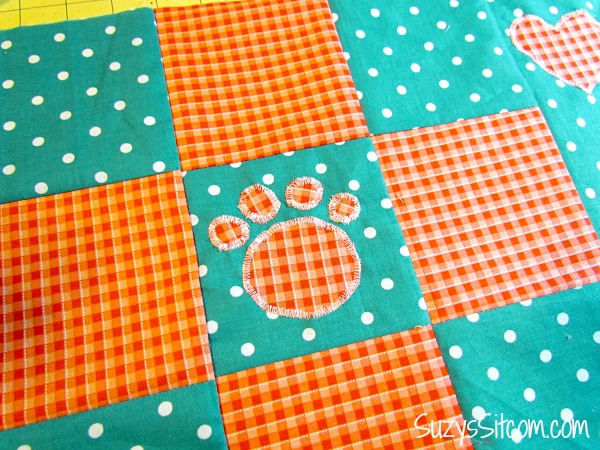
Once all the pieces are stitched down, it is time to quilt!
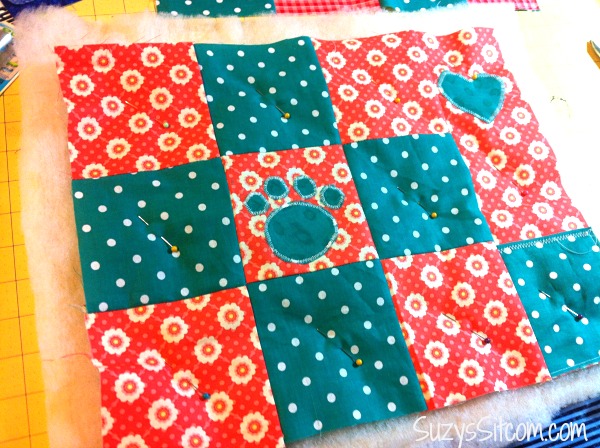
Layer the fused fabric front, one layer of batting, The bottom layer will be the fabric back with the wrong side up. Pin the layers together.

Sew all three layers together. I followed along the sides of the squares and then stitched diagonally across all but the center square.
I finished with binding. If you need a tutorial on binding, check out my quilt binding tutorial here. Or for another easy way to bind, this video on binding a quilt is a great help.
I stuck a treat in the pocket to see how it worked. Faith said it works just fine!
Do you love to create things for your pets? What have you made?

Are you new to the Sitcom? Be sure to check out my Frequently Asked Questions Page!
For over 200 crafty tutorials for all ages, visit my Tutorial Page!

These would also be great as liners for little dog carriers. So cute!
I totally love these! What an awesome idea and something special for any fur baby. Stopping by from #FoodieFriDIY
Your placemats are so cute! I love the color combination! I’m pinning this! I don’t have a dog, but my parents have a puppy (Shih tzu & Pomeranian), and my mom would love something like this for her darling Mickey.
Navy Wifey Peters @ The Submarine Sunday Link Party
Adorable! Great post!!
Haha “Everyone knows that dog food tastes much better when it’s eaten over a rug” isn’t that the truth! And he bigger the mess, the better, right? #client