
DIY Peacock Zipper Brooch with Free Pattern!
This project is simple to do, and the result is a pretty zipper brooch. It makes a great gift, a pretty decoration for your purse, or even a nice refrigerator magnet! If you have never worked with zippers or done felting before, this is a great first project!
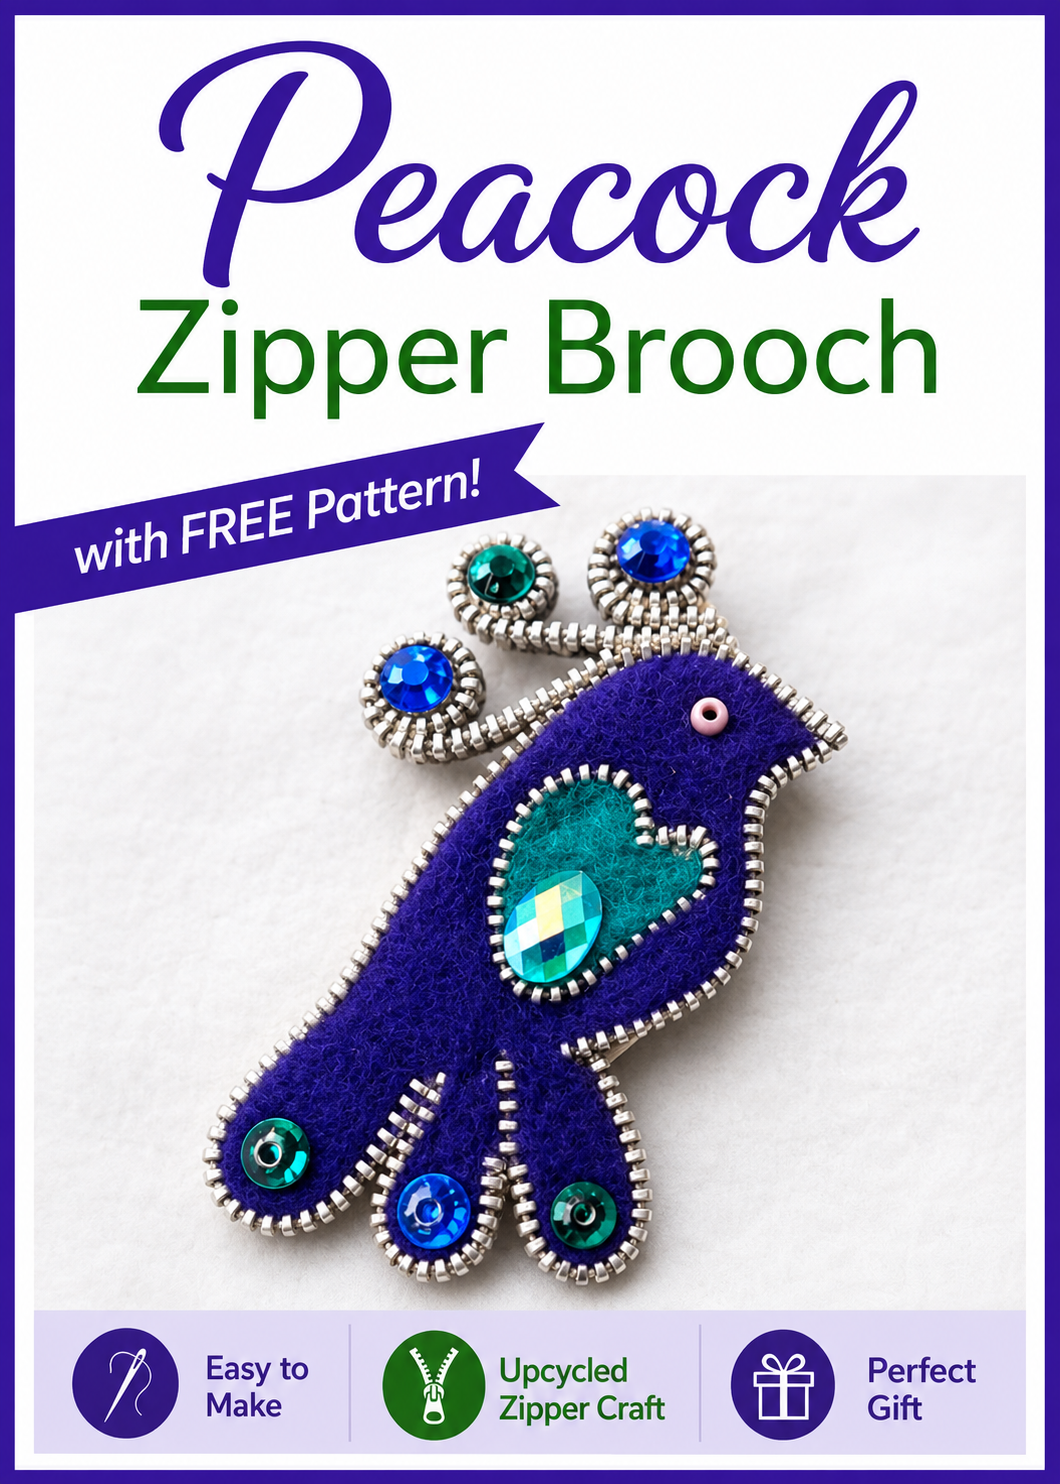
Now keep in mind that I created my own version, so my instructions might be different than, oh say, a professional zipper jewelry designer. So if you happen to be a Professional Zipper Jewelry Designer or PZJD for short, then bear with me as I walk you through the Sitcom way to make zipper jewelry!
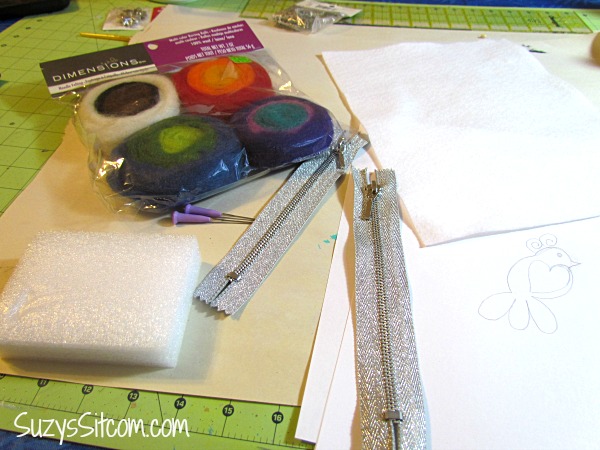
Affiliate links to Amazon below:
For this project I used:
2 ea. 6″ metal zippers
Small piece of thick white felt (thicker felt is best)
Felt roving in purple and teal (very small amounts)
Felting needle and pad
Low temp hot glue gun (do not use high temp or you will burn the crap
out of yourself!)
FREE Peacock Brooch Pattern
Metal Pin Back
Assorted colored gemstones and beads
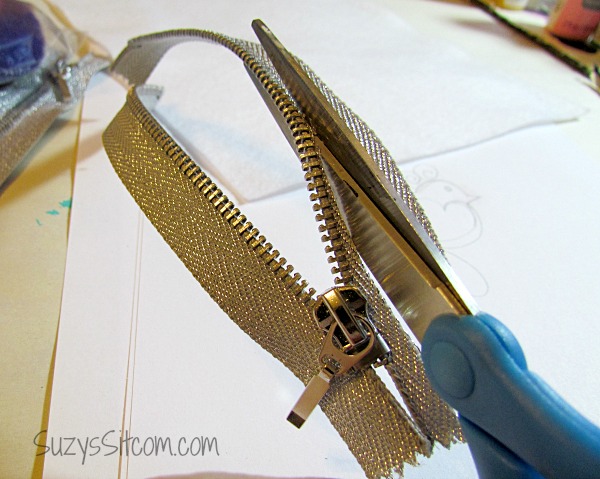
Begin by cutting away the material part of the zippers. I found that the easiest way to do this was to cut off the very end of the zipper, and removing the zipper pull, ending up with two separate pieces.
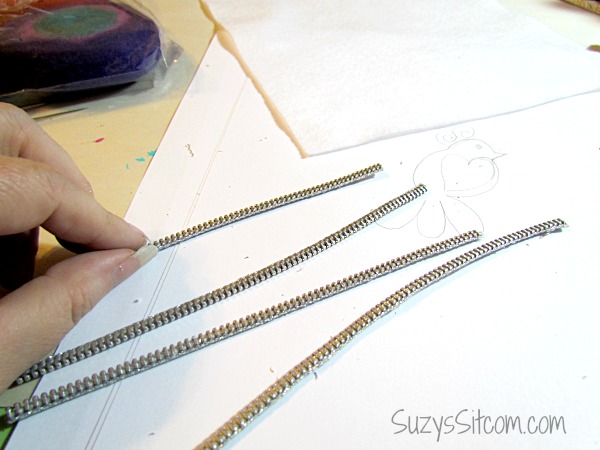
Then trim off the fabric so that you are left with just metal zippers. A six inch zipper now is the equivalent of 12 inches of metal zipper!
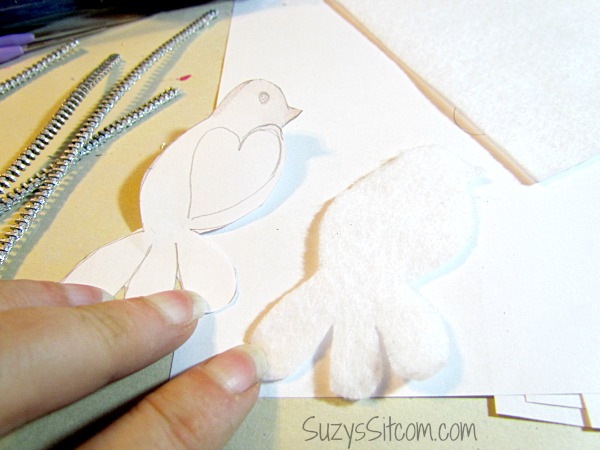
Make several copies of the pattern for reference. Cut around the perimeter of the bird (minus the head feathers) to create a pattern to cut your white felt with. Most craft stores sell thick felt along with their felt roving. I recommend using the thicker felt for this project.
Use your pattern to draw the bird on the felt and then cut it out. This is your base.
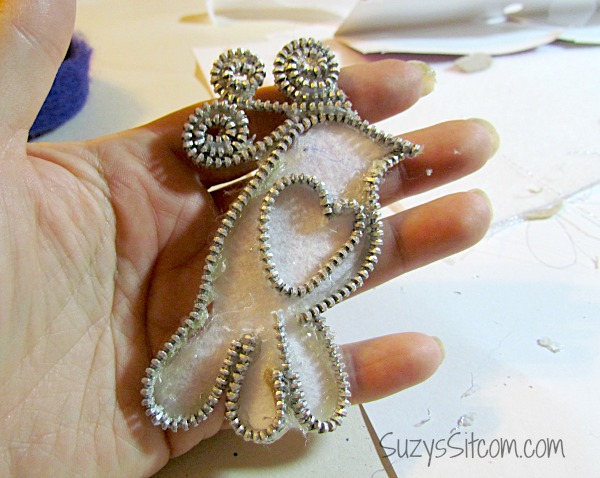
Carefully add hot glue to just the base of a small portion of the zipper and start gluing it down around the outside edges of the felt. Do just a little at a time, being careful not to get glue on the top part of the zipper.
Once the bird is outlined in zipper, add the small zipper heart to the inside.
To create the head feathers, take a portion of zipper and tightly wind it, adding dots of hot glue as you go. (See now why I said low temp hot glue?) Glue the head feathers in place as shown.
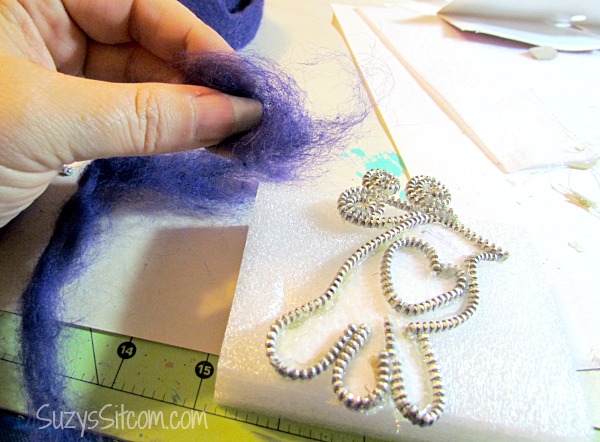
Now for the fun part!! Lets give this bird some personality! Lay the bird on top of a felting pad (or even a piece of styrofoam will do). Pull off a small piece of purple felt roving, lay it in the area that you want to cover, and then start puncturing it with the felting needle.

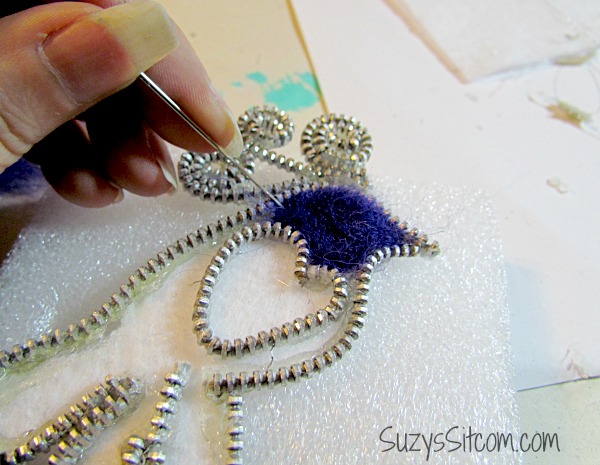
Be careful not to puncture yourself. Seriously. If you’ve never felted before, you may find the process very cathartic. Imagine the bird is your boss. Ha! The felting process attaches the roving to the felt underneath.
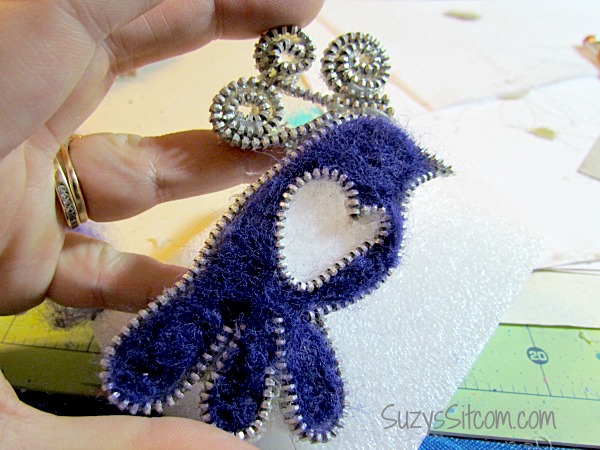
Just keep punching the needle in and out until it looks the way you would like, adding more roving when needed.
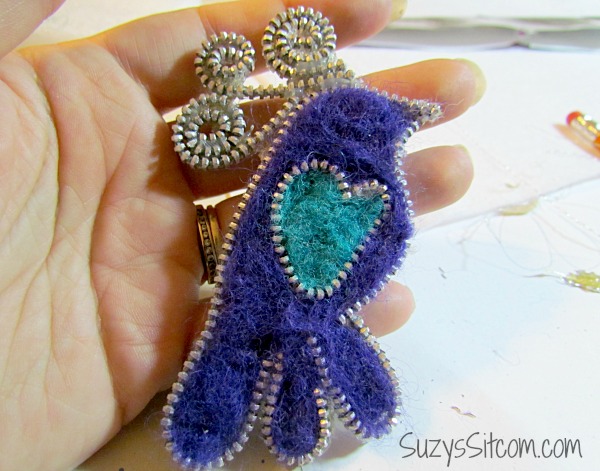
Use teal for inside the heart. Birdie is looking pretty! Add gemstones and beads to make your felt bird awesome. I used touches of hot glue to apply them.
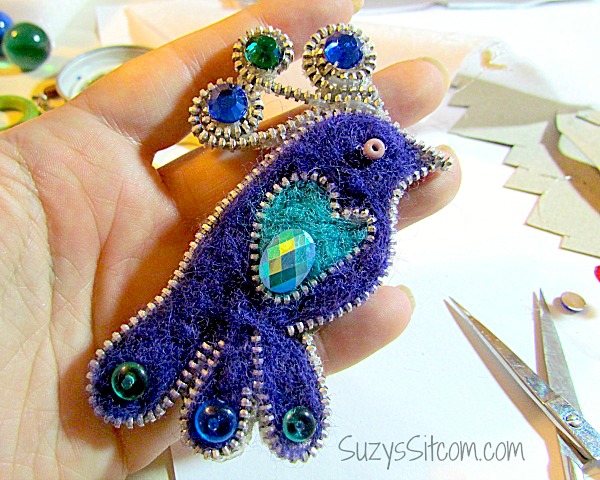
If you used thick felt for the backing, all you would have to do now is glue on the metal pin back to the back of the bird. If you choose to make it into a magnet, just glue a magnet to the back.
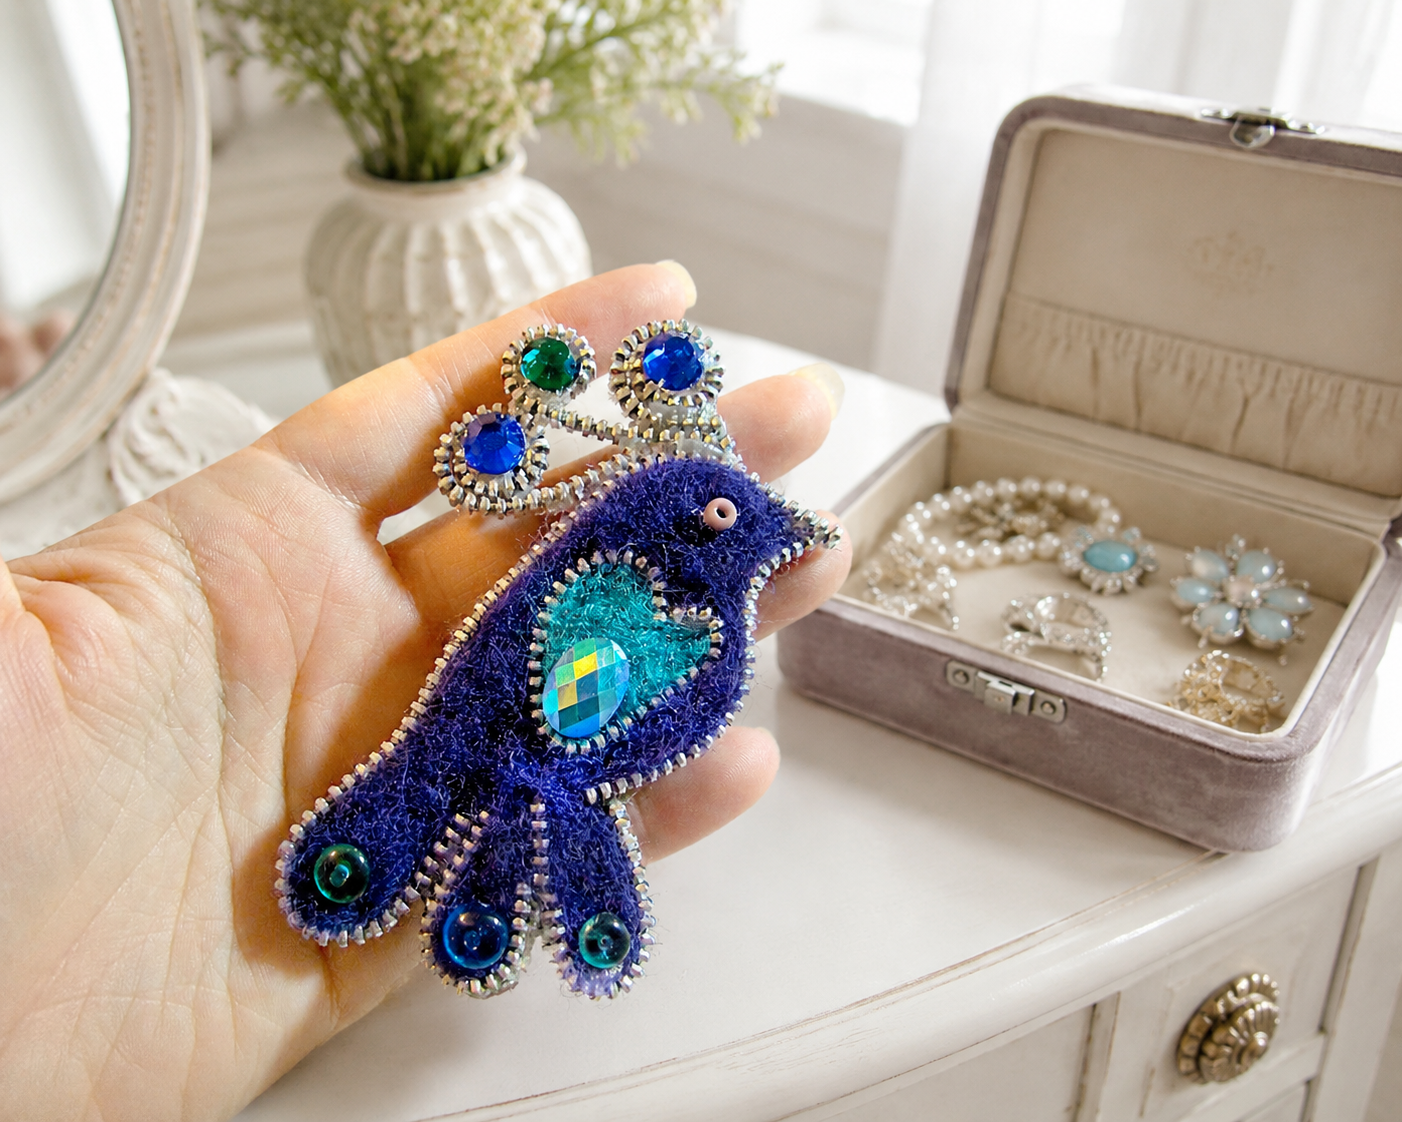
And there you have it! A pretty brooch for giving, or just keep it for yourself!
* You can find felt roving in most craft stores. Regarding the zippers- shop around! Metal zippers are still available in most sewing stores and at Walmart. You can complete this project for under $10 and have lots of felt left over for more projects!
Are you new to the Sitcom? Be sure to check out my Frequently Asked Questions Page!
For over 150 crafty tutorials for all ages, visit my Tutorial Page!


Needed something to do with all of the zippers from old jeans that I’ve used for other projects! Thanks for the beautiful idea.
What an awesome idea!!! It turned out beautiful!