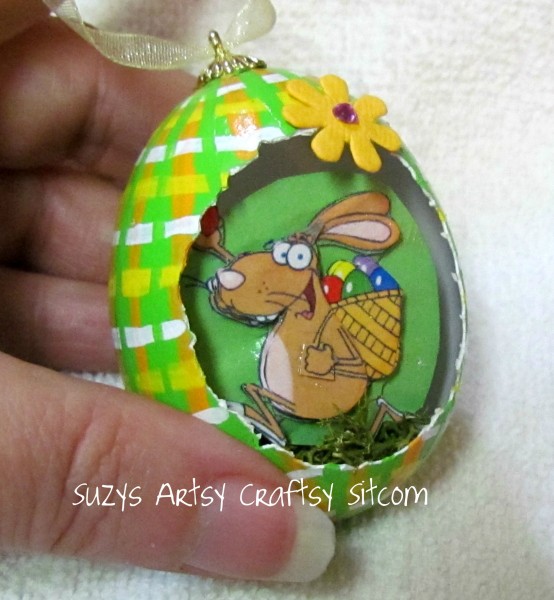
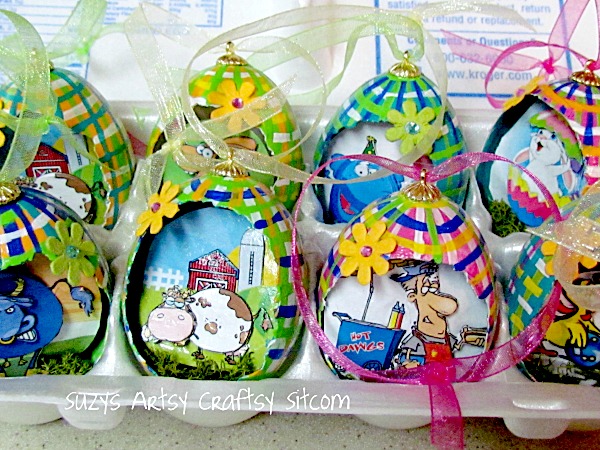
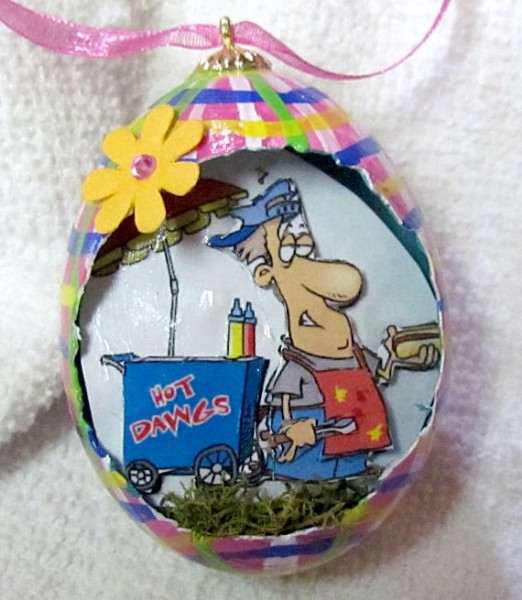
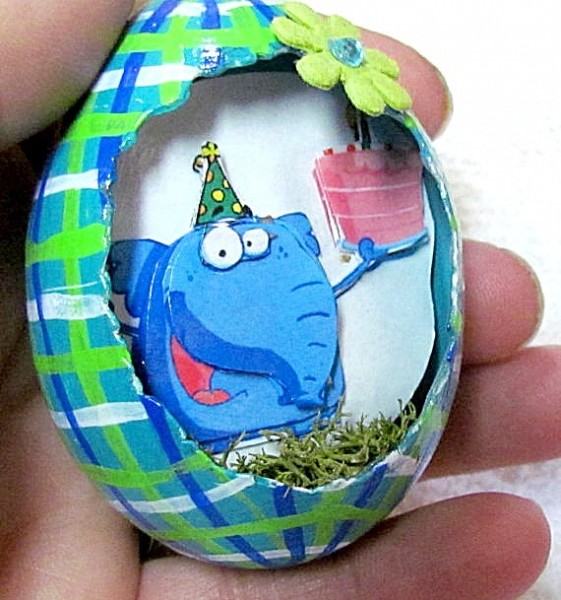
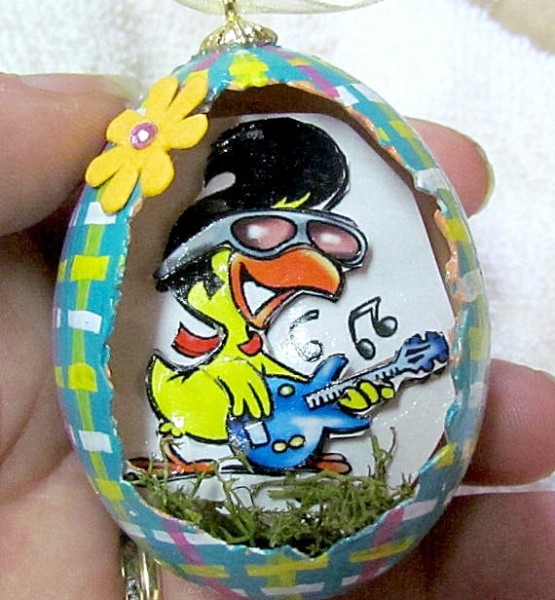
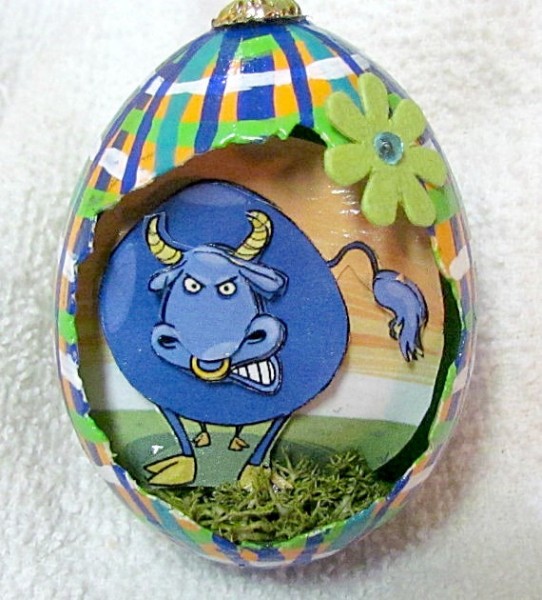
Love miniatures? Want to make something amazing? Create a miniature scene inside a real chicken egg shell! This project is not as hard as it looks and the results are fabulous!
My mother owns chickens; my sister owns ducks and geese. Between the two of them, they are keeping me well supplied in eggs for my Ukrainian egg art. So well in fact, that I currently have an over-abundance of eggs. Since I seem to have eggs on the brain, I came up with a few new projects to try with them. I enjoyed putting together the little scenes for my mouse trap clips that utilized the art of paper tole, or 3D effects. So I thought I’d move onto eggs and created 3D Panoramic Eggs….
For this project I used:
One dozen jumbo eggs
Acrylic Paint
Assorted clip art copied 6 times
White glue
Thin cardboard
Styrofoam
Mod Podge
Egg Finding
Thin Ribbon
Natural Moss
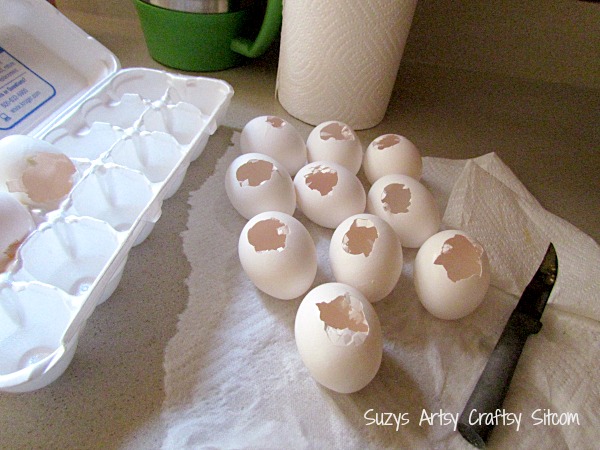
Begin by taking your dozen eggs and breaking holes in them. My method was to place the egg on a towel and tap it gently with the handle of a knife until it broke open a small hole about the size of my thumbnail. Dump out the insides and then wash the shell thoroughly and allow it to dry. During this process, I did lose two eggs due to over-cracking, so be sure to prepare more than you will end up needing.
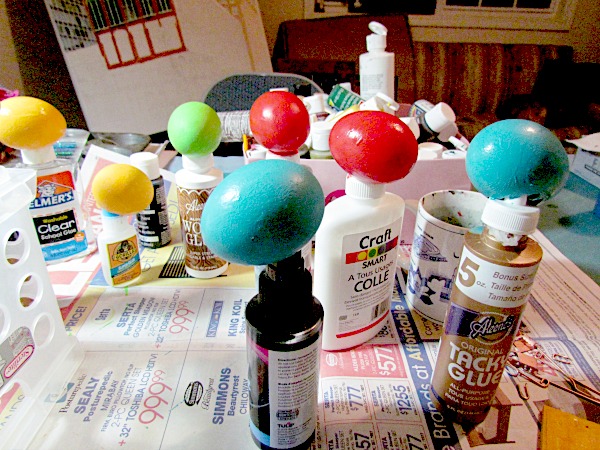
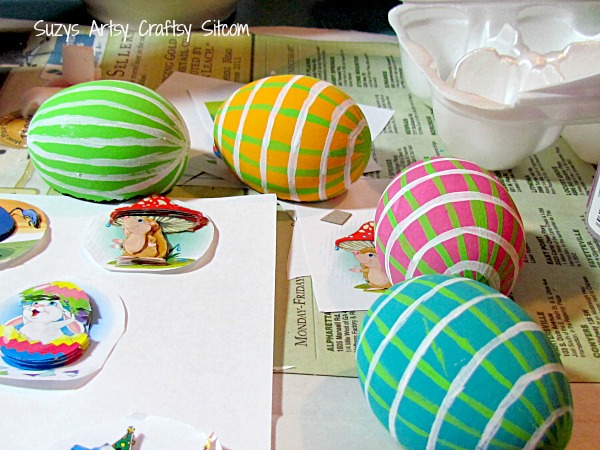
Paint each egg with several coats of paint, allowing them to dry in between each coat. Like my cool drying rack? After the outside of the egg is dry, paint several layers of light blue paint on the inside of the egg. After it is thoroughly dry, the shell is protected enough to cut out your opening with a pair of small scissors. Trim it carefully, and with any luck, your shell will stay intact. I lost one more egg during this process. Started with a dozen and ended up with nine total.
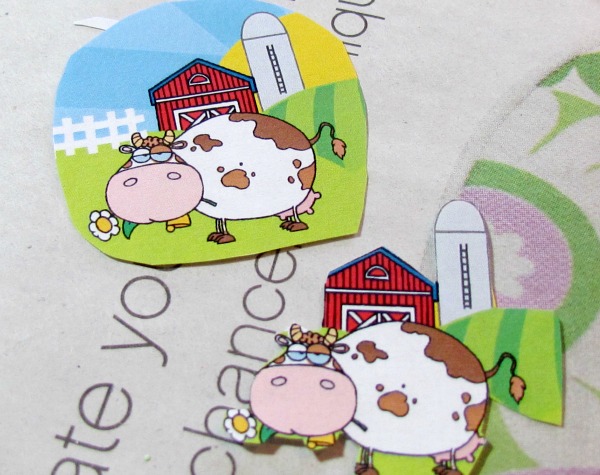
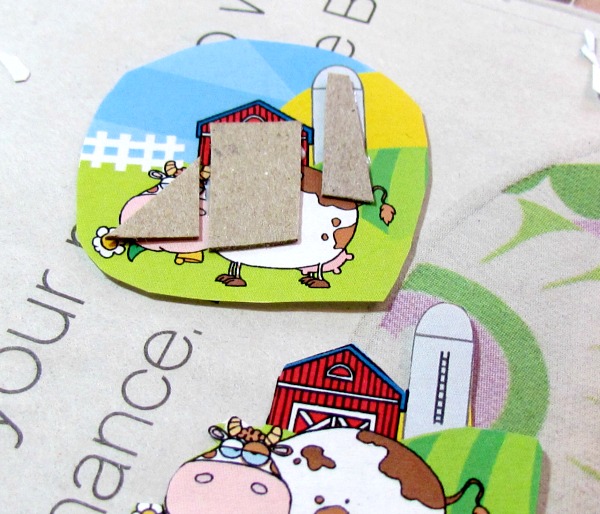
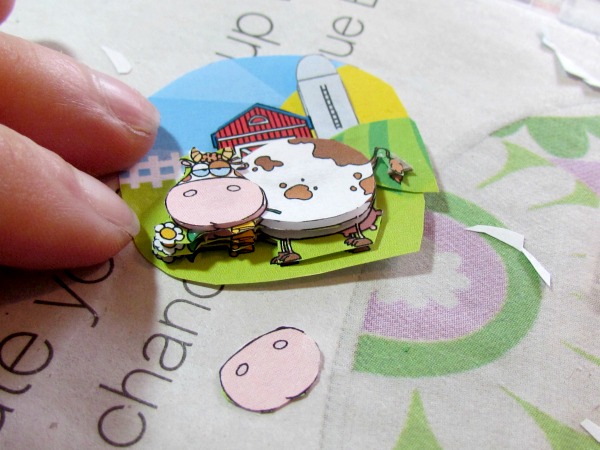
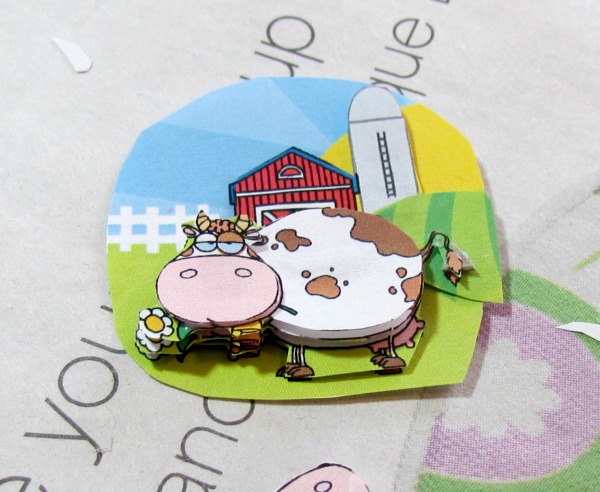
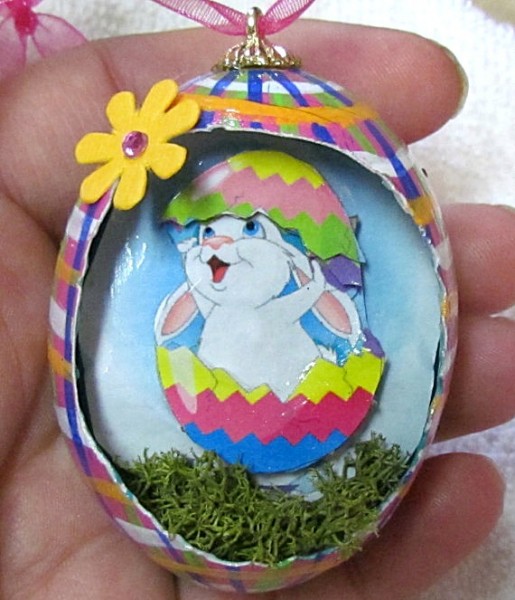
I made six copies of the same illustration. Starting with the first one, I cut it to fit inside the egg. I then layered different sections of it with thin cardboard, giving it a 3D look. Basically you make the areas with the most layers the ones closest and the background has the least layers. Once you get the 3D scene put together, apply a thin coat of Mod Podge to protect the paper.
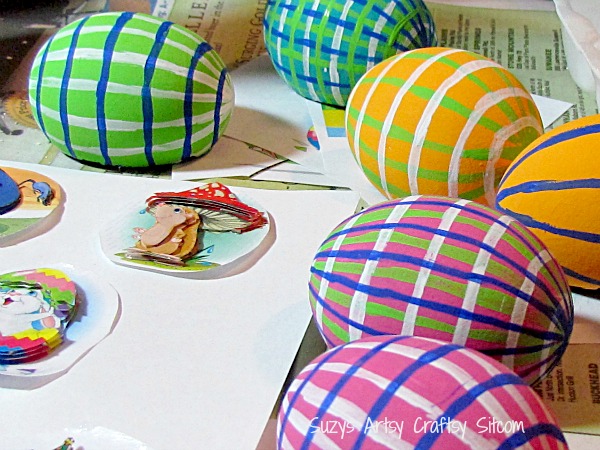
I then added a plaid design to the outside of the eggs. Glitter is another option, but I love the look of plaid, so it ends up on quite a few of my projects. Once the outside of the shell is painted, be sure to add a good coat of Mod Podge for protection.
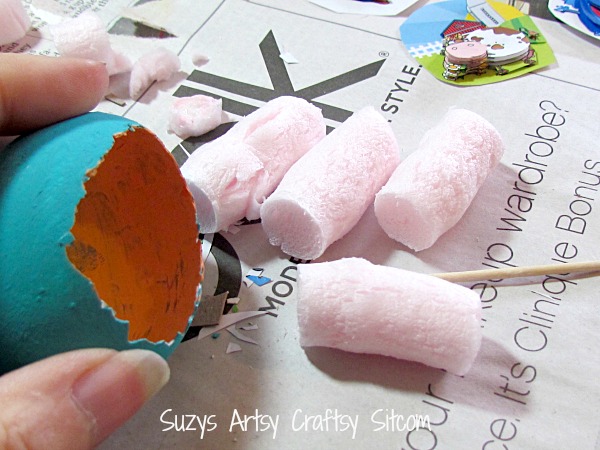
Now at this point, I had the brilliant idea of using packing peanuts to hold the scene just inside the opening of the egg. Unfortunately, I didn’t realize that these particular packing peanuts are biodegradable. Which meant that they dissolved when the glue hit them. Sigh.
So I cut up some real styrofoam and glued it to the inside back of the egg, then glued the 3D scene onto the part of the styrofoam facing outward, placing my scene approximately 1/2″ inside the opening of the egg.
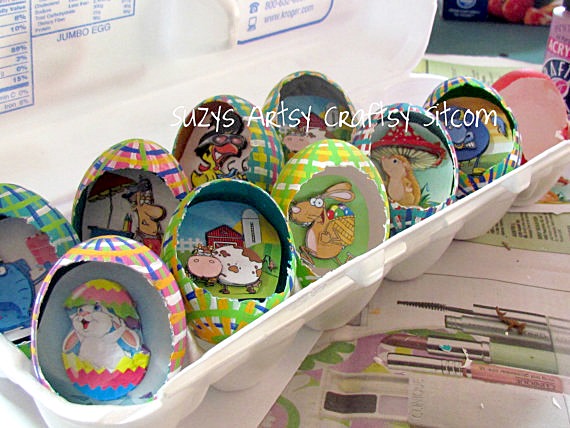
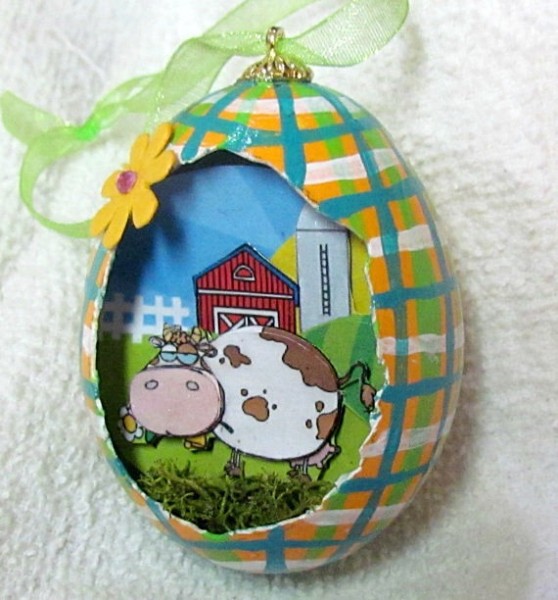
The final touches included gluing a metal finding to the top of the egg, and adding a thin ribbon for hanging, gluing just a touch of natural moss in the bottom of the egg for texture, and adding some tiny jeweled flowers that I had on hand.
Would you rather buy one? Be sure to check out my Etsy Shop!
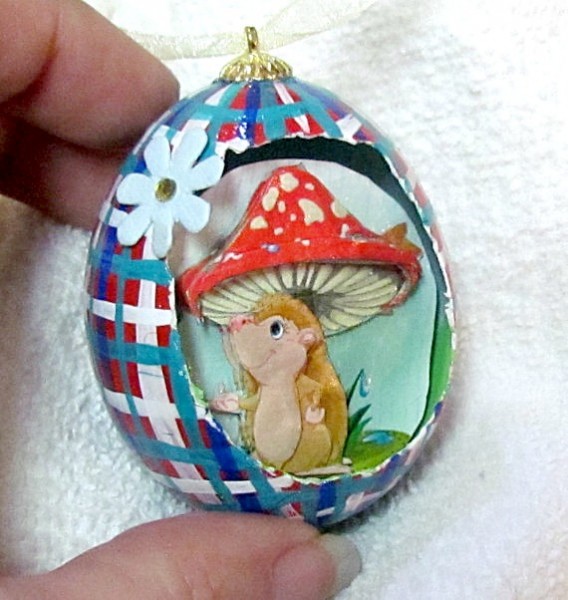
These little eggs are not just for Easter. I made them with scenes that would work year round. There is Mavis the Cow, Ralph the Hotdog Vendor, Sam the Hedgehog, and Brian the grouchy bull amongst the rest of the 3D scenes. They could be part of a gift wrapping, hung from a rear view mirror, or placed in an egg cup for display. There are so many options for this cute little gift.
Want to try your hand at quilting? My newest quilt Pattern- Batiks Gone Wild! A great gift!
Are you new to the Sitcom? Be sure to check out my Frequently Asked Questions Page!
For over 150 crafty tutorials for all ages, visit my Tutorial Page!


