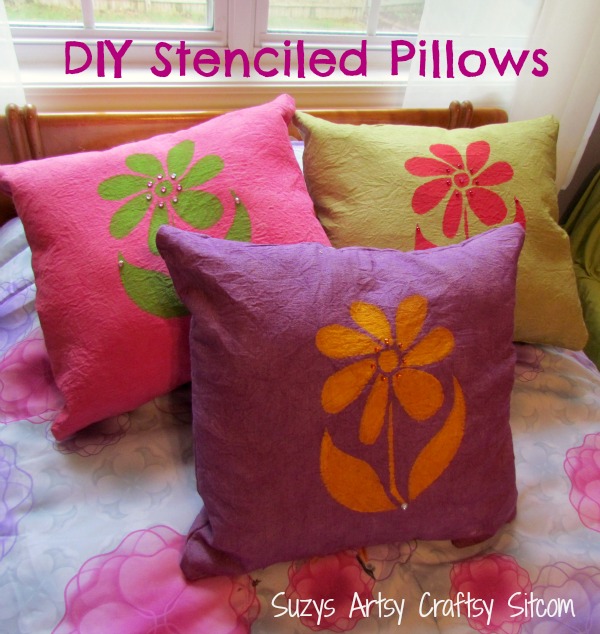
DIY Stenciled Flower Pillows
I will be revealing my new Disney themed room next Monday! Created with the help of Disney Paint, and the Disney specialty paint, Ready, Set, Glow! glow in the dark paint. In the meantime, I want to show you another project that I made for the room- DIY Stenciled Pillows!
Last week, I showed you how to make your own stencil and how to create a great piece of stenciled wall art.

This week, we are going to make some matching pillows to bring the colors in the room together.
Amazon affiliate links below:
For this project, I used:
About 2 yards of cotton canvas fabric
RIT Dye in pink, purple and apple green
Salt
Fabric Paint in hot pink, lime green and bright yellow
Flower Stencil pattern
Blank stencil
sponge brush
Stick-on Fabric Jewels
Fiber fill
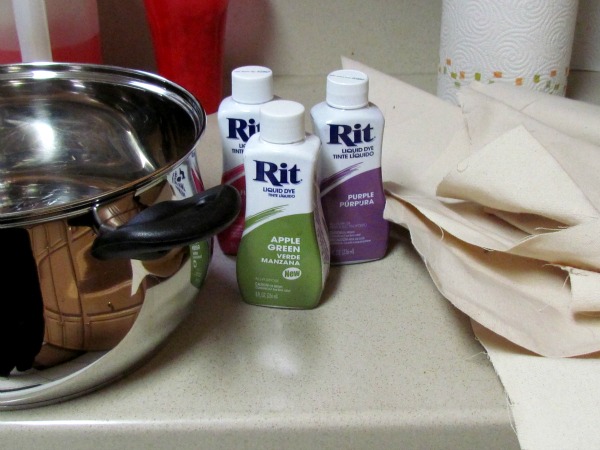
Begin by cutting your fabric in (six) 20″ x 20″ pieces. We are going to dye the pieces using RIT liquid dye. Believe me, it is extremely easy to use the liquid dye. You will be surprised. To make a dye bath, use an old pot or glass dish (plastic will take the color). Fill with very hot water and add one cup of salt. Stir. Then add about 1/2 cup of liquid dye.

Put on some plastic gloves to protect your hands from the color. Stir again, to evenly distribute the dye, and then place one piece of fabric into the dye bath. Move the fabric about, allowing it to soak up color. Once it is a bit darker than the color you desire, (it will dry a little lighter), rinse it with cold water, squeeze out the fabric and set aside to dry. Color two pieces of fabric pink, two green and two of them violet using this process.
Once the fabric is dry, iron with a steam iron and trim any frayed edges.
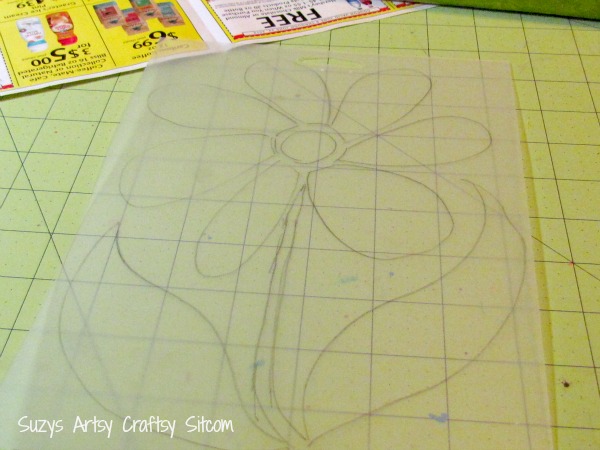
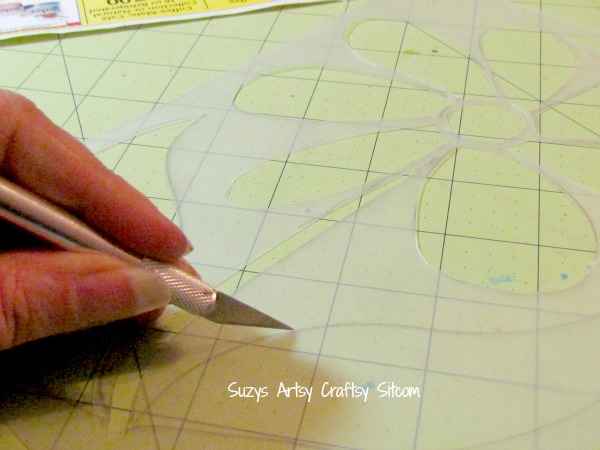
In the Stenciled Wall Art tutorial, I explain how to create your own flower stencil. Simply place the pattern under your blank stencil and trace with a pencil, then cut out the design with a craft knife. You can find the pattern here: Flower stencil pattern.
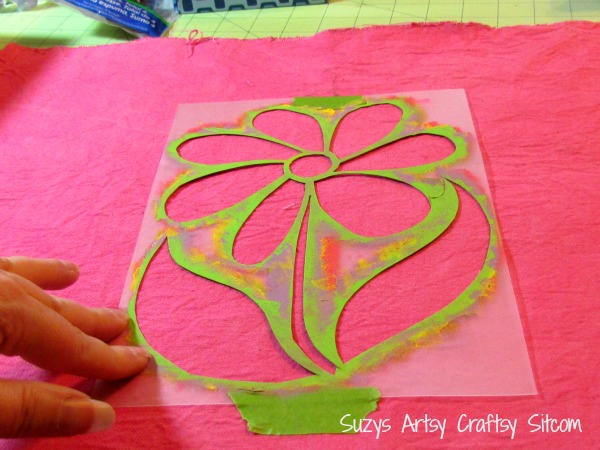
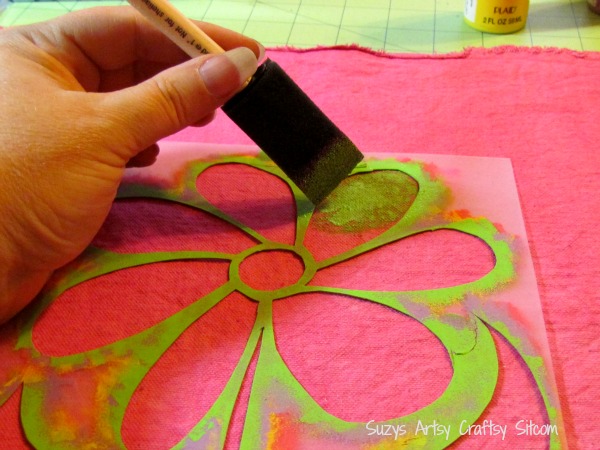
As you can see, this stencil has already gotten a lot of use! Place the stencil in the center of the fabric and tack it down with a couple pieces of painters tape. Dip the sponge brush in contrasting fabric paint and dab onto the fabric.
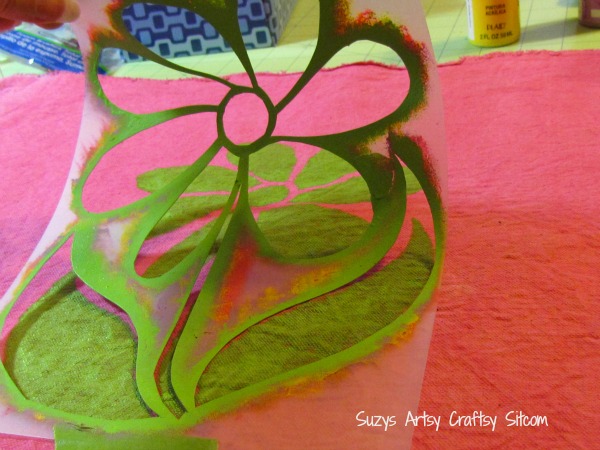
Remove the stencil and you should have a cute contrasting flower on your fabric.
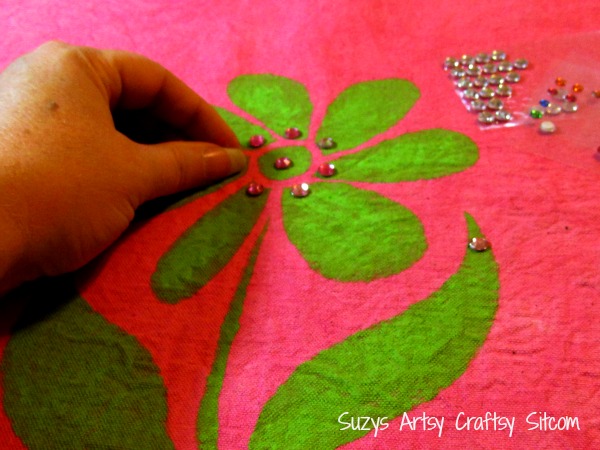
Add a bit of bling with some stick-in fabric jewels.
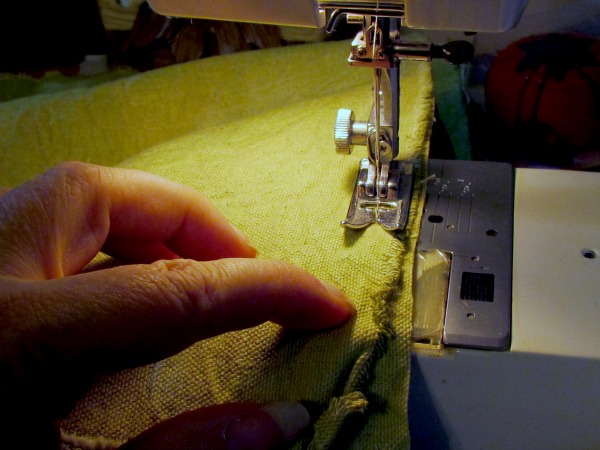

To assemble pillows, place your fronts and backs right sides together. Begin sewing at the center bottom of the pillow, sewing a 1/4″ seam around the perimeter of the pillow, ending about 5″ from the start of your seam. You will want to leave about a 5″ opening so that you can turn the pillow and stuff it.
Clip the corners as shown.
Turn the pillow right side out, and then stuff with Fiber fill. Once the pillow is stuffed, hand-sew the 5″ opening closed.
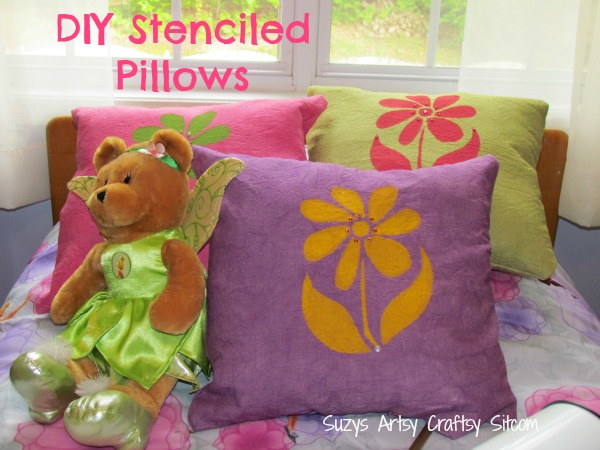
And there you have it! Stenciled pillows to match the wall art!
Stay tuned for the big room reveal on Monday, which includes glow in the dark paint, and five crafty projects to go along with it!
Are you new to the Sitcom? Be sure to check out my Frequently Asked Questions Page!
For more than 100 detailed tutorials for all ages, visit my Tutorial Page!

This entire room makeover has been so much fun to see! The pillow turned out fab and the jewels are a great touch.
smart idea, yeaah you’re right about that you can steceling alot.XD
thank you for the sharing;-D
These are really cute!
this looks like a fun project, the pillows look awesome and I can imagine the room comming all together nicely !!!!
Fabulous!