
How to make a Faux Porcelain Frame!
Create a floral frame that looks like Porcelain with dollar store flowers and plaster! This unique and beautiful faux Porcelain frame makes a wonderful gift. Want to know how to make it?
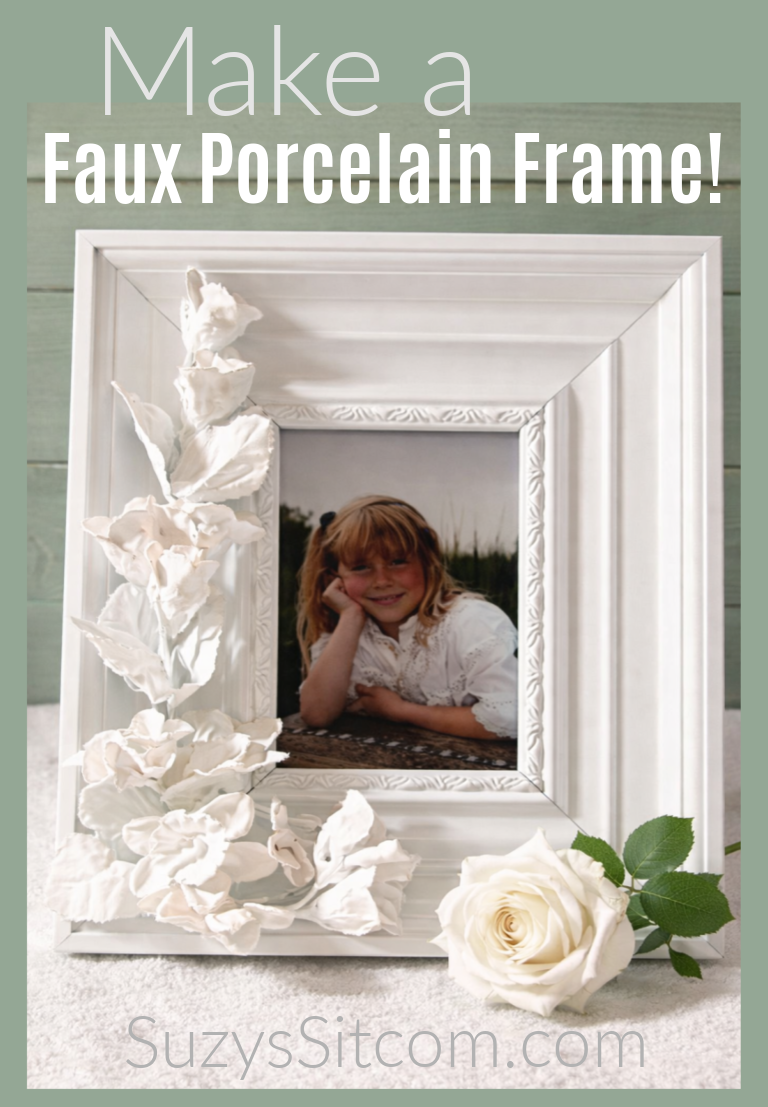
If you have been reading my website for any extended length of time, I’m sure you have figured out that I love anything faux. I love to take normal everyday objects and make them look special. And I like doing it without much money involved.
Today, I’m going to show you my version of a Faux Porcelain Frame. Since I don’t work with porcelain, and I’m kinda cheap, I am going to use plaster.
For this project I used:
Plaster of Paris
Silk flowers from the Dollar Store
A thrift store frame
Hot glue
Krylon White Gloss Spray Paint
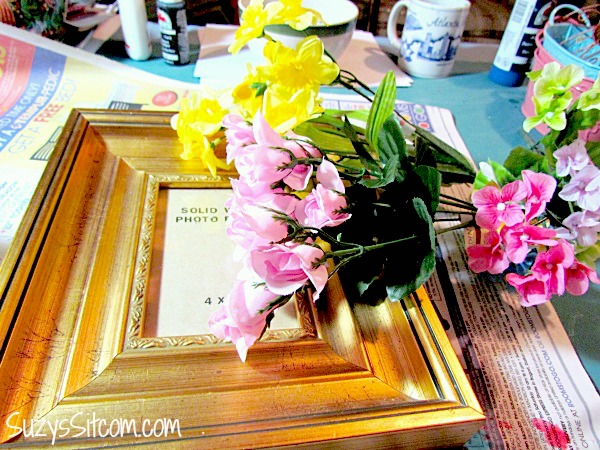
I chose smaller flowers from the Dollar Store, ones with good definition. I clipped them into individual stems and small groups, keeping just a few of the leaves.

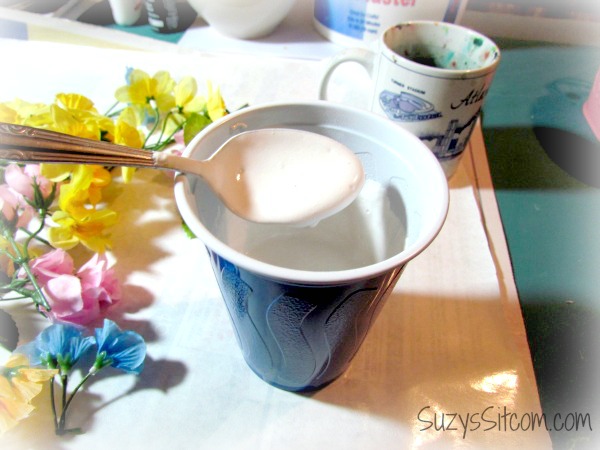
Take a disposable cup and fill it at least half full with powdered plaster. Add water gradually, stirring until you get a watered down consistency similar to thin yogurt.

One by one, dip your flowers fully into the plaster. Carefully shake of any excess plaster so that you don’t lose the definition of the flowers. I found that it helped to use my fingers to squeeze off extra plaster. This is pretty messy, so don’t stop to answer the phone or anything. The plaster will dry and your phone will never be the same. Not that I’d know anything about that…
Place your flowers on a sheet of wax paper to dry.
Faith is my craft apprentice wanna-be. Unfortunately, the lack of opposable thumbs slows her down. It’s kind of a shame.
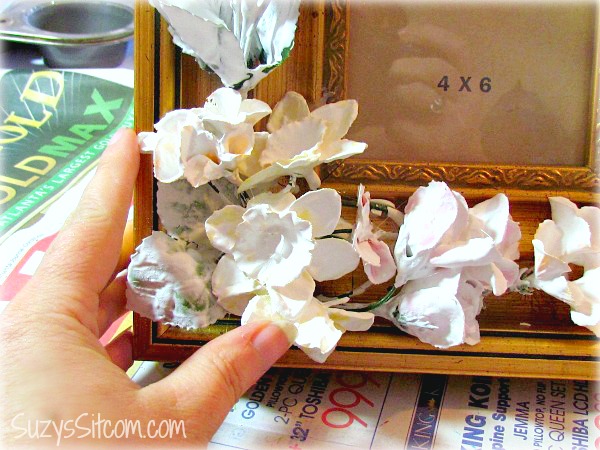
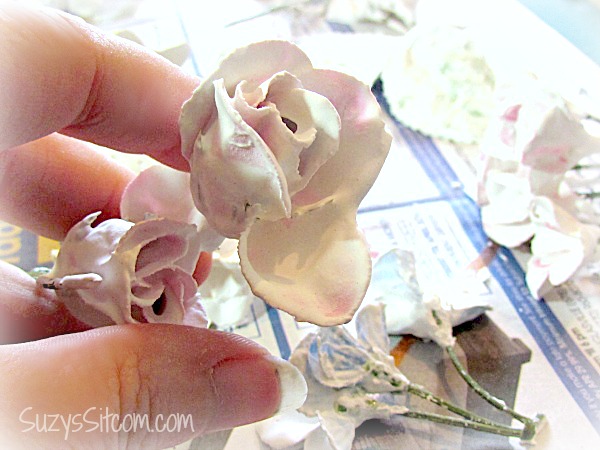
Anyway, once the flowers have totally dried (a couple of hours), it is time to start gluing them onto your frame. I found this awesome frame at a thrift store, but any frame will work.
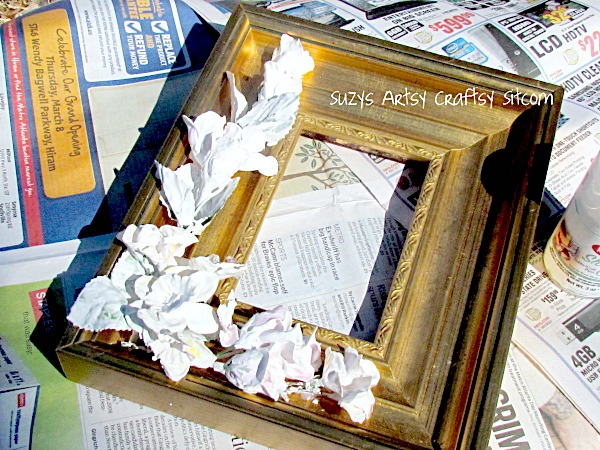
Arrange the flowers in a pleasing way. Don’t worry if you didn’t totally cover up the colors with the plaster. The next step will solve that problem. Glue them down the way you like with hot glue.
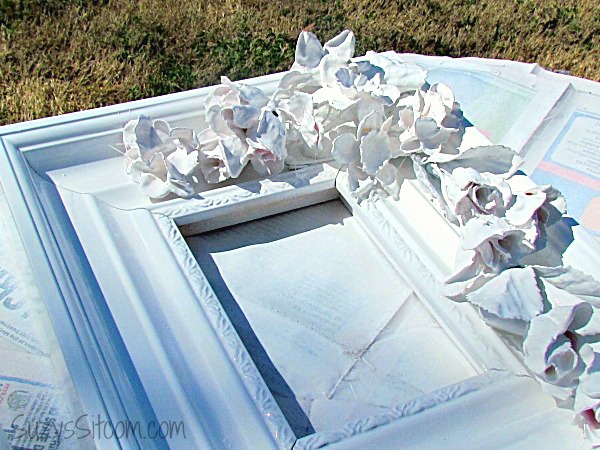
Using the Krylon White Gloss Paint, I then sprayed down the entire frame and flower combination. Be sure to attack it from all angles in order to get all the nooks and crannies in the flowers.
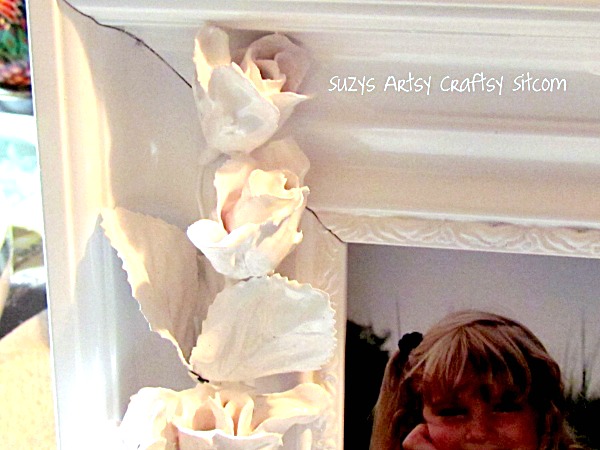
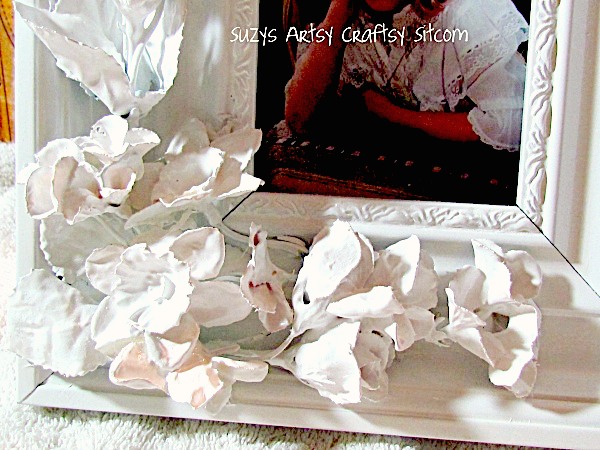
Once it is dry, add your favorite photo, and there you go. The white gloss paint gives the entire piece a porcelain look.
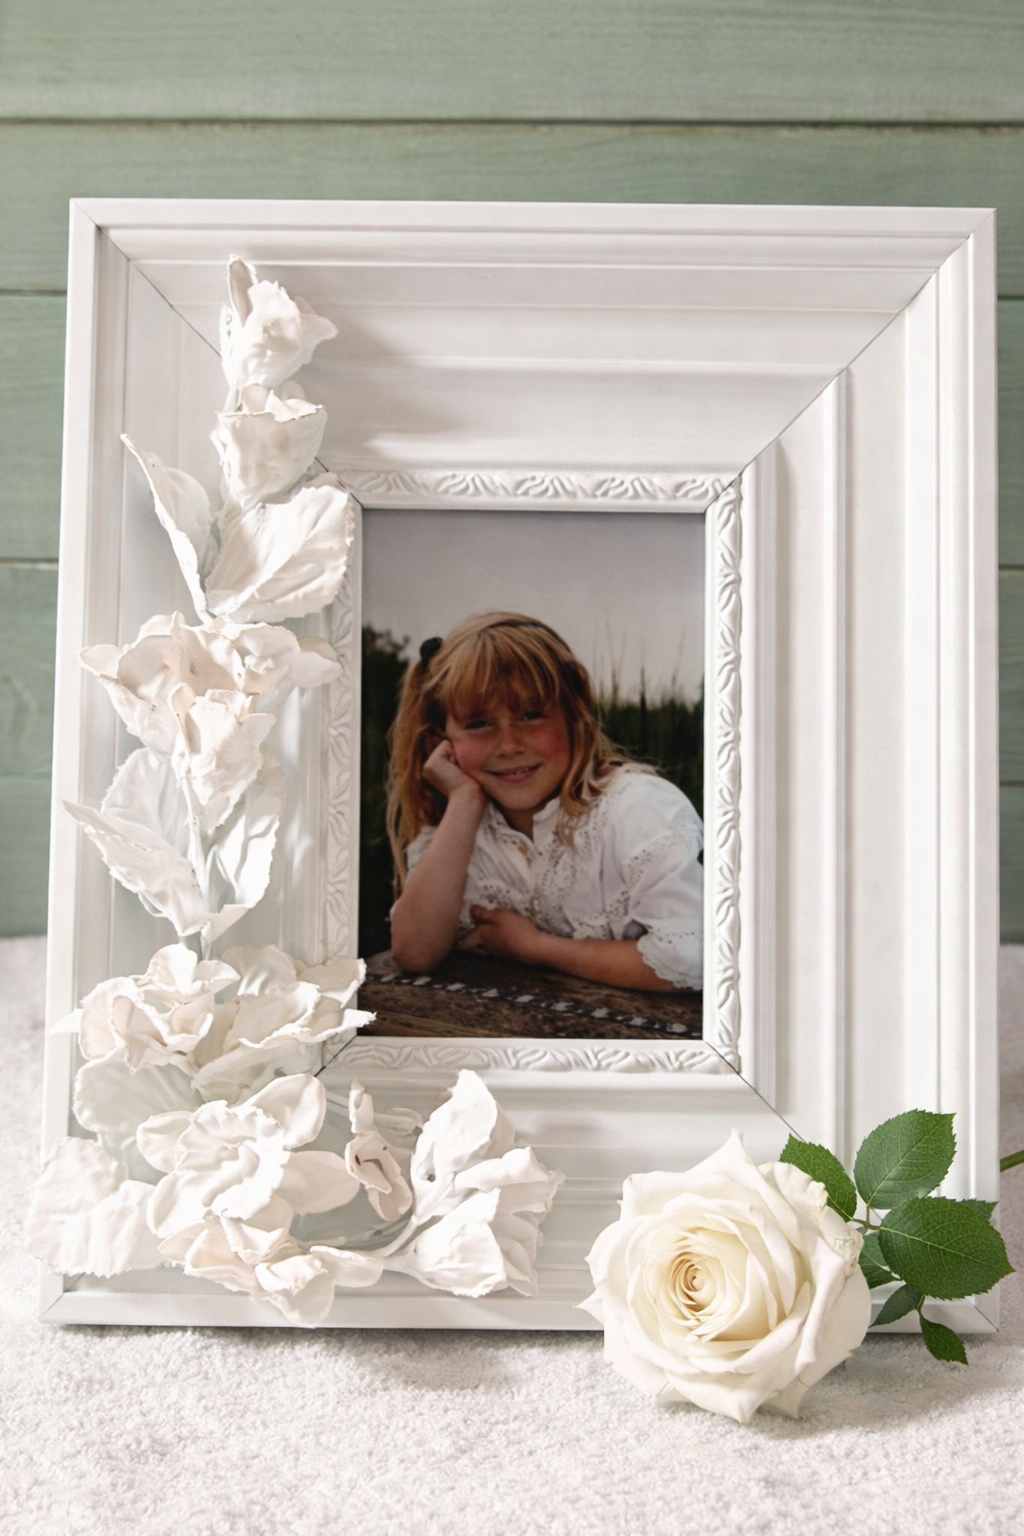
If anyone asks, just tell them that you spent hours carving that frame from porcelain that you mined yourself in the wilds of Patagonia. I’m sure they will be impressed.

Are you new to the Sitcom? Be sure to check out my Frequently Asked Questions Page!
For over 200 crafty tutorials for all ages, visit my Tutorial Page!


Loved it…… did something similar to a full length mirror that hangs on my bdrm door. Am going to try yours to add to the front of my cedar chest. TX for sharing….
Hi Liz,
Did squeeze off excess plaster and allow each of the flowers to dry individually before assembling the frame? That is the only thing I can think of.
suzy
I love this idea but when I tried it my flowers all clumped together. Where did I go wrong?
What a lovely idea! I think that frame idea would be perfect for a wedding photo. You could even add some bling in the form of lace or rhinestones etc. Thanks for the inspiration!
I’ve been looking for months at wooden, carved appliques to fancy up some mirrors I have. Everything is over done, or stupidly expensive. I found you and other plaster people 🙂 on Pinterest and you’ve changed my whole thought direction. I’m also off to the dollar store…
Thank you!
Hi Jane!
It holds up fine. The one that I made has been sitting on my bookshelf for quite a while now and still looks beautiful.
suzy
How well does this ‘hold up’?
Thanks again! What a great idea and a wonderful end product! I do appreciate you sharing!
Thank you!
Thanks, Pat! The furry assistant refuses to use a broom. It’s the opposable thumb thing. 🙂
suzy
thank you so much!
I especially like how some of the color came thru. Beautiful job.
Oh! Wow! Just WOW! Beautiful.
This looks like a great fun and not too hard project. Great Gift idea. This just may be some of my Christmas gifts this year and since I already have a huge collection of flowers and thrift store frames, all I have to buy is the paint & plaster (I might even have some of that on hand too)!! YEA!
Keep up the good work! 🙂 Maybe one day your furry 4 legged assistant will learn how to at least use a broom. :))
Amazing………………………..Loved the finished work but i loved your dog the most , since i am a dog lover.
Oh my gosh Suzy, you are AMAZING!!! I can’t wait until the next trip to the Dollar Store so I can get a frame & flowers and try this. Thank you so much for sharing the tutorial with everyone!
Peace, Love & Joy,
Joyce
hi suzy-
i never would have guessed the materials you used!
i shared your faux porcelain frame at creative juice thursday and pinterest today. thanks for linking up last week!
xoxo
nicolette
So glad you shared this on BeColorful’s Motivated Monday. This is such a unique and intriguing project. Love that you went all white with it.
pam
This is absolutely amazing! You did an amazing job… looks totally real to me. I LOVE this idea! Thanks so much for sharing!!!
I love this! I hope you’ll share this at my link party, running now through Saturday night!
http://www.gratefulbelly.com/2012/03/whats-new-wednesday-two-and-give-away.html
Oh how pretty! I love this idea! Love how the white frame with the flowers came out!
Another fabulous faux project Suzy!
Thanks for linking to a Round Tuit!
Hope you have a fabulous week!
Jill @ Creating my way to Success
http://www.jembellish.blogspot.com/
love it! Saw an amazing mirror done with this technique too. Thanks so very much for sharing on Craft schooling Sunday and inspiring us all!
Now that, my dear, is cool! Thanks for sharing at Handmade Tuesdays!
This is so cute. Thanks for the post.
Merci, vraiment super joli
So nice and thks for the tuto
genial j aime trop bisesssssssssssssssssssssssssssssssss
Very nice. And I hear the Patagonian porcelain mines are lovely this time of year.
beautiful as always……..I saw a project similar to this years ago on the web and after all of the paint was dry they took pastel chalks and gently give the flowers a touch of color……
Wow!!! I love this!!! Surely going to try this!!!! I have been wanting to make your previous Plaster of paris leaf too….
Beautiful..very Neat idea my dear 🙂 keep sharing fun ideas,,Love it..