A Simple Way to Create Beautiful Applique
I specialize in creating quilt patterns that feature unusual applique patterns. Often, I am asked what techniques I use to create these fun applique pieces. I would love to share with you a simple way to create beautiful applique, using of all things… a glue stick!
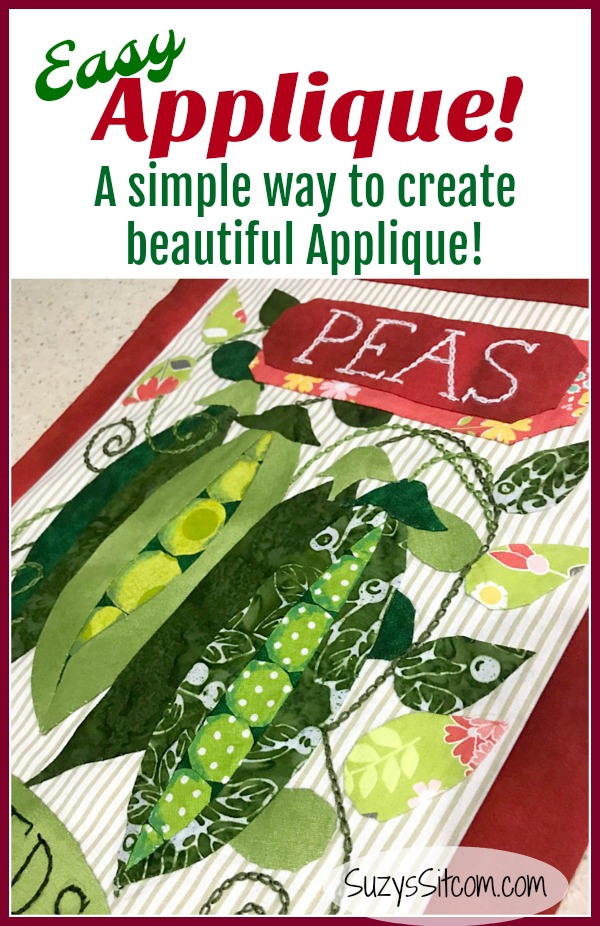
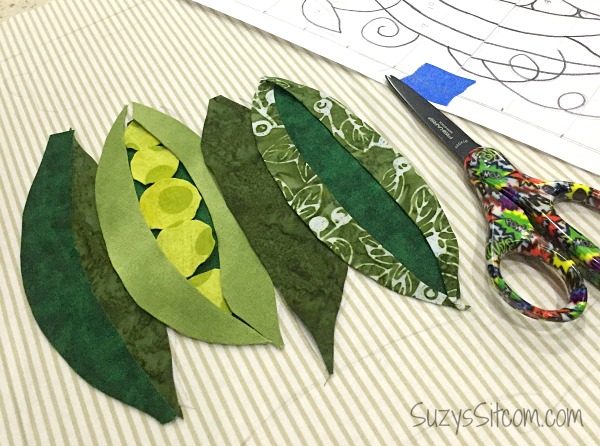
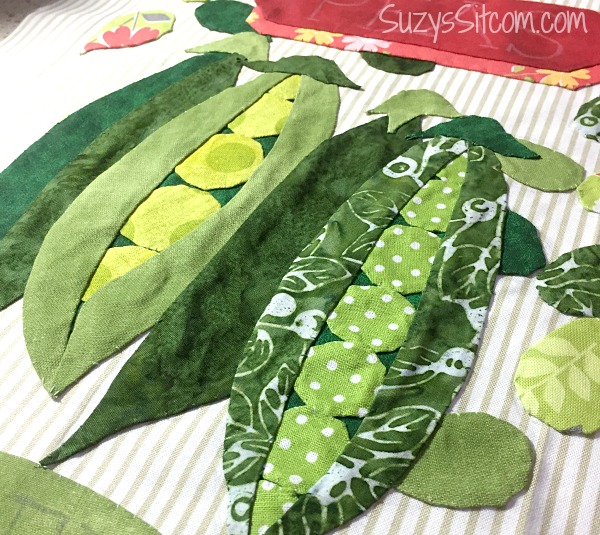
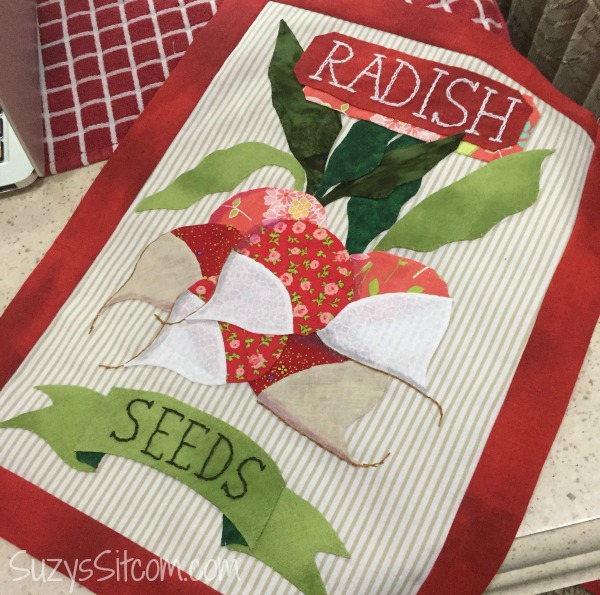
This tutorial will be featuring two of my latest patterns, Sugar & Spice (which is available free on my website until March 18, 2019), and Grandma’s Garden (a new free Sew Along beginning on April 1, 2019)!
One of my favorite ways to applique a detailed design is to use a washable glue stick. Elmers creates a glue stick that is not only washable, but goes on as purple (which fades as it dries). Any glue on your project will wash away with the first wash, and does not make the fabric stiff and difficult to work with. A perfect way to create the needle turned look while making life a whole lot easier!
Easy Applique with a Glue Stick!
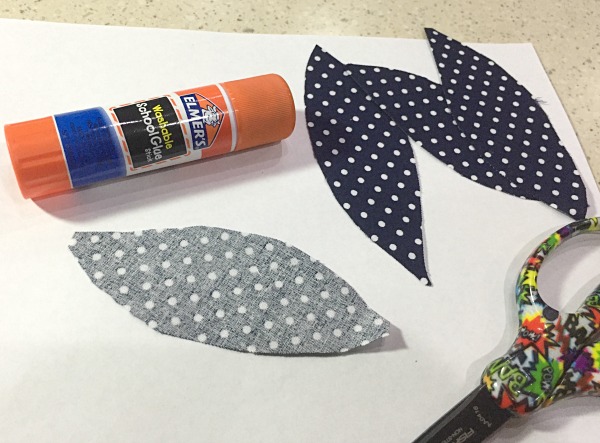
Step 1: Cutting your Template Pieces
Cut out the paper template piece and place it upside down on the back side of your fabric. Use the template to cut out each piece from your fabric. You will need to add 1/8″ around each piece, in order to allow the edge to be turned.
On inside curves, I clip ALMOST to the paper pattern…stopping a couple of threads shy of the pattern. For gradual curves, I don’t make many clips, for “curvier” curves, I have to clip more.
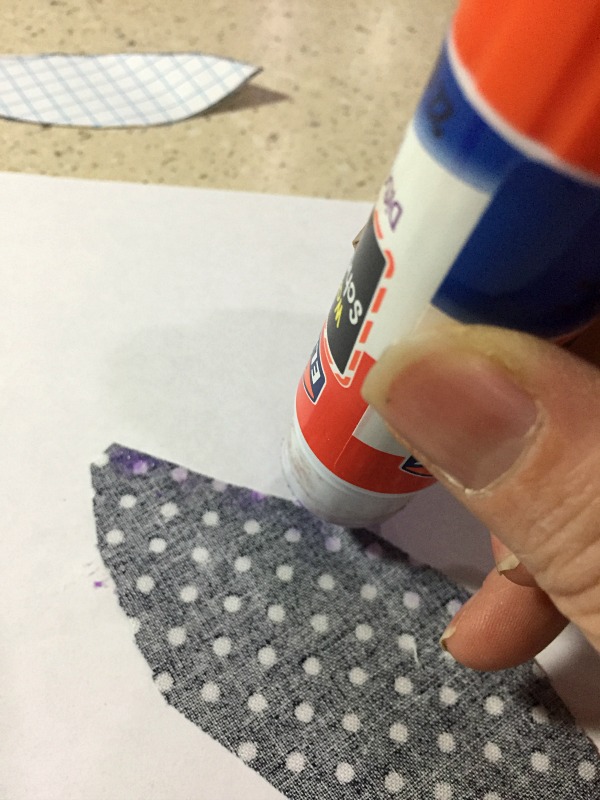
Step 2: Glue down the Edges
Use washable glue stick to turn the edges and prepare them for stitching. This will hold down your edges, and make it easy to stitch your applique piece down.
Just a note about glue…Elmer’s doesn’t pay me to say that their glue is excellent…it just is. I’ve tried other glue sticks – even ones made for quilters. Some are more sticky, the “quilter’s” glue sticks are expensive, and I love the fact that this disappearing purple color lets me know where I have worked and where I haven’t.
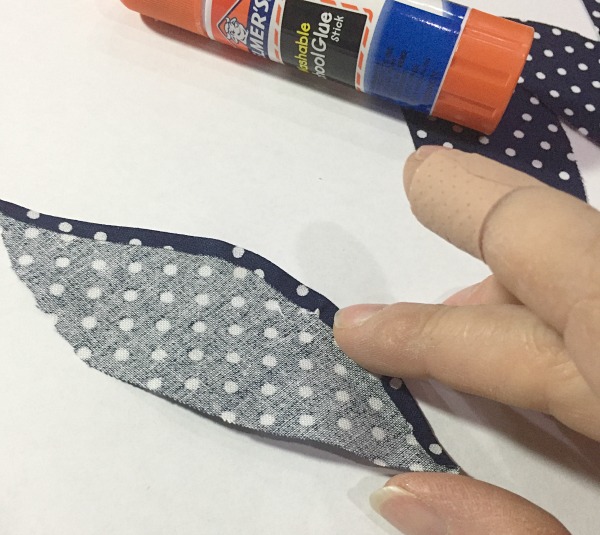
Step 3: Turn down the edges
Use the glue stick along one edge of the applique piece and then carefully fold over approximately 1/8″, pressing with your fingers.
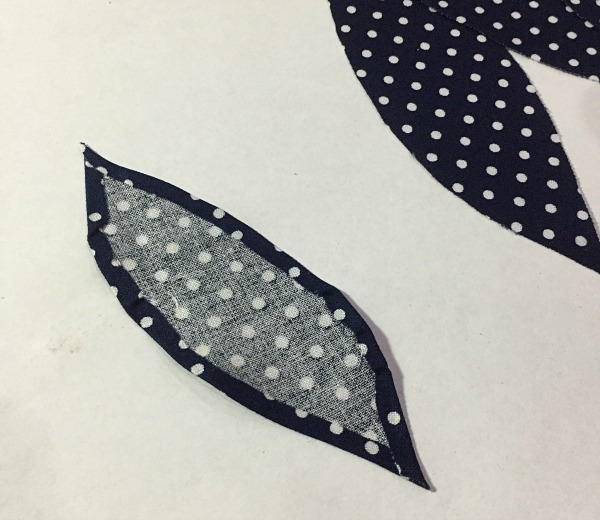
Do the same with the other side. Press the finished piece.
Step 4: Sew down Applique Pieces
Use your pattern to lightly mark where your applique pieces will be placed on your background fabric. (Use a white pencil if the fabric is dark). Place an applique piece as shown above. Tack in place with the glue stick.
My latest pattern Grandma’s Garden will have the applique pieces numbered in the order that they will be placed. This will help with deciding where to begin on such a detailed project.
Use a matching thread to stitch the applique piece in place, starting with the background pieces. Your goal is to make the stitching as invisible as possible. Use tiny stitches to hold the fabric down.
Press the final piece for a finished look.
Grandma’s Garden will be available on this website starting on April 1, 2019 as a Sew Along with free patterns each month! The sew along will be done along side the current Sew Along called Retro Flash. Be sure to stay tuned for the latest free patterns!
Ready to start a beautiful heirloom quilt? Stay tuned!
Create something amazing and be sure to share it with us! I’d love to see what you come up with!