One of my latest hobbies is creating in miniature. I have been working on a General Store and Quilt Shop for a while now in between my other projects. Miniature lighting is one of those details that I struggle with. This week, I found a simple solution that worked for me, and I’d love to share it with you!
I wanted to light my miniature, but was very intimidated with the thought of wiring the thing. Everything that I read was confusing to me as I generally don’t think in those terms.
And then it occurred to me to use something that is already wired! How about a string of fairy lights? So simple, yet so effective! Fairy lights are inexpensive and tiny enough to work with half scale and miniature designs. Perfect for what I had in mind.
My Half Scale General Store has been taking form for nearly a year now. If you are following along on this project, you can find my other tutorials here:
How to create Realistic Miniature Bricks
How to create a Realistic Miniature Sidewalk
How to create Unique Miniature Signage
Creating in Miniature: Adding Tiny Details
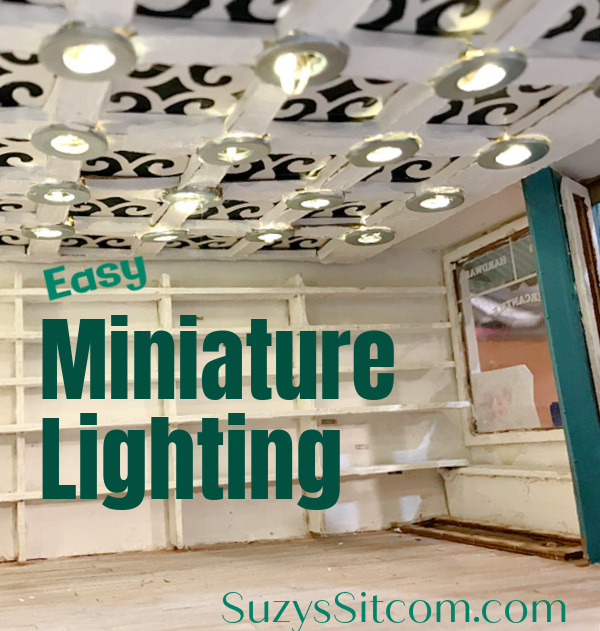
This week, I added some lighting and an antique look tiled ceiling to the General Store using a string of fairy lights and cardboard scraps.
How to add Simple Miniature Lighting with Fairy Lights
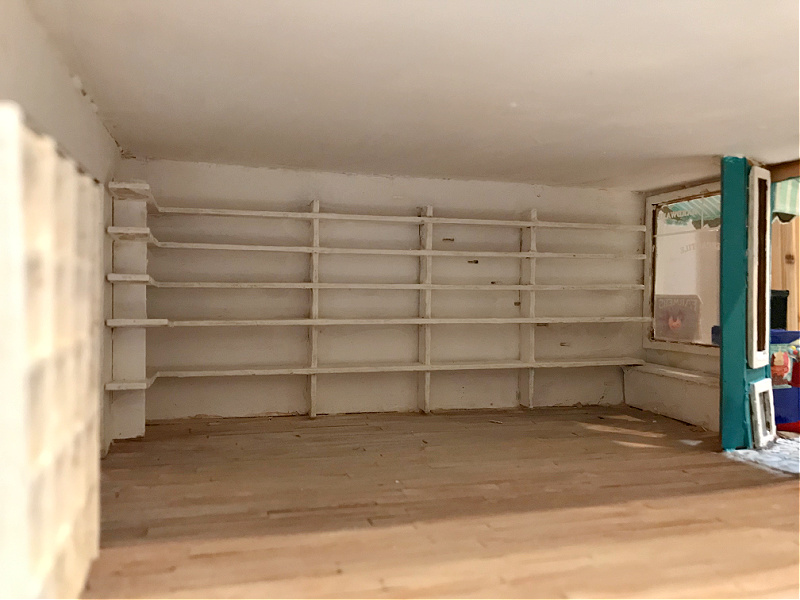
This is the before photo of the inside of my General store. I used coffee stirrers to add a wood plank floor. Other than that, I haven’t done very much with this space yet. I really need better lighting!
For this project I used:
One string of Fairy Lights
Metal Washers
Cardboard scraps
Craft Knife
Low Temp Hot Glue
Black paper
Laser Cut Scrapbooking Paper
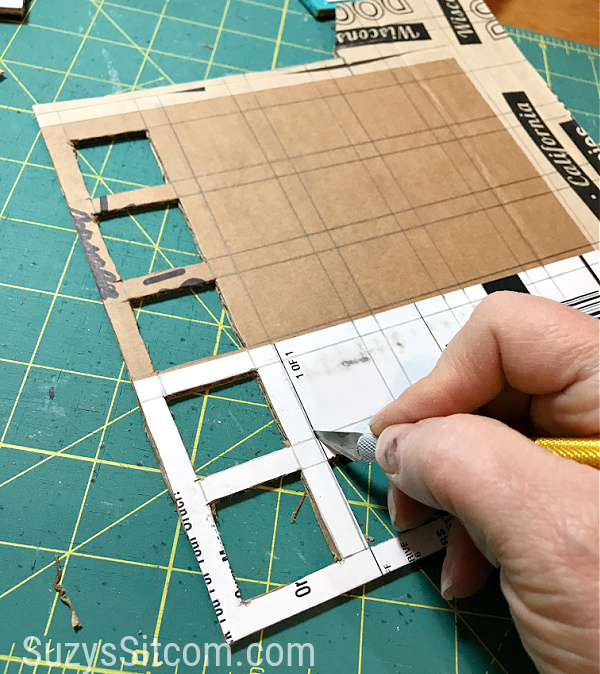
Cut cardboard sheet to the size of the miniature room. In my case, I added a small section on the backside of the entrance to the store, so my ceiling is not perfectly square.
Using a ruler, mark off a grid of 1″ squares with 1/4″ spacing between them as shown above. Use a craft knife to cut out the square sections.
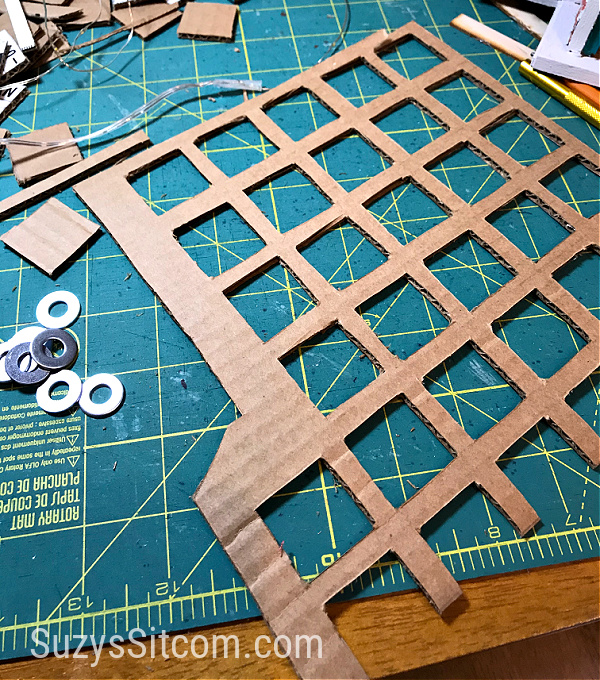
Here the squares are all cut out and ready to go. At this point, I needed to cut holes for the lights. I used my craft knife, but a hole puncher would do the job much easier.
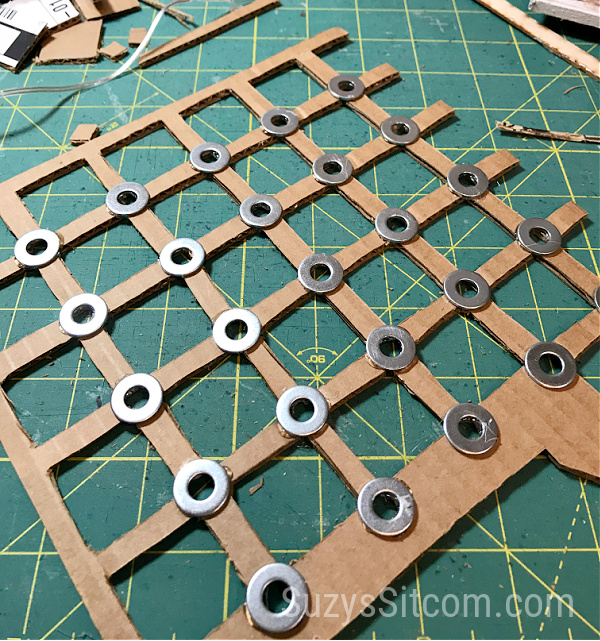
To give the lights a finished look, I hot glued metal washers over each hole.
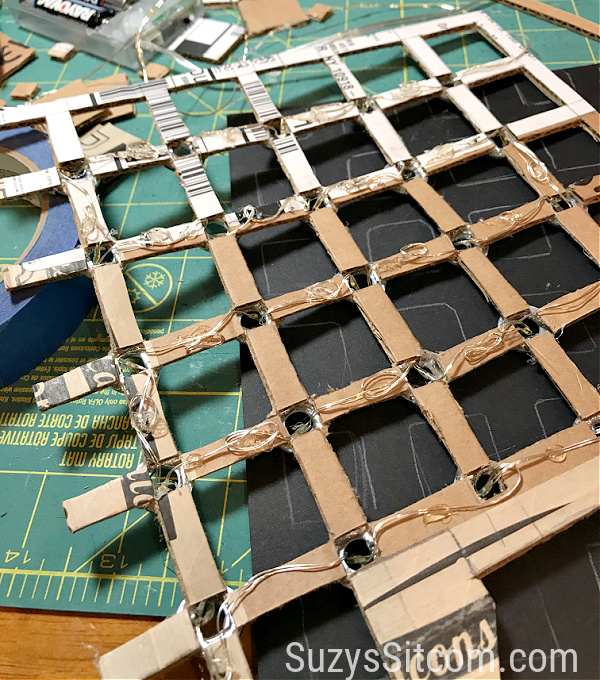
To install the lights, flip the cardboard over to the back and begin on one end, threading the fairy lights into each hole as you go. Use low temp hot glue to tack the wiring down.
I had some extra lights left over and plan on hiding them along the inside wall of the store, using some of them in a coke machine (a future project).

For the filigree tile work, cut a piece of black scrapbooking paper to the size of the cardboard cutout. Use the cardboard cutout as a template to draw in the tile squares.
Cut the filigree paper and use white glue to attach to the black paper. Once all the filigree paper is in place, glue the black paper to the underside of the cardboard as shown below.
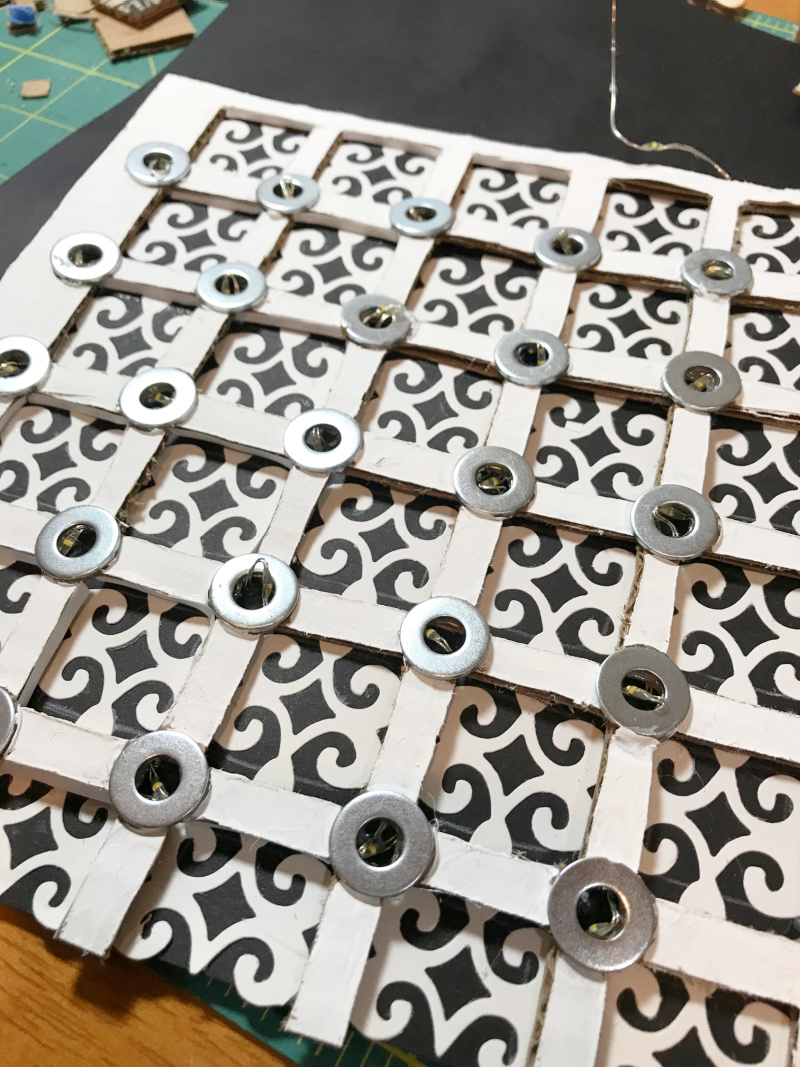
I then painted the cardboard “beams” white. At this point, I was not liking the corrugated look on the sides of the beams. I cut tiny strips of white paper and glued them to the sides of each beam. Time consuming, but made me happy.

The final step was to glue my ceiling in place. I ran the extra wiring to the back of the room and placed the battery box against the back wall with the switch easily accessible. I plan on turning the battery box into an ice cream freezer in the future.
The extra lighting will be used in a coke machine and maybe a display case. Any lights that are not used will eventually be blacked out and hidden.

The final result is a fully lit general store! I still have some touch ups to do as I am never really done with it, but I am happy with the result.
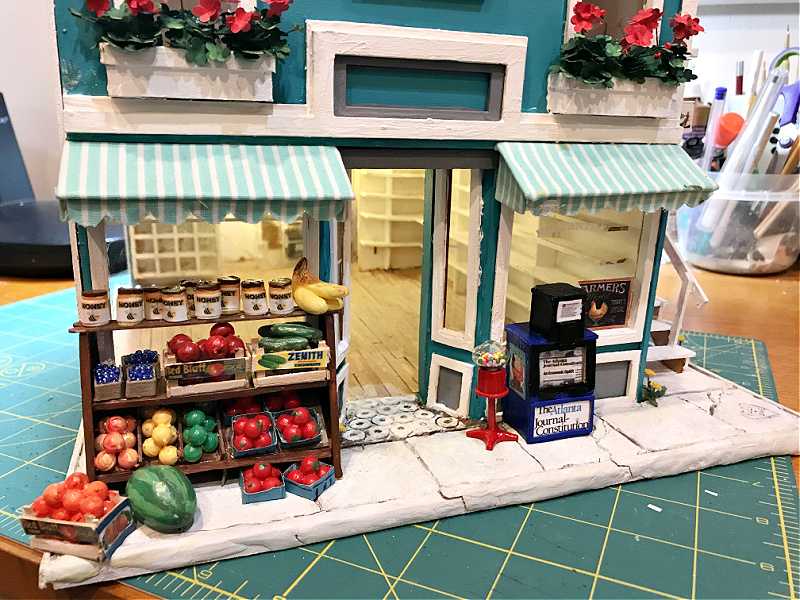
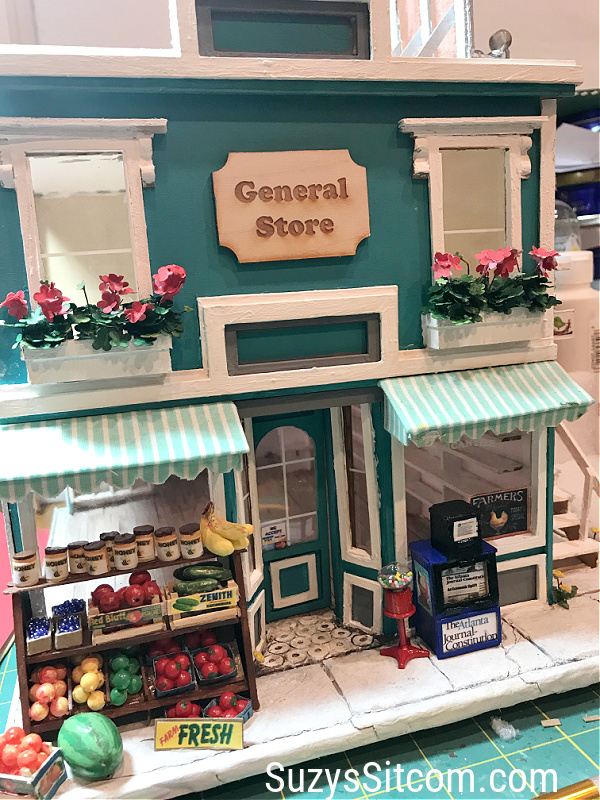
The front of the store looks so inviting! Now I just have to fill it up! Stay tuned!
For over 200 crafty tutorials for all ages, visit my Tutorial Page!


