Try your hand at paper crafts! This beautiful butterfly in a jar not only is a great way to recycle, but makes a fabulous conversation piece. Paper quilling with colored cardstock and a recycled jar!
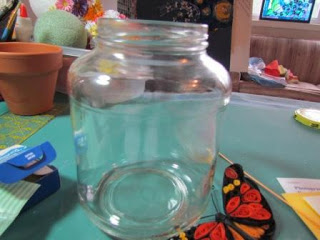
So I have this thing about throwing perfectly good things away. Like pickle jars. I love those huge kosher dill pickles. I snack on them all the time. And they come in nice sized glass jars. Of course, I certainly cannot throw them away, so I’ve accumulated at least 20 of them in the back of my kitchen cupboard. This week, I decided to put one of them to good use. I created a quilled butterfly in a jar. The perfect pet. No back-talking, no poopy on the kitchen floor, no begging at the table.
For this project I used:
One pickle jar
Assorted colored sheets of card stock
Quilling tool
3″ styrofoam ball
Moss
about 4″ of wood dowel (I actually cut up a wooden skewer)
Aleene’s Tacky glue
Hot Glue
Acrylic paint
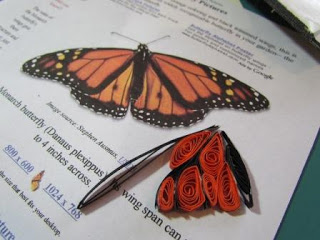
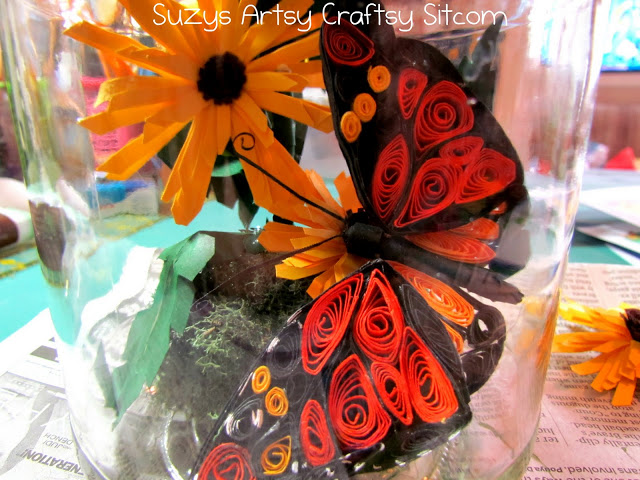
I wanted to create a Monarch butterfly from my quilling paper, so I pulled a photo off of the internet for reference. I then cut my cardstock in 1/8″ strips. For the butterfly, I used black, dark orange, light orange, and yellow. Using the quilling tool, I then coiled the strips, dabbed a bit of tacky glue on the end to hold it, and pinched the end to create teardrop shapes.
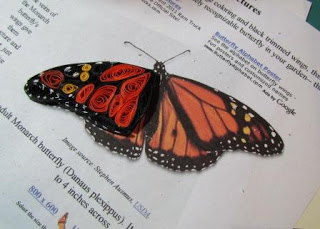
Using the butterfly photo, I laid these shapes out over the image and adjusted them to fit. Paper is a very versatile medium, so with a bit of adjustment, pinching and twisting, you can pretty much get any shape you want. I did one wing at a time and then the two lower wings.
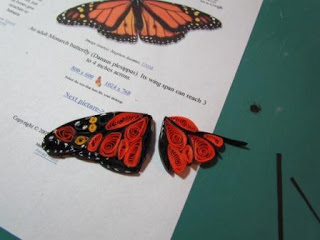
For basic quilling instructions, look here and here. I backed each upper wing with a sheet of black cardstock, trimming it to the edges of the wing- to bring out the colors a little better. Final touch on the upper wings was to add dots of white acrylic paint. Now before a million folks point it out, I want you to know that I noticed after the fact that I forgot to add the white dots to the second wing. I will be touching that up later. Sigh…
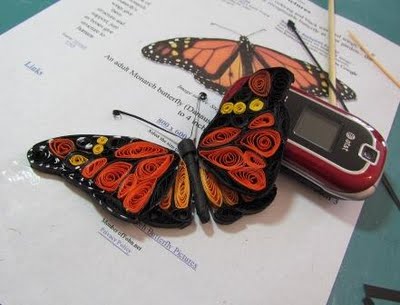
I created the body of the butterfly by coiling a 1/4″ strip of black paper around a 1″ piece of dowel, gluing it down with tacky glue. The head is another piece of coiled paper glued to the top of the dowel, and the antennas are made from very thin strips of black, twisted at the ends and then glued onto the head.
I then glued the body together with the wings, using my handy-dandy cell phone to support it while it dries. You know that phone makes a much better butterfly support than a cell phone.
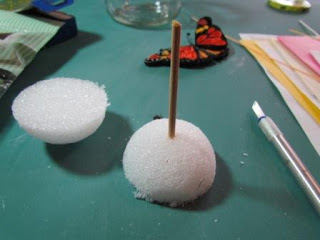
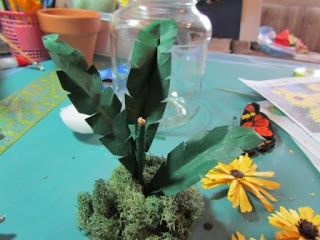
Now that the butterfly is complete, I needed a place for it to love. How about some black-eyed Susans? For some reason, I am partial to them. Ha! Anyway, to create them, I started by cutting a 3″ styrofoam ball in half to use as the base. I then cut a length of dowel to help support the flowers. About 3 – 4 inches long is more than sufficient.
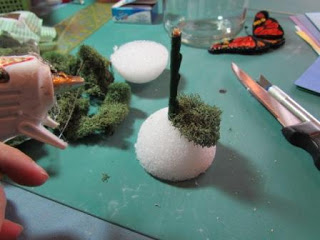
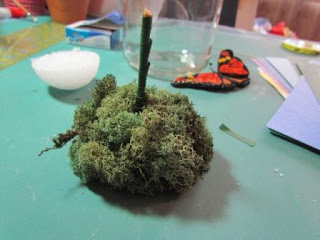
I wrapped the dowel with a strip of green cardstock, gluing it down with tacky glue. I then punched the dowel into the styrofoam and then hot glued moss over the entire top of the styrofoam.
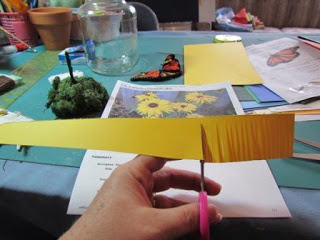
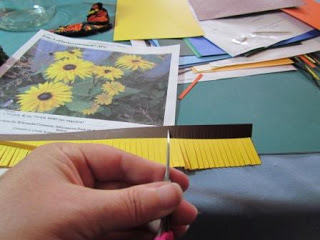
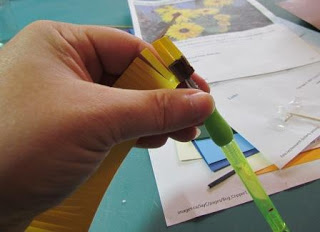
To create a flower, cut a strip of yellow cardstock about 11″ long x 2″ on one end, narrowing down to about 3/4″ on the other. Take your scissors and clip it creating a fringe along the entire length of the strip. Cut a 11″ x 1/4″ strip of dark brown cardstock. Clip a 4″ long fringe into it on one end.
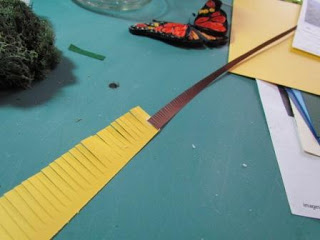
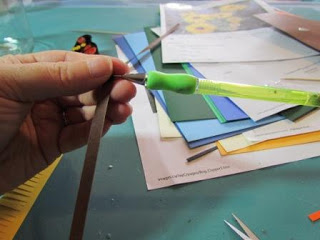
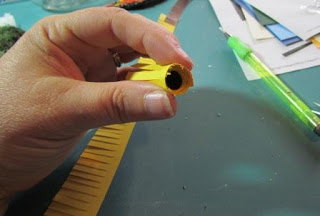
Use the tacky glue to glue your brown strip to your yellow strip. Be sure the fringe sides are facing the same direction. After it has dried, begin coiling it, starting on the end of the brown strip, adding touches of glue along the strip as you go.
Continue to coil until you get to the end of the yellow, tack it down with tacky glue and then remove your quilling tool. Allow it to dry.
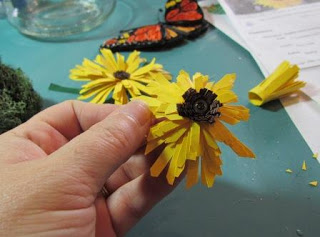
Now fold open your flower, spreading the fringe edges. You need to “manhandle” your flower too. Move your petals where you like them and then clip the squared edges to create more pointed petals.
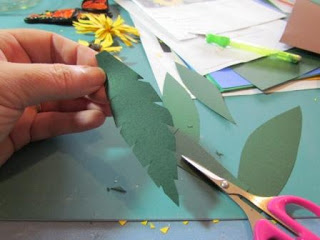
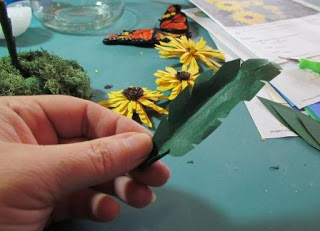
To create the leaves, I cut basic long leaf shapes out of the green cardstock. Then clipped small v’s in each side. Fold the leaf lengthwise to create the vein. And then “man-handle” the leaf to give it texture and curl. You don’t want it to look perfect. Glue the leaves on in an interesting manner, holding one aside for later.
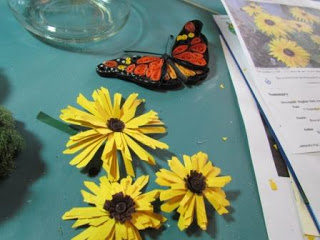
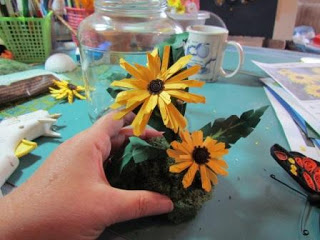
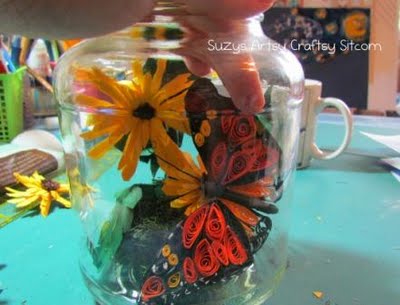
Now you are ready to assemble. Glue two of the flowers to the leaf/coil base and then add hot glue to the bottom of the styrofoam base and carefully push it into the jar, positioning it towards the back of the jar so that the butterfly will have a bit of room. Then add a touch of hot glue to the butterfly and position it in the jar.
I painted the lid of the jar with acrylic paint and then added the final leaf and flower to the jar lid as a finishing touch.
And there you have it. Bug in a jar. It looks very pretty on my windowsill.
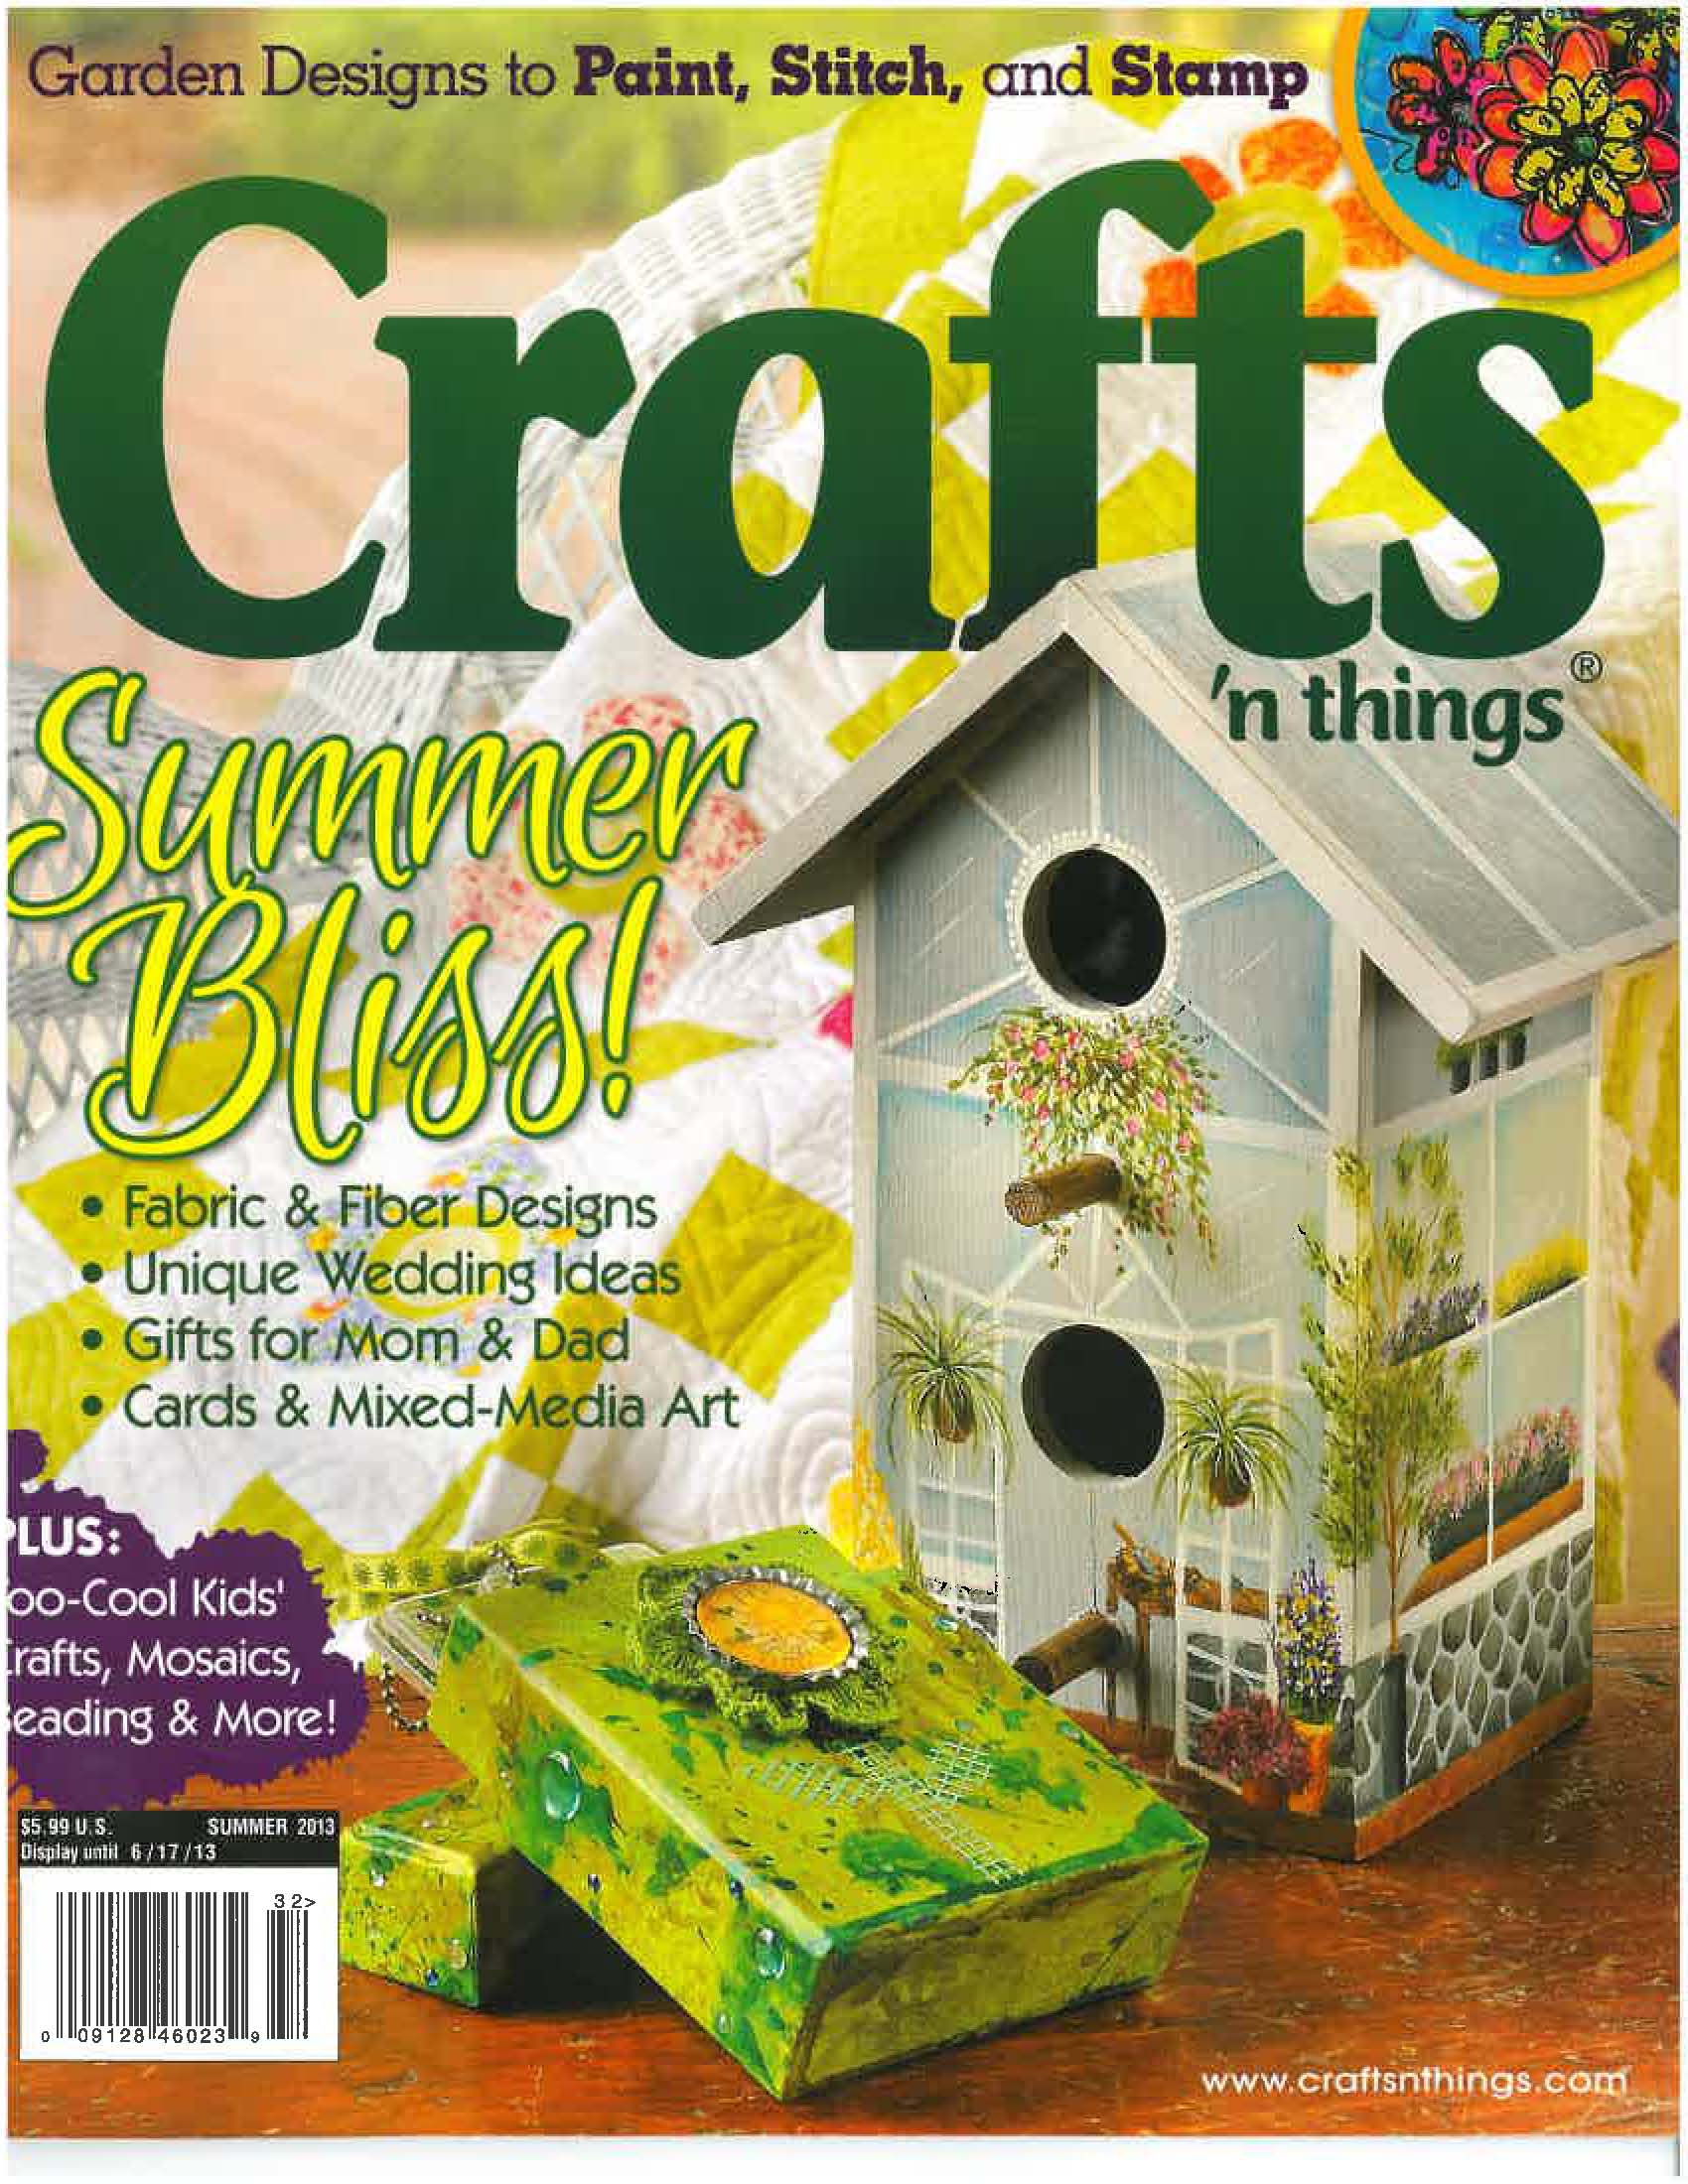
This project was featured in the Spring 2013 edition of Crafts ‘n Things Magazine!
If you enjoyed this tutorial, you might enjoy some of my other paper craft tutorials:
We use cookies to ensure that we give you the best experience on our website. If you continue to use this site we will assume that you are happy with it.OkNoRead more