How to make Beautiful Paper Wrapped Ornaments!
How about a sweet little wrapped ornament for your tree? I love simple projects that take no time at all and result in something beautiful. These ribbons you see are actually paper. And such an easy project too!
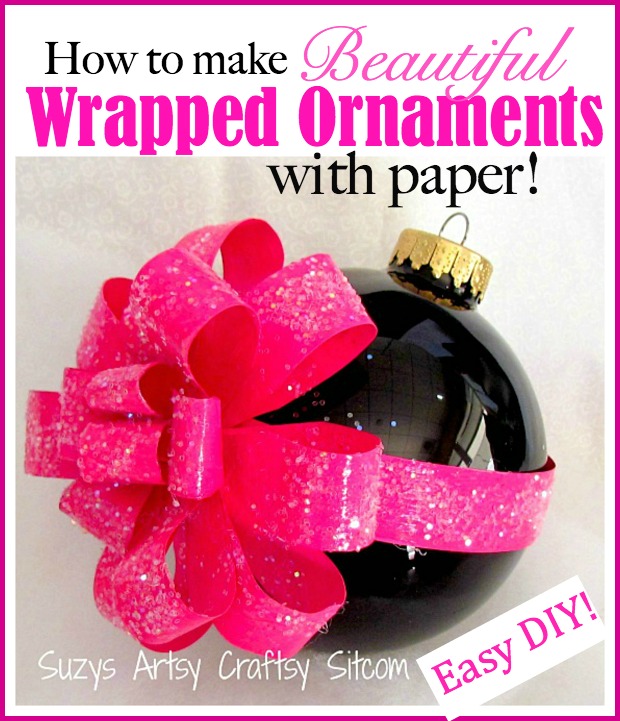
Each ornament took about 20 minutes to create and they make an unusual addition to your Christmas tree. Want to know how they are made?
Affiliate links to Amazon below:
For this project I used:
A 4″ glass ornament
1 sheet of colored cardstock
Hot Glue
Mod Podge (Matte finish for the purple, Gloss finish for the pink)
Clear glitter
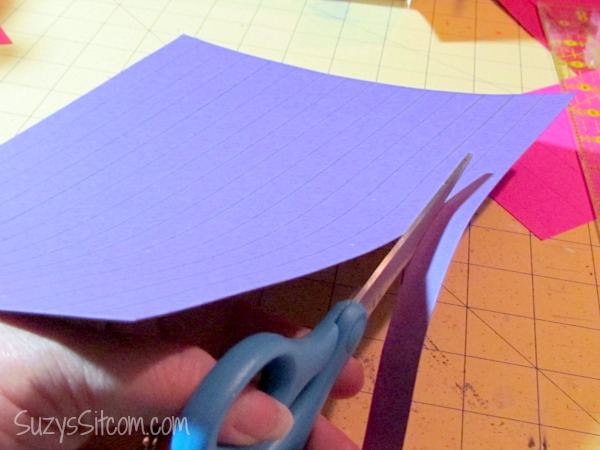
Cut your sheet of colored cardstock in strips. For the purple smaller bow, the strips are 1/2″ wide. The wider pink bow was cut at 3/4″ wide. Set aside one long strip.
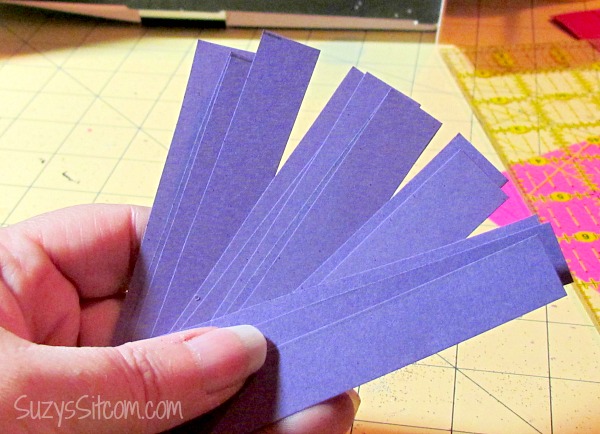
Then cut your other strips into 4″ long pieces (for small bow), or 5″ long pieces (for large bow).

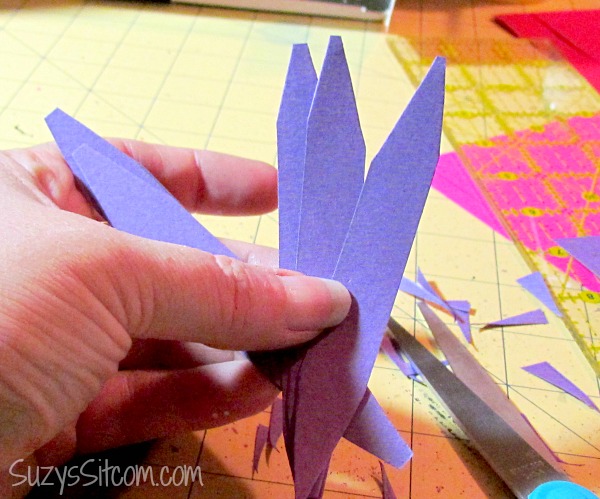
Cut your short strips into a long “V” on each end.
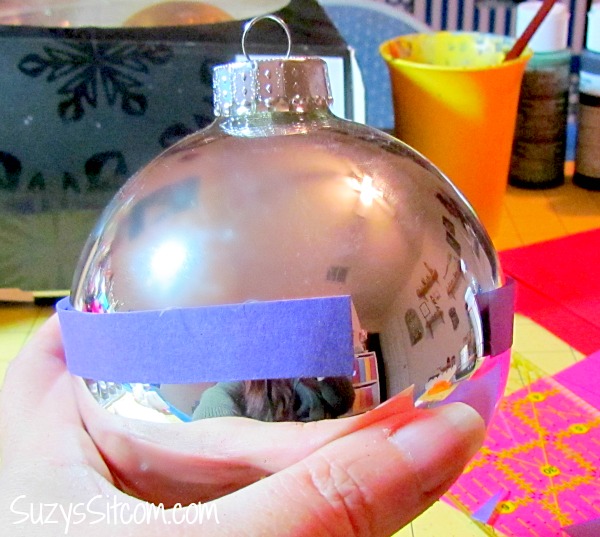
Take your long strip and hot glue it around the center of your ornament. My ornaments were too big for my strip of paper, so I added a small strip overlapping the two ends shown here. My bow will be going over top of this, so it will not be seen.
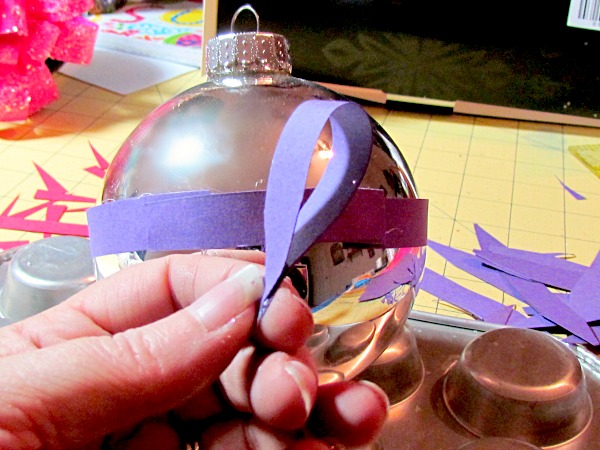
Add a dot of hot glue to the end of your short strips and touch the other end to it, creating a petal-like shape.