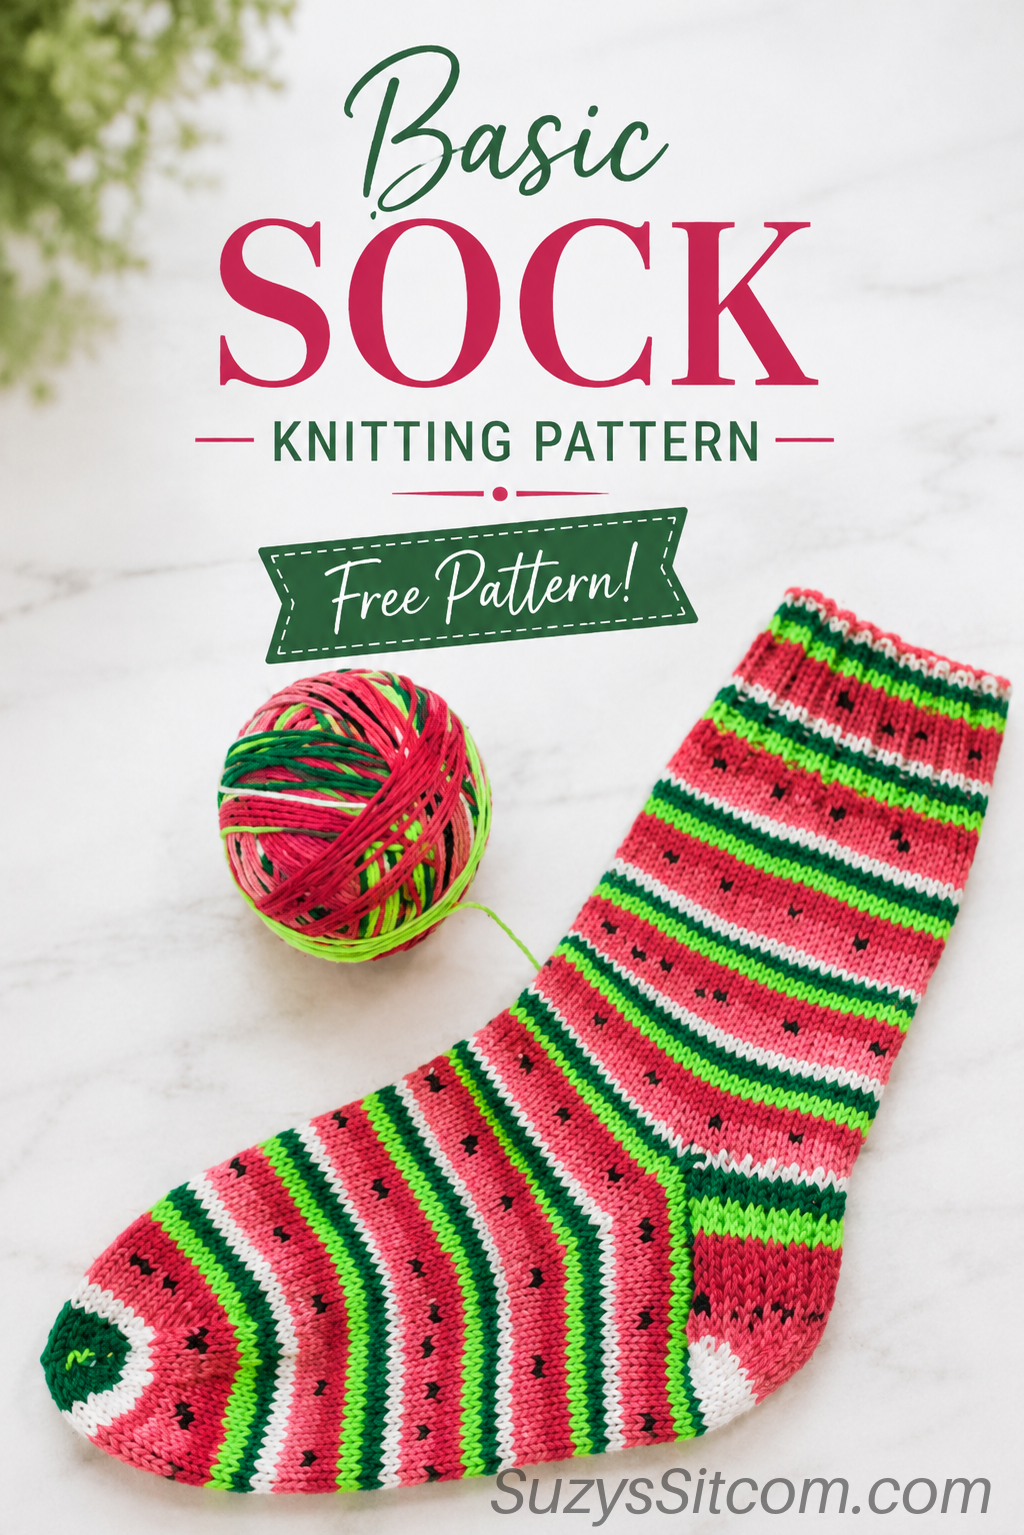
Basic Sock Knitting Pattern and Self Striping Yarn
Well, I really meant to get this project finished and posted mid summer when watermelon was totally the thing, but life got busy and I just now finished this project! Better late than never, I guess. You see, I found some amazing yarn that creates it’s own pattern while you knit and made a fun pair of watermelon socks!
I put together my own version of a Basic Sock knitting pattern to share with you and would love to show you some fun yarn by Abi Grasso.
I really enjoy knitting socks. The husband says that I could save myself a lot of trouble and just drive down to Wal-Mart where I can get a pack of five socks for $6.00. He doesn’t understand the concept of buying $30.00 worth of wool yarn and laboring for weeks with five tiny double pointed knitting needles.
I’m fine with that. Some things he just may never understand. As long as he doesn’t cut off my yarn budget, I won’t leave my double points anywhere that he might sit down. Deal?

I ran across this fabulous Self Striping Watermelon Yarn created by Abi Grasso and felt the need to create. It self stripes as you knit. Simply knit along and a fun pattern will emerge!

Abi makes all kinds of fun self striping yarn and picture yarns. Honestly, I had a hard time choosing what I wanted to try.
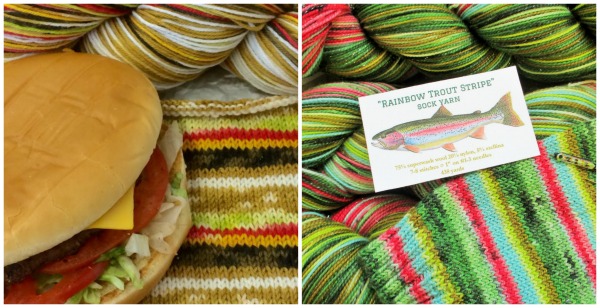
These are just a few of my favorites.

If you want to check out her huge selection, go to Artistic Yarn by Abi. She creates each batch made to order and if you love to work with lots of color, you will have a blast choosing what to start with.
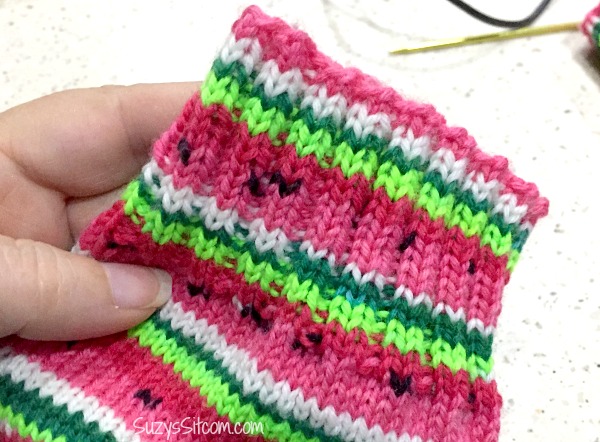
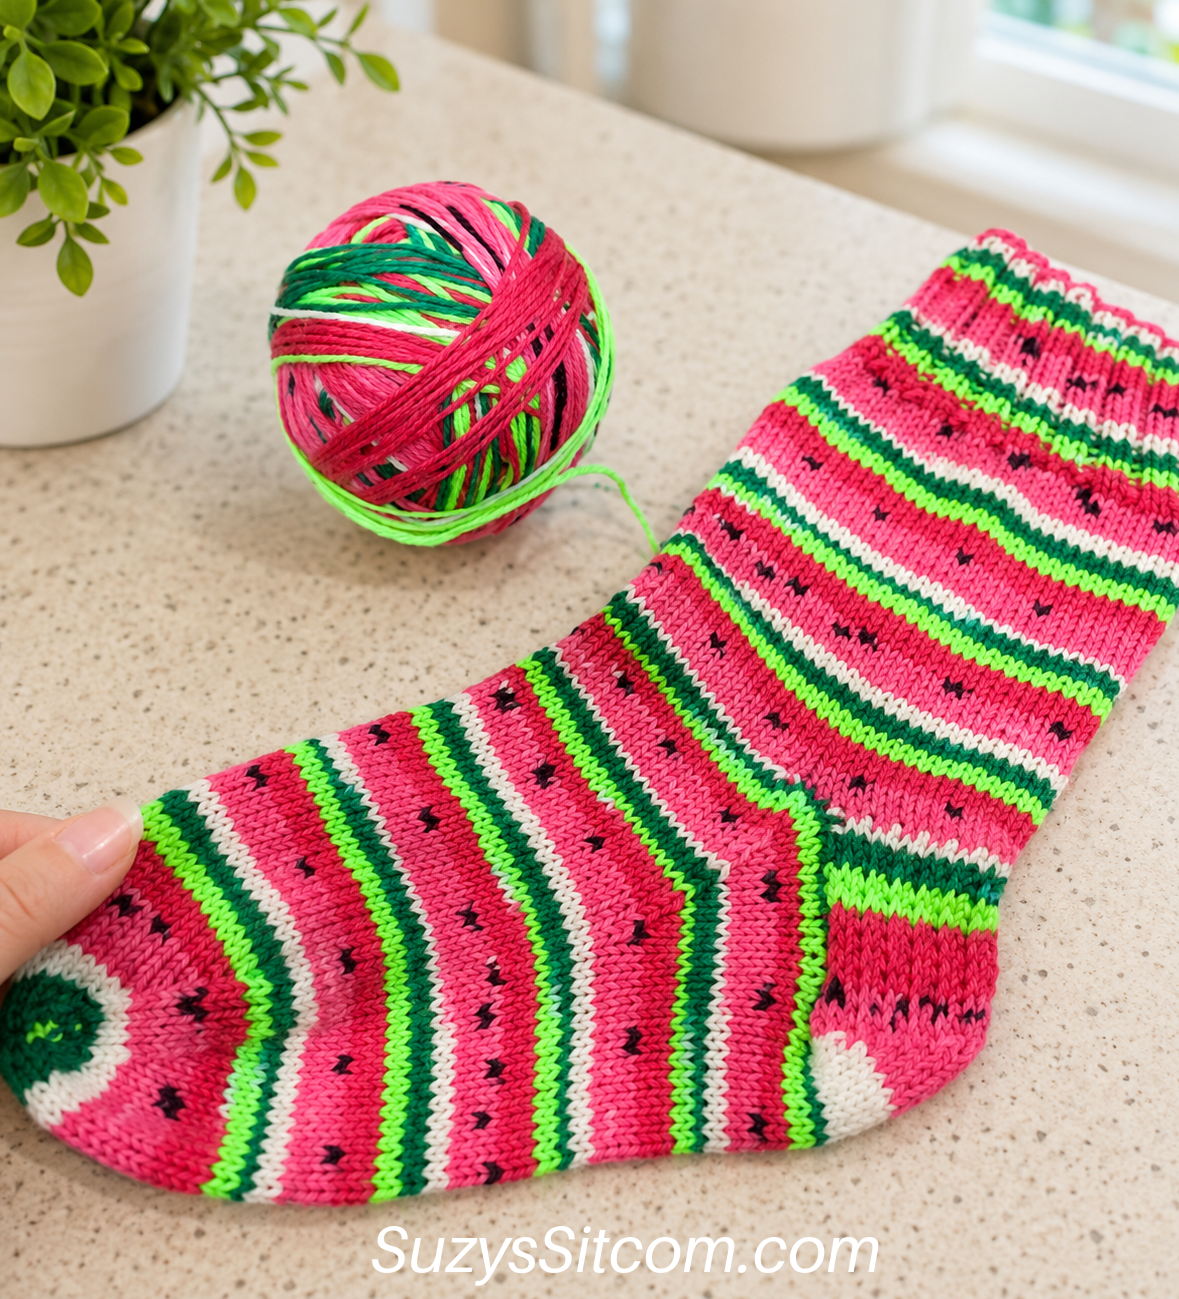
Because I wanted to feature the yarn’s self striping pattern, I decided to create basic socks in order to showcase it. Nothing fancy as the fancy is in the yarn! Here is my Basic Sock Pattern. If you would like to print it out, go to the bottom of the post for details!

Basic Sock Knitting Pattern
For this project I used:
Sock/fingering weight yarn (Abi Grasso’s Self Striping Watermelon Sock Yarn 460 yds)
* Amount of yarn needed will vary for length of feet, but 460 yds is more than sufficient for a pair of socks.
US size 2 double-pointed needles (set of 5)
Gauge:
Basically 7-8 stitches per inch in stockinette. This sock pattern is mainly measured as you go, so your gauge isn’t extremely important.
Cuff:
Cast on 64 stitches, using 4 of your double points, with 16 stitches on each. Join to work in the round.
Rnds 1-18: (k2, p2) repeat to the end of the round. Cuff should measure about 2″ from cast on stitches.
Leg:
Continue in stockinette stitch (knit all stitches on every round) for another 4 inches. Your sock will now be 6″ long from cast on stitches to your needles.
Heel Flap: Divide your stitches as follows:
Needle 1: 32 sts (Needle 1 becomes the heel flap)
Needles 2 and 3: 16 sts each. Set the fourth needle aside for later.
For the heel flap, you will work back and forth only on Needle 1.
Row 1: (slip 1 stitch as if to purl, k1) repeat to the end of Needle 1. Turn your work.
Row 2: slip 1 stitch as if to purl, purl to the end of Needle 1. Turn your work.
Repeat rows 1 and 2, fifteen more times (16 times total). If you count you will have 16 columns of slipped stitches on your heel flap.
Repeat Row 1 one more time.
How to Turn the Heel:
Continue working on needle 1 only. You’ve just completed a right side row. Turn and work back on a wrong side row as follows:
Row 1: slip 1 stitch as if to purl, purl 17 stitches, p2tog, purl 1 stitch. Turn your work.
Row 2: slip 1 stitch as if to purl, knit 5 stitches, k2tog, knit 1 stitch. Turn your work.
Row 3: slip 1 stitch as if to purl, purl to 1 stitch before the gap (look and you’ll see the gap where you turned on the row before), p2tog, p1. Turn your work.
Row 4: slip 1 stitch as if to purl, knit to 1 stitch before the gap, k2tog, k1. Turn your work.
Repeat rows 3 and 4 until all of the stitches have been worked. Your last row should be a row 4 so you are at the end of a knit row. On the last 2 rows you work, you will end the rows with a p2tog and a k2tog.
You will have 18 stitches left on Needle 1.
Gusset:
Use your free double point needle to pick up 16 stitches down the side of the heel flap (pick up one stitch in each of the slipped stitches).
Place all of the stitches on Needle 3 onto Needle 2. Needle 2 will now has 32 stitches. Knit across Needle 2. Needle 2 will be the top of the foot on your sock.
Using a free double point needle, continue on with the working yarn to pick up 16 stitches going up the other side of the heel flap. Pick up 1 stitch in each of the slipped stitches. This is now Needle 3.
Continue working onto the same needle (Needle 3) and knit 9 stitches from the heel turn. Place the remaining 9 stitches onto what is now Needle 1.

New stitch count:
Needle 1: 25 stitches
Needle 2: 32 stitches (top of the foot on the sock)
Needle 3: 25 stitches
Decrease rounds for the gusset:
Rnd 1: knit all stitches
Rnd 2: Needle 1: knit to the last 3 stitches, k2tog, knit 1 stitch. Needle 2: knit. Needle 3: knit 1 stitch, ssk, knit to the end of the needle
Repeat rounds 1 and 2 until there are 16 stitches on each of Needles 1 and 3, and 32 stitches still remain on Needle 2.
Foot:
Knit every round until the foot measures (from the back of the heel to the stitches on the needles) 2-inches shorter than your desired total foot length.
For example, these socks are for my mother who has tiny, tiny feet. Size 6 in women’s. My mom’s foot would measure 8 inches from the back of the heel to the end of the toe. I knitted the foot to 6 inches before I started the toe decreases.
Toe:
Rnd 1: knit all stitches
Rnd 2: Needle 1: knit to the last 3 stitches, k2tog, knit 1 stitch. Needle 2: knit 1 stitch, ssk, knit to the last 3 stitches, k2tog, knit 1 stitch. Needle 3: k1, ssk, knit to the end of the needle.
Repeat rounds 1 and 2 until you have 6 stitches remaining on Needles 1 and 3, and 12 stitches on Needle 2. Knit the 6 stitches from Needle 1 onto Needle 3. You will now have 2 needles with 12 stitches each.
Cut the yarn leaving about a 10″ end. Use the Kitchener stitch to close the toe.
Want an easy to print out version of this pattern?

Are you new to the Sitcom? Be sure to check out my Frequently Asked Questions Page!
For over 200 crafty tutorials for all ages, visit my Tutorial Page!

Love the socks, now I need to learn how to knit. ????
Lindos e criativos.Vou copiar.