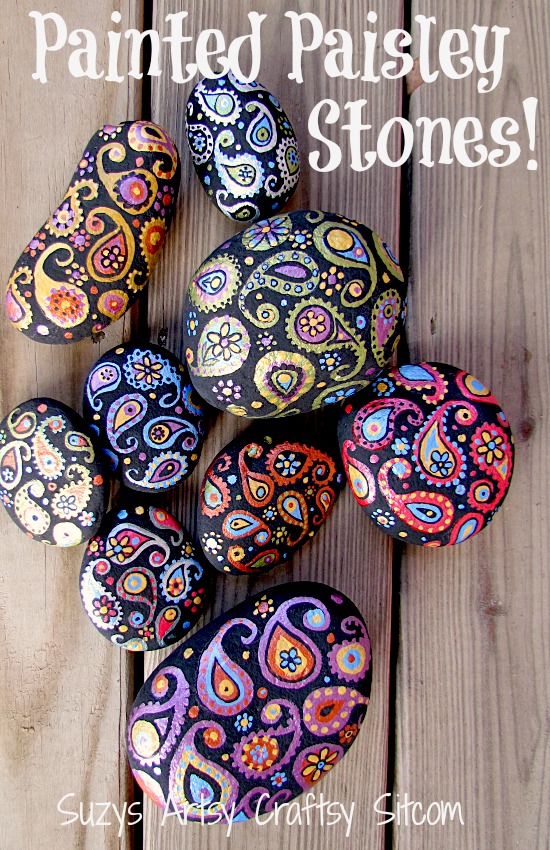
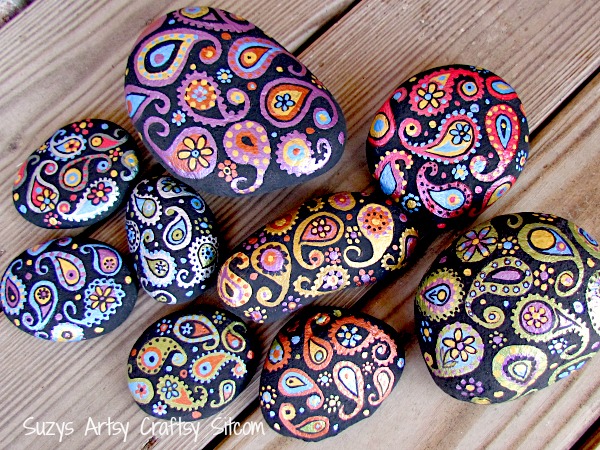
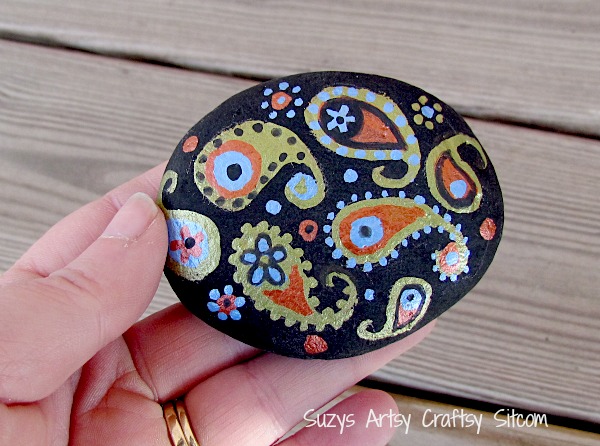
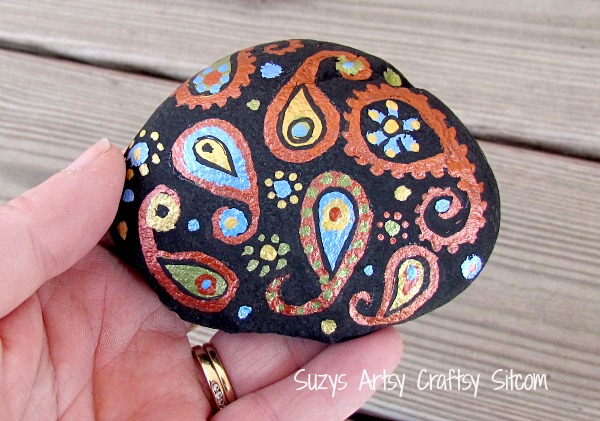
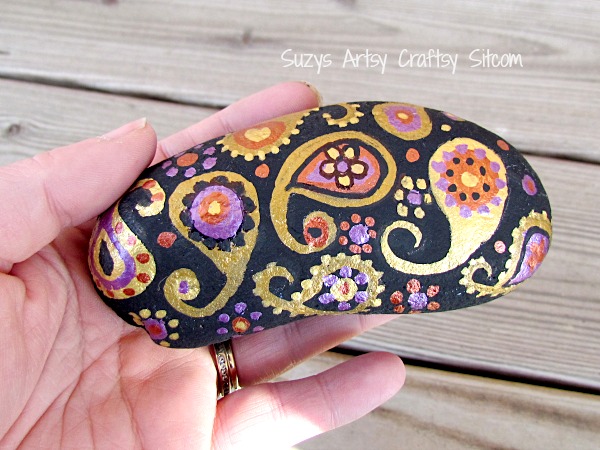
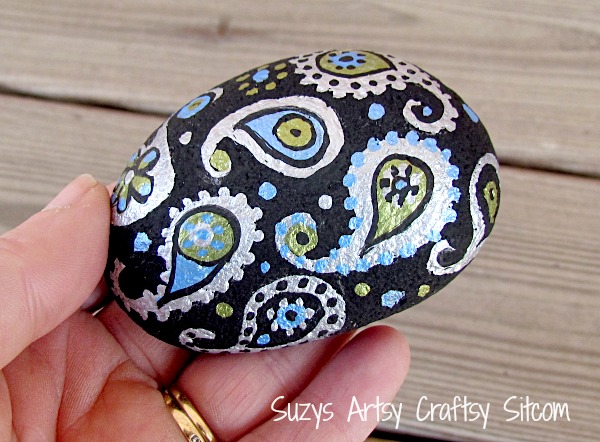
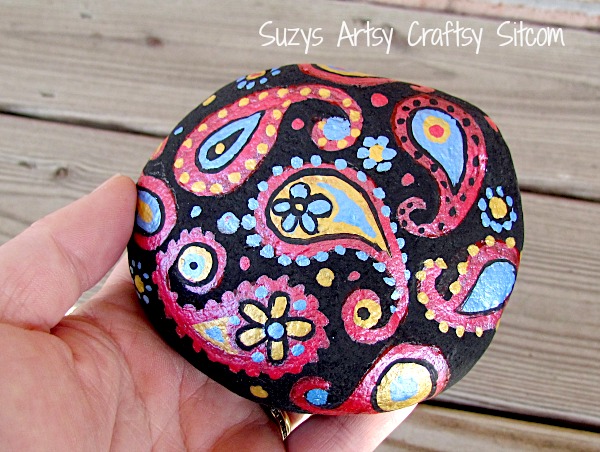
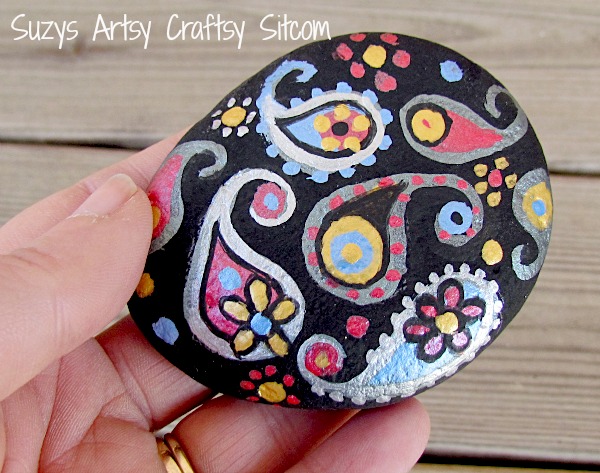
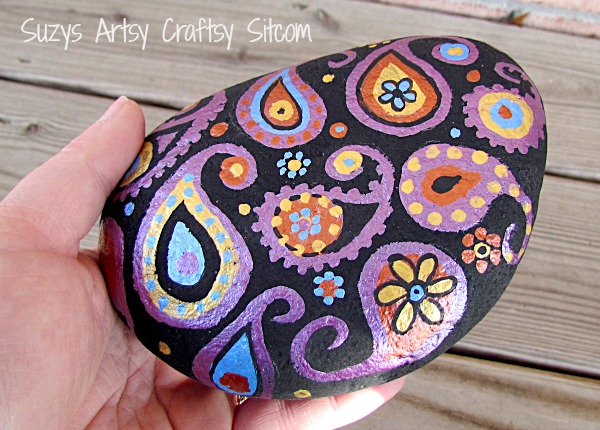
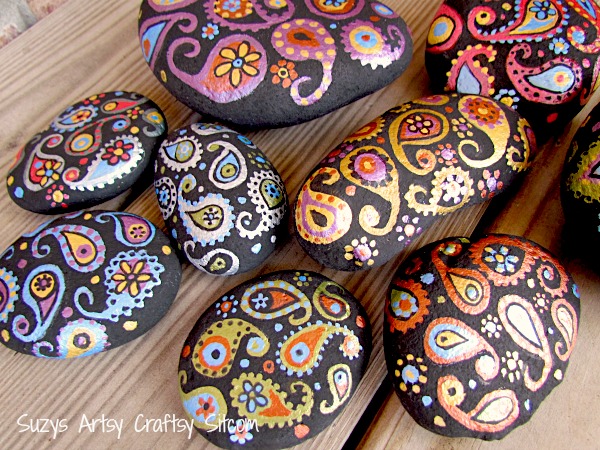
I love the look of paisley and I love to paint, so it was just natural to decide to paint a bunch of rocks with a paisley pattern! This easy project took a bit of time, but the results are colorful and very paisley-like! Painted Paisley stones make beautiful decorations in your garden or potted plants, or even on your desk as a paper weight! Want to know how?
I’ve painted rocks before. My Snowflakes Stones with bling tutorial is very popular right now. I’ve also done a lot of work with paisley- for example, my gossipy Paisley Chickens. I also work a lot with acrylic metallic paints. Some examples of projects using metallic paints include my Faux Tin Tiles and Embossed Metal Carousel Horse. This week, I combined the projects and came up with some sweet paisley stones!
For this project I used:
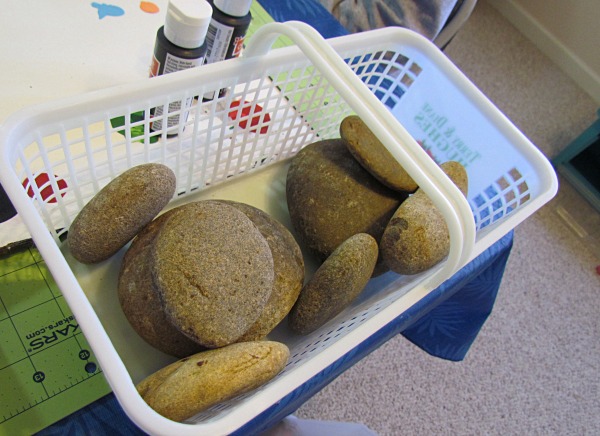
Assorted sizes of river rocks (smooth rocks)
Acrylic black paint
Assorted colors of Acrylic Metallic Paints
Matte Mod Podge
I needed some pretty river rocks. Where would I get these? Well…the local fish restaurant has an awesome bit of landscaping which involves thousands of river rocks. So… I suggested eating at the fish place to the hubby, who thought it was a grand idea! Little did he know that I had ulterior motives! To my husbands’ total embarrassment, I asked the manager if I could have some rocks. Ha!
The manager gave the okay, although come to think of it, he did look at me funny. And then my husband had to bear the embarrassment of standing outside while I picked out my favorites. He was quite certain that at any time, a police officer would show up demanding what we were doing. Yep. I’m sure they regularly patrol the fish parking lot looking for rock pilferers. Honestly, you’d think he’d be used to this kind of stuff by now! Anyway…I got my rocks!
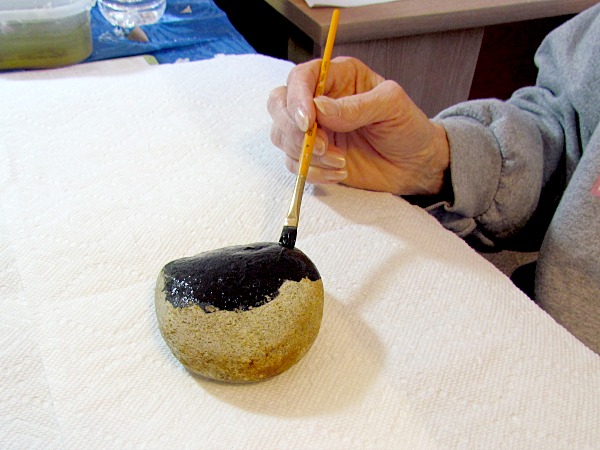
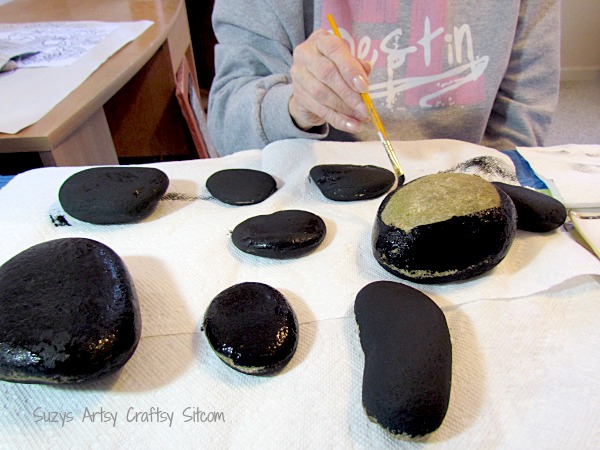
Mom comes over every Sunday and helps me with the multiple craft projects that are always piled in my work room. This time I handed her my sweet pile of rocks and a paintbrush and asked her to paint them all black. Mom doesn’t question my motives because she knows it will eventually be something nice. So, she grabbed the paint and went to work!
Both sides were painted black with regular black acrylic paint. I chose this because I thought it would be a good contrast against the brightly colored metallic paints. It took two coats on each side to get good coverage.
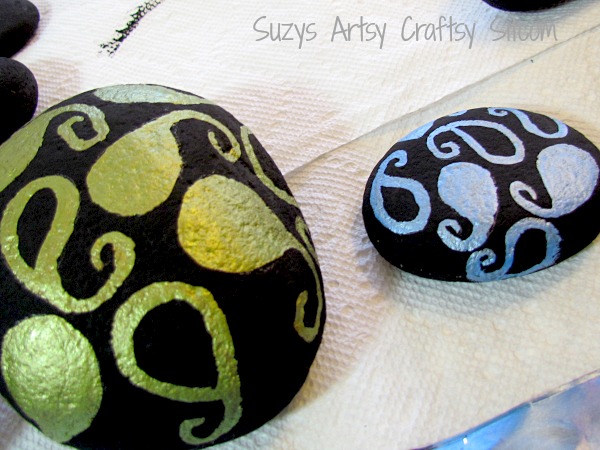
I then had Mom paint on the paisleys. Paisleys are rather easy to paint. Simply paint a tear drop shape, then add a curled tail to it. Using various colors of acrylic metallic paint and turning the paisleys this way and that, we covered all the stones with a paisley pattern.
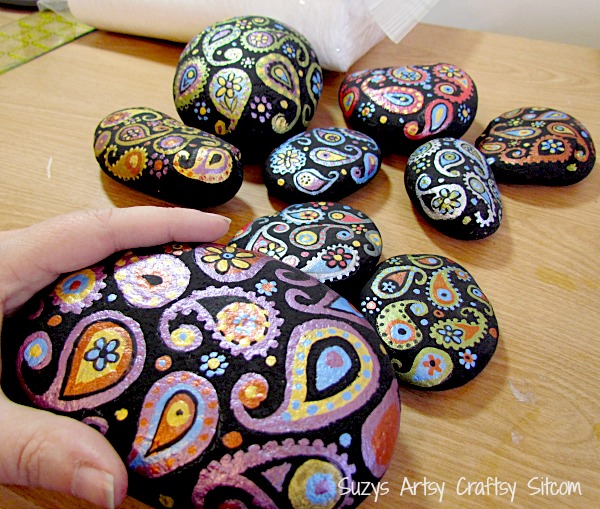
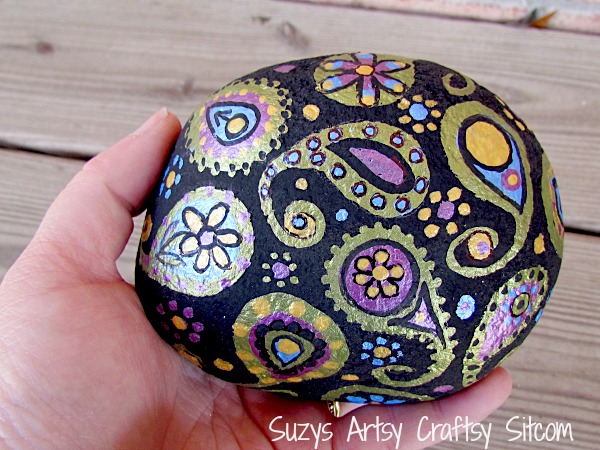
I then added more details after each color dried, adding new colors in dots, flowers, and teardrops.
To add contrast, touches of the black acrylic paint were used to create borders and extra design on the paisleys.
Each stone is different and each has a different color scheme.
The final touch was to seal the entire project with Matte Mod Podge. The Mod Podge protects the paint, keeping it from chipping.
They would look just beautiful as a garden decoration or an addition to a potted plant!
And wouldn’t it be fun to tuck a few of them back into the landscaping at the fish place as a little thank you? The hubby just gave me a concerned look. Ha!
Love the paisley stones, but don’t have time to make them? They are now in my shop!
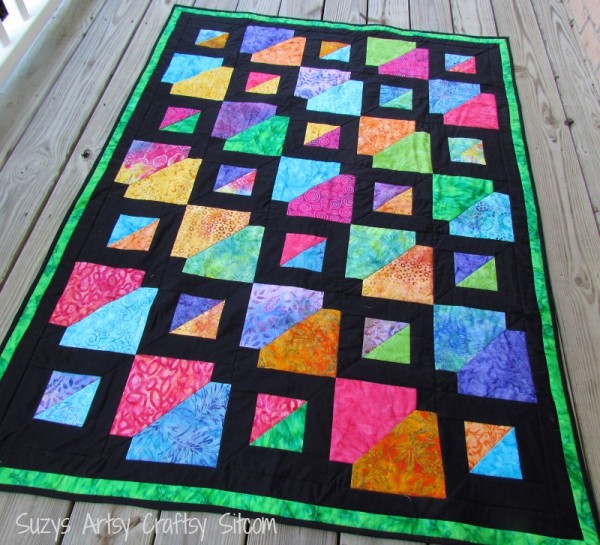
Want to try your hand at quilting? My newest quilt Pattern- Batiks Gone Wild! A great gift!
Are you new to the Sitcom? Be sure to check out my Frequently Asked Questions Page!
For over 150 crafty tutorials for all ages, visit my Tutorial Page!


